Abingdon track day

So, Friday was the moment of truth. Had I ruined the car? Would it be a nightmare to drive? Would it even make it to the end of the day?

The first session is two laps behind the van showing you the lines, then 10 minutes free time until the next session is ready to start. As I’d found out driving it on the road, it was easy to drive slowly whilst following the van, being able to leave it in a high gear and use the low down torque to cruise around. Then the van pulled in and, well, here’s a video of how well it went:

Started off with a gentle squeeze on the throttle but it was far too busy to make any overtakes… and I didn’t want to get sworn at when I got back to the paddock area. I decided to hang fire on opening it up until the longest straight on the circuit. I popped it down into second for the chicane exit (mistake)… put my foot down then popped it into fifth. Oops! A quick change down to third and all was well with the world again. I wasn’t at full throttle for long, but even with a couple of extra gear changes I could tell it was quick. Perhaps too much throttle travel, I don’t think I need such distance so may mount the cable up a level on the pedal.

I followed the next car around for a while as there was nowhere really safe to open it up again. 3/4 of a lap later there was sufficient space to go for it again and the turn of speed is incredible. The yellow Westfield is around 170bhp for reference, so about where I was with the GSXR throttle bodies. It’s the way it build speed from low rpms that makes more of a difference than headline power I think. It doesn’t need winding up, just point and squirt.

Once I was behind the orange Westfield (we’re at similar power/weight ratios) it dawned on me that I needed to learn to drive all over again. This time last year I did the same track day but with 130bhp, and I was able to attack the corners, brake late and generally drive properly.

No such driving this time! I was arriving at corners quicker than expected, completely unsure of where to brake and missing most apexes.  And I wasn’t quite flat out!

The session was red flagged before I could either improve or spin off.

After the warm up sessions had finished it went into open pit lane for the rest of the day. I ventured back out but seemed more interested in going fast on the straight bits rather than braking and turning properly. I got a bit of a telling off for overtaking without consent. It was perfectly safe to do so, I had the speed advantage over most of the cars out there to get by on the straights without them lifting off but it was quite right I should be pulled up on it and vowed to be a bit more patient. Power does not equal consent!

Then it started raining, which confined me to the pits. I didn’t fancy a trip out in the rain. I vowed to go out when it started to ease off though to get some experience on a damp track. Of course, as soon as I headed for the track it started raining properly again! Never mind, I’d still do a few laps… with the age old problem of rain on the inside of the windscreen plus some on the visor this time. It’s quite weird getting to 90mph and above and the rain streaming from the back of the visor to the front!

Whilst it was wet, I was pretty slow. I just wasn’t sure how much grip there was, and for some reason didn’t really want to find out. I cruised around, watching other people to try and get some idea. After the first few laps it stopped raining, and the track dried surprisingly quickly. Then it was as per usual… very quick, not particularly elegant.

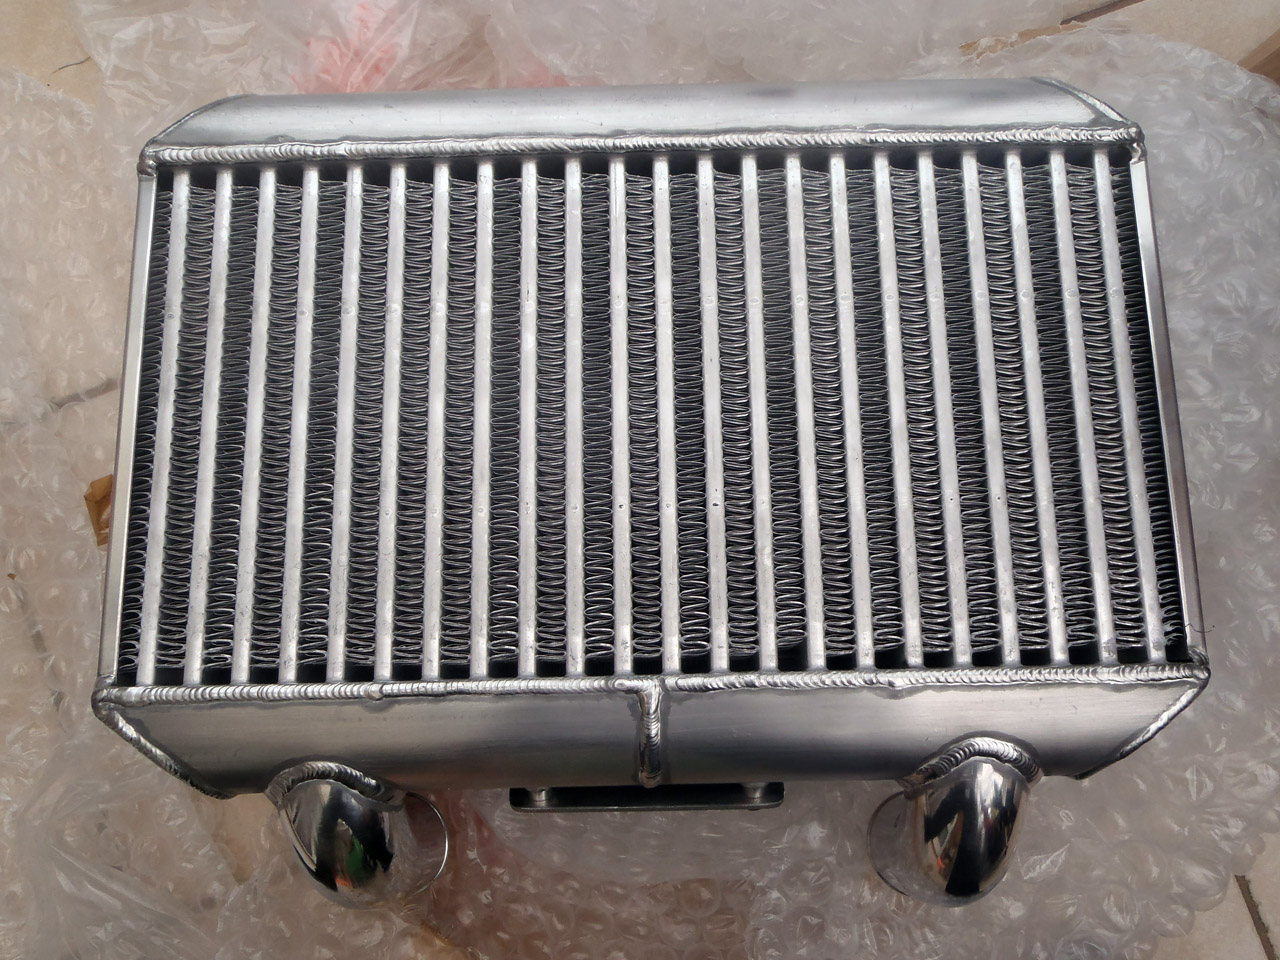
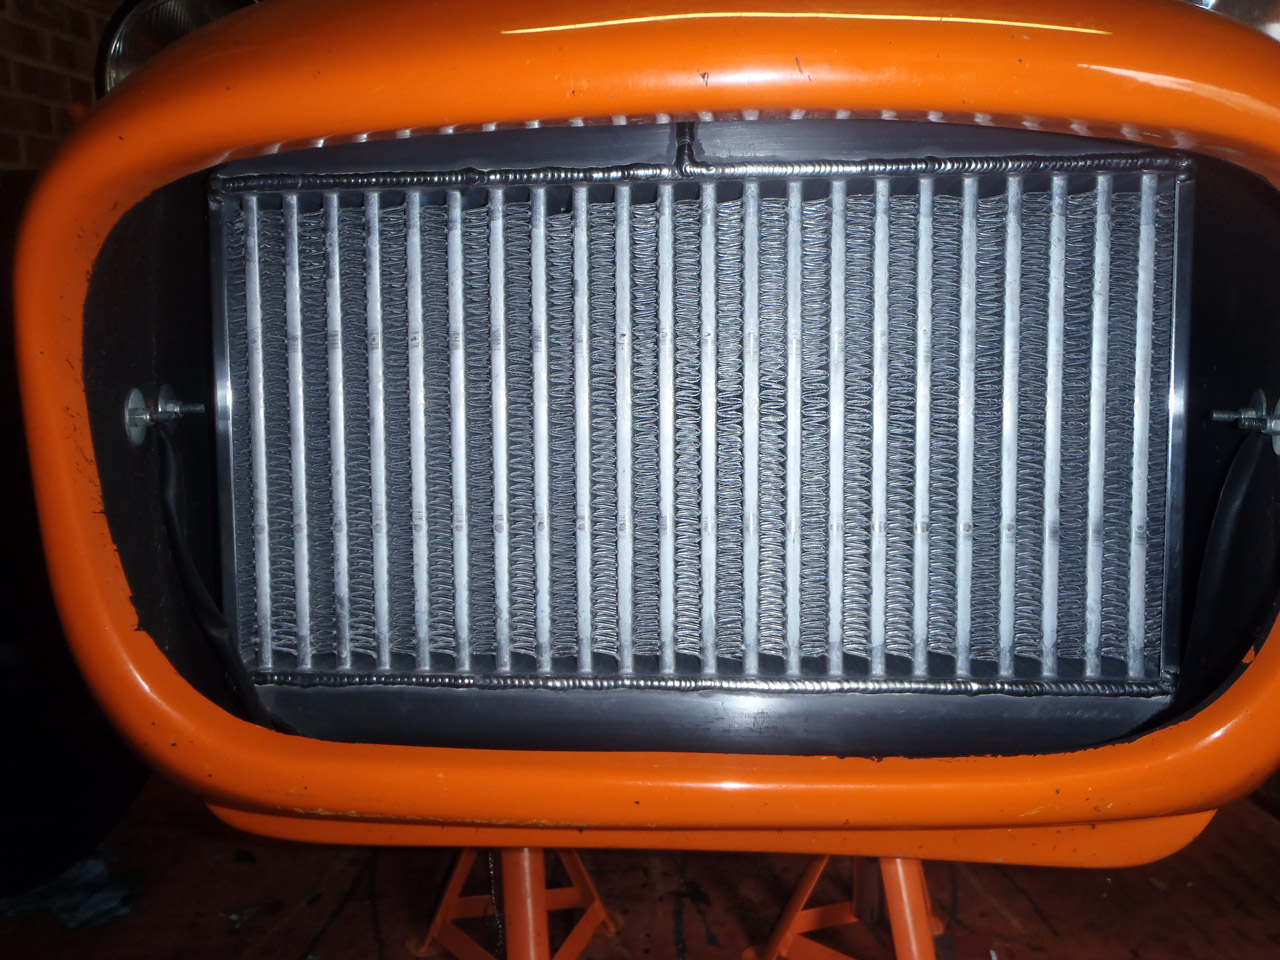
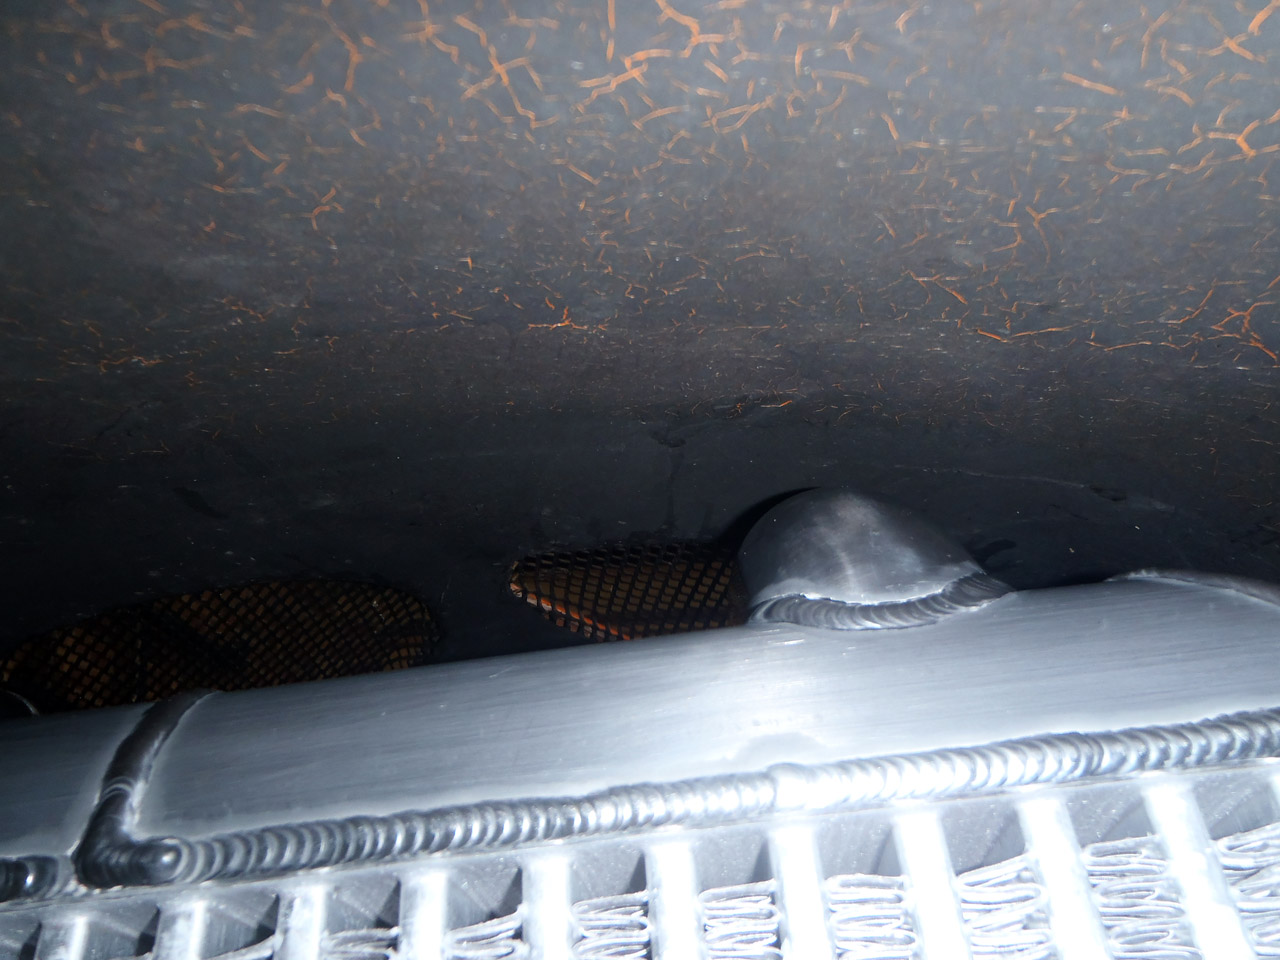
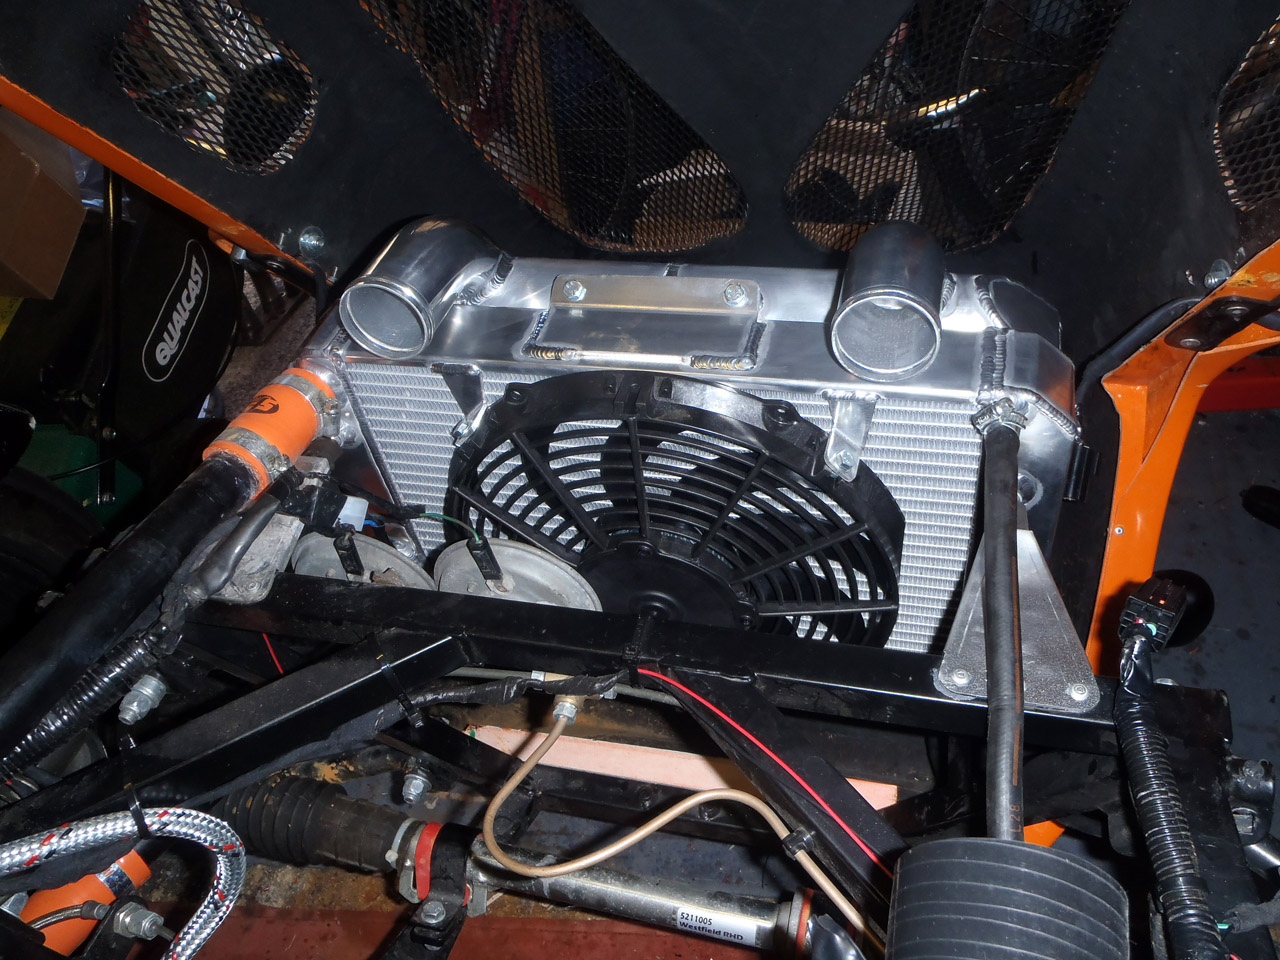
Here’s another snippet of a session before lunch with a few other Westfields in it. Better behaved this time, waiting for consent before overtaking. Also starring a bumblebee… ended up with two of them in the intercooler. Must refit the grill.

And here’s the last session I did, where I was much quicker than before whilst with a clear track. Still missing the odd apex, but a bit smoother and more in tune with the circuit.

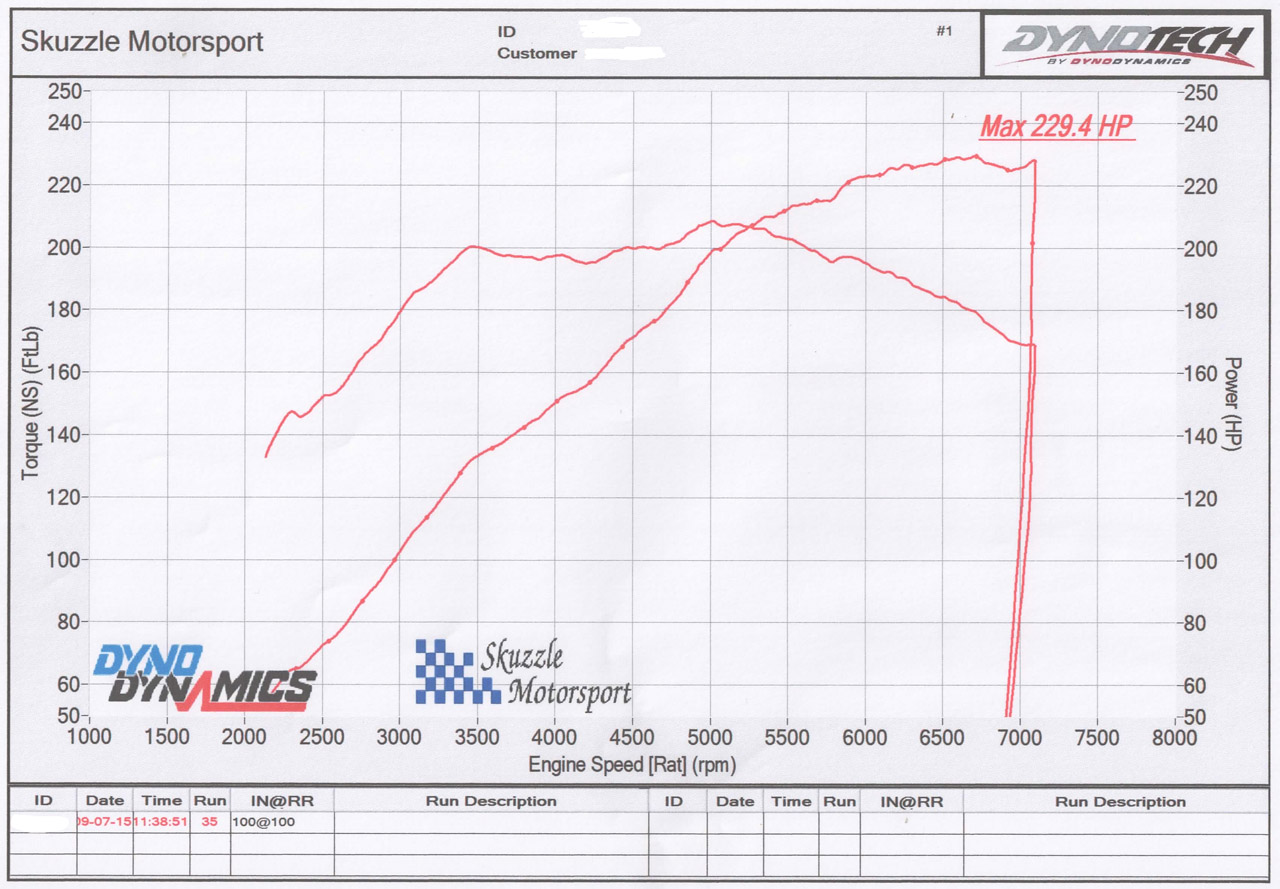
So, in summary, the car behaved and went very, very well. I’m incredibly pleased with the results. Throttle response is, whilst not throttle bodies good, still pretty good. Here’s a graph showing boost over throttle position:

Boost and Throttle

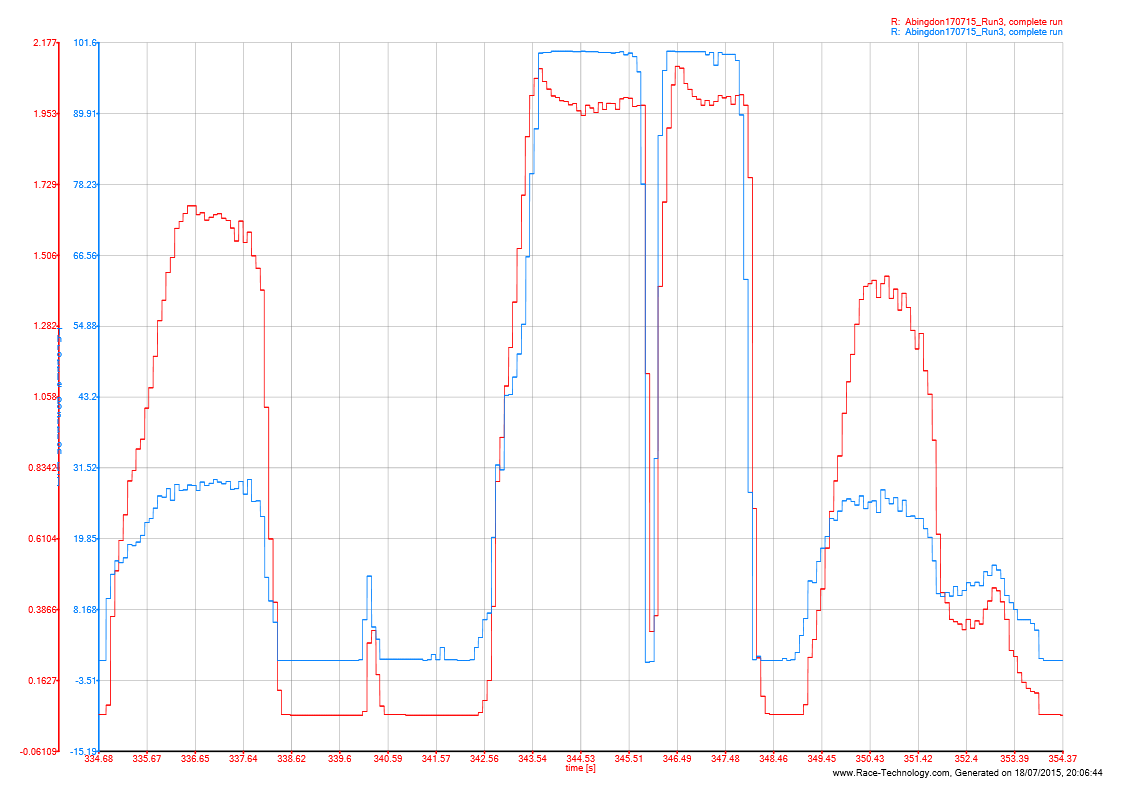
Ignore the 2.2bar value, it takes 0 as total vacuum, and is reading a smidge high. That should really be 10-11psi. I may get a separate pressure sensor to double check. Anyway, you can see that in the 1 second it takes me to feed the throttle in, it will happily go from near vacuum to the full required boost level.

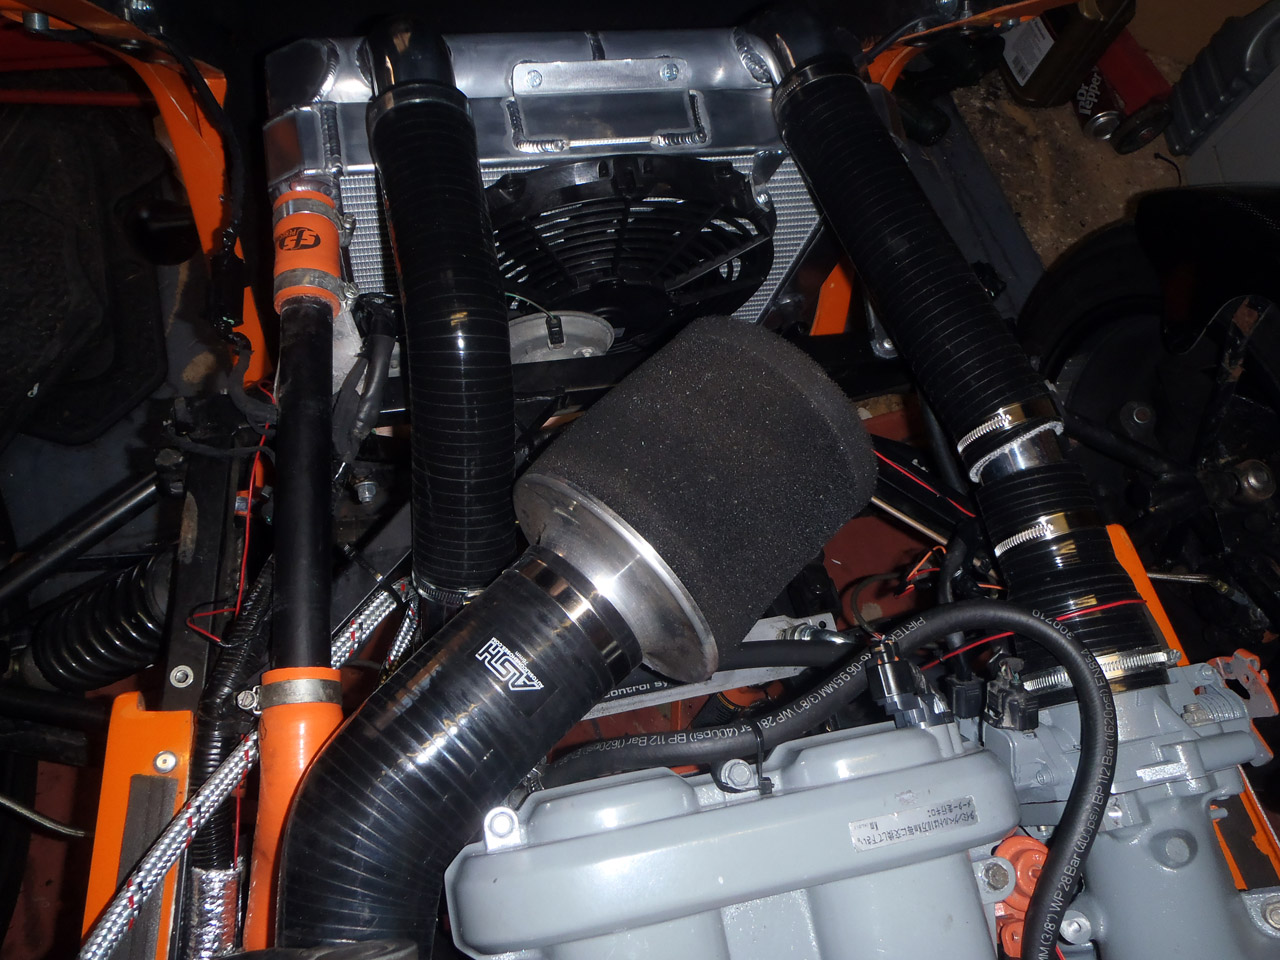
Temperatures were solid, 89-94 degrees on the coolant and 33-37 degrees on the intake. In fact, the only negative I have is the exhaust sound. It’s a bit ‘wooshy’.

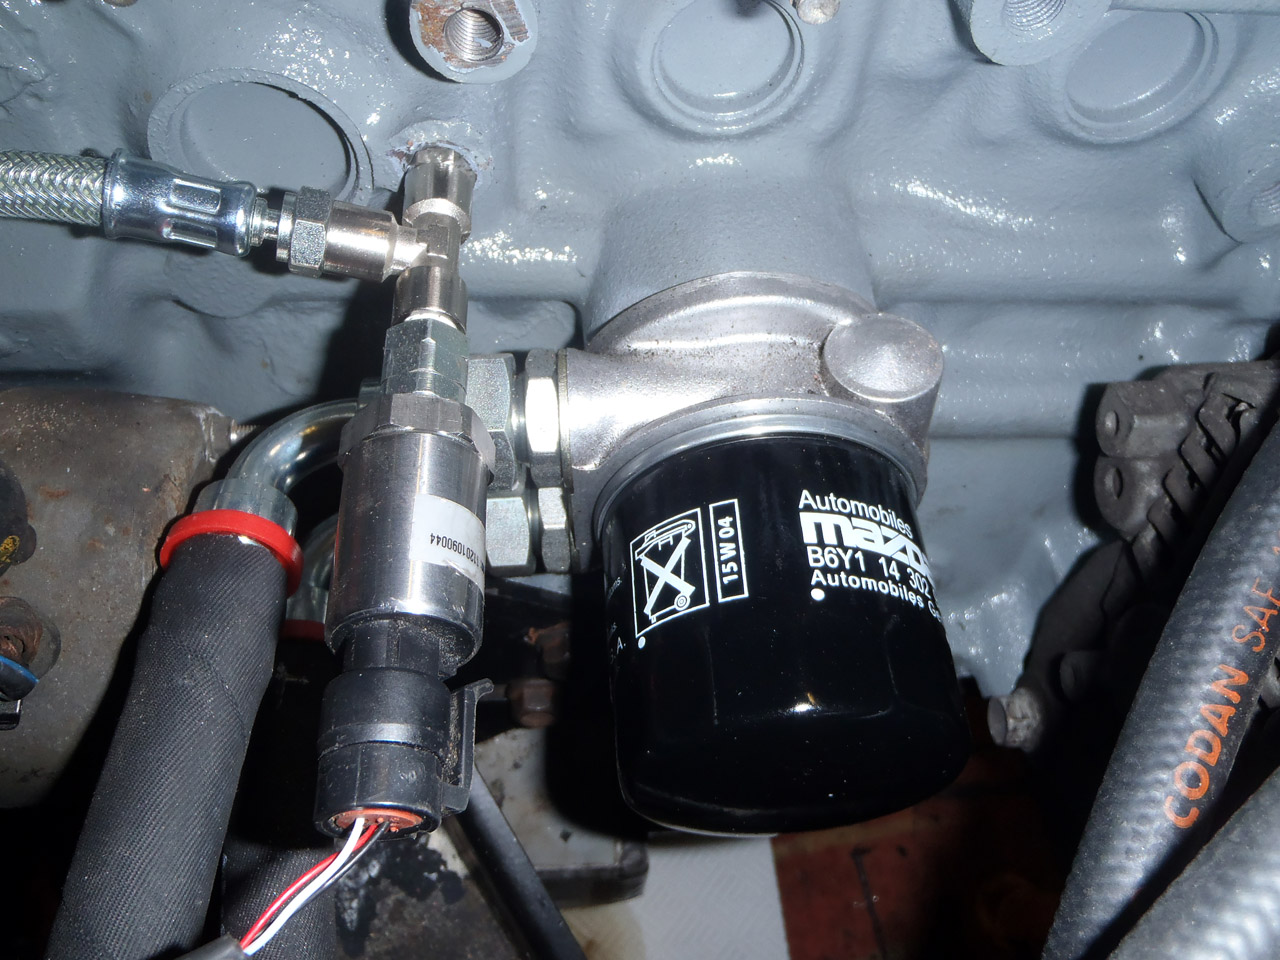
I won’t be changing back to the ITBs so may well sell them on. Future upgrades are in my driving ability, and perhaps a longer ratio diff. I didn’t feel the need for an LSD strangely, don’t think my driving style is quite there yet. Oh and a clutch… still on the standard clutch which was new when I built the car so handling the power for now, but I’m sure it won’t last that long.

Posted in Track days | Leave a comment

Mapping by Skuzzle Motorsport

Soon enough, Thursday arrived which was the day it was booked in with Skuzzle Motorsport near Winchester for mapping. I’d already filled the tank (and a 10l jerry can) with fuel, and also on the fluid front I chucked in some extra coolant and oil just in case.

Getting to Skuzzle is an hour long motorway/dual carriage way effort, with a couple of miles of country road at the end. I plugged in the laptop, started VE Analyze Live and let it map itself on the drive down. Unfortunately this wasn’t entirely successful as the lead fell out of the ECU before I’d even gotten to the motorway. I popped it back in at the next services and it happily stayed there for the rest of the journey. I was glad of the road mapping done earlier this week as although the lead wasn’t in for quite a few miles, I knew that the tune was at least ok to carry on.

When I arrived they were busy finishing off previous work but soon had it cleared out of the way. We got it on the rollers and removed the bonnet to save damaging it from heat. Whilst the rolling road fan would sufficiently cool the radiator it wouldn’t provide the airflow required to expel the heat of the turbo. Hopefully real life does!

Then came the messing around. We spotted a few drips of oil under the drivers side of the engine bay, looking like it was coming from the oil pressure sender/takeoff/filter area, so one of these joins:

We cleaned it up then ran the engine again and it was dripping slightly from the pressure sender. It was pretty tight but managed to get another quarter of a turn out of it without it feeling like it was going to break. The leak was still there though, so we removed the turbo oil feed and tightened up everything. The ‘T’ piece was probably the culprit as we got nearly a whole turn out of that one. Everything reassembled and the leak was cured. Mapping commenced!

Lots of turbo-ey sounds later and it was at 165bhp @ 7psi, then 170, then 185, then I popped out for some fresh air to come back to 195, all at the wheels. Nick (the tuner) then asked if I wanted to turn the boost up. Now, this is where I stupidly thought yes, let’s see what it can do so I said I was originally aiming for 12psi as a finger-in-the-air figure. Conveniently forgetting that my mythical 12psi figure was to achieve a target that I was probably already at with 7psi.

Cue some more turbo sounds and he returns with quite possibly the biggest grin a man can have. It had made 229bhp at the wheels at 11psi. There wasn’t much room left in the injectors though so turned it down to 10psi, which was 217bhp.

MX5 1.8 TD04 Power Chart

There’s a bit of a peak at 3.5k which he offered to dial out but I didn’t think it was big enough to notice so left it as it. It’s not the smoothest of curves I’ve seen in my life but should be quite predictable in the track zones. It’s making more torque at 2,000 rpm than the throttle bodies ever made anywhere, so it’s going to be a different beast to drive. I suspect I’ll be in a higher gear around some corners.

I took it for a road test and could instantly tell it was even quicker than when I arrived. The turbo was also much more noisy! I made my way down the road, using small amounts of throttle but at the same time using the torque to build speed rather than outright power. The road was a bit bumpy so I didn’t fancy deploying everything then spearing off into the scenery! On the way back, on a straight bit I opened it up a bit more and it was seriously quick. Then the hose from the turbo to the intercooler popped off. And it was slow.

Popped it back on when I got back and vowed to replace a hose that I’d cut a bit too short which was putting undue strain on the hose that popped off. Nothing major, just a niggle to iron out.

I paid up and left with my dyno chart, and proceeded to catch some sun burn on the way home. Had to stop off on the way and put in the fuel from the jerry can, it’s not exactly as frugal as it once was…

Will take it to work tomorrow, may be a bit braver and deploy some more of the new found horses on some roads that I know, but can’t see me ever putting the my foot to the floor on public roads. Perhaps I’ve ruined it a bit in that respect? I can always reduce the boost to wastegate pressure (7psi) if I feel that way after a few drives.

Track day next Friday, can’t wait!

Posted in Performance upgrades | Leave a comment

Road mapping

Spent the last couple of days sorting the idle out. Still won’t start without throttle but it’s happy enough after about a minute. I’m not turning the idle control valve on or anything yet so that it doesn’t interfere with the ‘auto tuning’. I’m reluctant to call it autotune, because that’s the feature of different megasquirt tuning software but it describes it far better than “VE Analyze Live” (VEAL). What VEAL does is essentially map the car whilst it’s driving. It looks at the target AFR for whichever cell is being driven at the moment, then either removes or adds fuel until it’s hit.

So, I’ve set target AFRs according to manifold pressure against revs, aiming for safe figures from 14.7 at cruise to 11.5 under boost. I’ve also retarded the timing to help keep that safe too. Lastly, I set the initial fuel table quite high, thinking it’s safer to run rich than lean initially. Obviously, I’m not trying to make power here, just get it safely drivable for Thursday when I go to get it mapped.

Stu popped around this evening to play wingman and watch the laptop whilst we embarked on a bit of road mapping. I’d prefer to keep both eyes on the road than trying to watch the lambda gauge on a laptop! After pushing it out of the garage and firing it up, it suddenly became quite clear at just how quiet it was. Before, I’d only had the engine running in the garage but now with considerably less for the noise to bounce off it was more production car noise levels! Noise tests shouldn’t be an issue for me…

We started off on a quiet half mile stretch of road, doing a few 30-40mph runs in 3rd, 4th and 5th gear. Each time the results were the same, starting rich with the software adjusting it to the target AFR in a few runs. We then did a dual carriageway run to simulate the kind of drive down to the tuners. Again, started a bit rich but was brought into tune. When new cells were entered though (approaching positive boost), it was excessively rich to the point of making the engine stumble.

Back to the industrial estate for the same tests as before but with slightly wider throttle openings. Again, same thing found… as it entered new cells it was far too rich. Onto some local roads and then pulled up in a pub car park to compare what values the cells had now to when they were initially set. With it running epically rich on the untouched cells, we manually pulled 20% of the fuel out of them and started again. This time when entering new cells it would still be rich (10:1), but drivable so the software could deal with it. Plenty more runs, including some in boost but never more than half throttle opening. Each time the car tuned itself happily, and in the end we called it a day because I was getting a bit too confident!

Although the car isn’t properly mapped, running rich and timing at very safe levels it’s obvious it’s going to be quick. It happily boosts from below 2k rpm in the higher gears and builds speed very quickly.

Can’t wait for mapping on Thursday now!

Just a shame it uses so much fuel…

Here’s a video from the day after the above, on an extended trip to get petrol for proper mapping.

Posted in Performance upgrades | Leave a comment

Injectors, intake temp sensor and wiring

Didn’t get the car fired up today, but still made some good progress. I removed the inlet manifold to start looking at the oil sensors I was fitting. It was so much easier with the bike throttle bodies – 4 hose clips and I had perfect access! Now it’s removing the OEM inlet manifold and a few layers of skin for good measure. I popped the oil filter off and attempted to fit the second sandwich plate to allow me to fit an oil temp sensor (the first is for the cooler) but the extension bolt I had wasn’t the right size, so that was a no go. I instead fitted the Race Technology oil pressure sensor properly, then removed the dash and set about wiring it all in. Before, the VDO sender had just one wire, where as this one wants +5v, earth and signal. I had to source the 5v from the dash’s reference feed before it gets interfered with by pull up resistors but it wasn’t massively challenging. Whilst the dash was apart, I also fitted the wideband controller and the cable to link the ECU with the data logger and dash.

With the dash back together, I refitted the bottom half of the inlet manifold then turned my attention to the injectors. They’d responded well to cleaning, and were well matched. 3 had the same flow rate with 1 just a single cc higher. In cleaning, they’d gained around 20-25cc a minute so must have needed it. The injectors themselves are from a Mazda RX8 – a well trodden route that is pretty much plug and play with the MX5 engine. No wiring changes and slots into the standard fuel rail nicely.

RX8 injector vs tan MX5 injector

The standard mk1 fuel injector is on the left, with the bright yellow one being the RX8 injector. They’re the same length so all I had to do was swap over the spacer/seal at the bottom. Here they are happily sat in the head, with extreme amounts of flash. God bless point and shoot cameras!

RX8 injectors in mx5 engine

I popped the top half of the inlet manifold back on then turned my attention to the intake air temperature sensor. The only viable plate I had to install this was in the silicone pipe from the cold side of the intercooler. I popped into Merlin Motorsport and picked up one of their self sealing silicone take offs. It was harder to fit than I remember it being but got the job done in the end. Unfortunately the sensor sits inside the take off so isn’t in the flow of air but I’m hoping this isn’t going to be too much of a problem. If it is, I’ll have to get an alloy pipe made up with a boss welded on as I can’t see any other way.

So all that’s left tomorrow is to lower the car back onto the ground so it’s flat, fill the vital fluids and tweak the ECU with the new TPS calibration. I’ll also need to tell it that it now has an idle control valve to play with along with a wideband sensor. I should be able to get a bit of road mapping done over the next few days to get me into a viable state to drive it to mapping on Thursday.

Nearly there!

Posted in Performance upgrades | 2 Comments

Intercooler, exhaust and odd jobs

Quite a lot done recently and nearly there now. I’ll detail what has gone on in order of it being done, so juicy bits at the end I’m afraid!

Accelerator cable
When I fitted the throttle bodies I didn’t cut the cable shorter and instead tucked the excess out of the way. This was for two reasons, which both boil down to knowing I might be refitting the standard throttle body at some point. One if I didn’t like the bike ITBs and the other when the turbo came along. I therefore only had to re-adjust the cable to make it fit. This time, I mounted it to the bottom of the accelerator pedal rather than the top to give me as much pedal travel as possible. I feel I may need the adjustability!

Heat shielding
I ordered some heat shielding materials from Thermal Velocity. This consisted of a sheet of material to stick to the bonnet and a tube to cover the wiring loom. I also stuck some of the material to the relay box, just in case.

Exhaust
After delaying a week because the date I originally picked clashed with a compulsory work meeting, the missing bit of exhaust has finally been created. I started the morning by picking up a trailer, then pushing the Westfield out of the drive and up to the trailer. This was the hottest day of the year and even in the morning it was 25 degrees so it became very hard work. For the mid part of the drive (steepest), gravity got the better of me so I attached a tow rope to the roll bar and the Land Rover and pulled it up the hill.

I arrived at Infinity Exhausts just off J18 M4 at about 10:45 and they got to work creating the pipe. It was decided to have the reducer inside the bodywork, with a 2″ bend coming out of the tub and to the existing link pipe. At about 1pm all was finished and I loaded it back onto the trailer for the return journey.

I’m quite happy with the exhaust, but my enthusiasm has been curbed slightly by the use of a crush bend. I didn’t notice at the time so couldn’t ask why it was done like this, but it just looks a bit off to me. Never mind, I’ll want to go to a 2.5″ diameter exhaust at some point anyway so this provides good motivation.

Intercooler
Ah now here’s the exciting part of the post. The nice man from UPS delivered me a parcel today!

I opened it up and was presented with this, so I had a nice game of pass the parcel all by myself:

And look what I ‘won’!

Radtec Westfield Turbo Intercooler

Radtec Westfield Turbo Intercooler

Radtec Westfield Turbo Intercooler

Radtec Westfield Turbo Intercooler

To recap, it’s the radiator/intercooler package from the Westfield Sport Turbo. It doesn’t normally come with a fan switch but I asked for one to be added. Handily, they also fitted a switch itself. It’s a 92/87 degree one which is what I need, so the old one can stay in the old radiator. Unlike the old radiator, the fan switch is now mounted on the outlet so shouldn’t come on too early anymore.

I popped some rubber bobbins on and hung it in place to check if it would fit in the FW nose. I thought it should, given the sport turbo is an FW kit but that might have had funky mounting brackets. No need to worry, it fits in nicely:

There’s a finger gap around the sides but hopefully not too much air will bleed round. Otherwise I’ll have to make some kind of shroud.

The pipes fit under the top of the bonnet ok:

I started off by plumbing in the coolant side of things. Not too tricky, all 32mm pipework and pretty much ending up in the same place as when the polo rad was fitted.

The only tricky bit was squeezing the overflow pipe onto the fitting, and rotating the fan 180 degrees to get the wiring on the left hand side.

Lady luck was also on my side today as the pipework I’d guess at for the charge pipework was sufficient to do the job. It’s basically 90 degrees off the turbo, then a 45 degree followed by another 45 degree to get up and over the chassis. Just a straight pipe for the cold side, though that may need to be flexible. Will have to see if I get away with it.

The injectors arrived today (RX8 injectors) so I’ve dropped them off at a local company for cleaning. Should be ready tomorrow. I’ll also pick up a fitting so that the intake temp sensor goes into the pipework… then a few other odd jobs and I may even start it up tomorrow.

Posted in Performance upgrades | Leave a comment