
Decided to spend some time on the newly acquired engines recently. Nothing major just yet. Concentrating on stripping down the mk2.5 bottom end first. Planning on removing the crank and getting it measured to check all is ok, then renew the bearings.
After previously removing the exhaust manifold, engine mounts and cleaning the block a little with degreaser and a little brush, I spun the engine upside down to remove the sump. Before that though, I noticed some strange markings on the camshaft lobes. This is the exhaust cam, I can’t remember if it was on the intake as well.
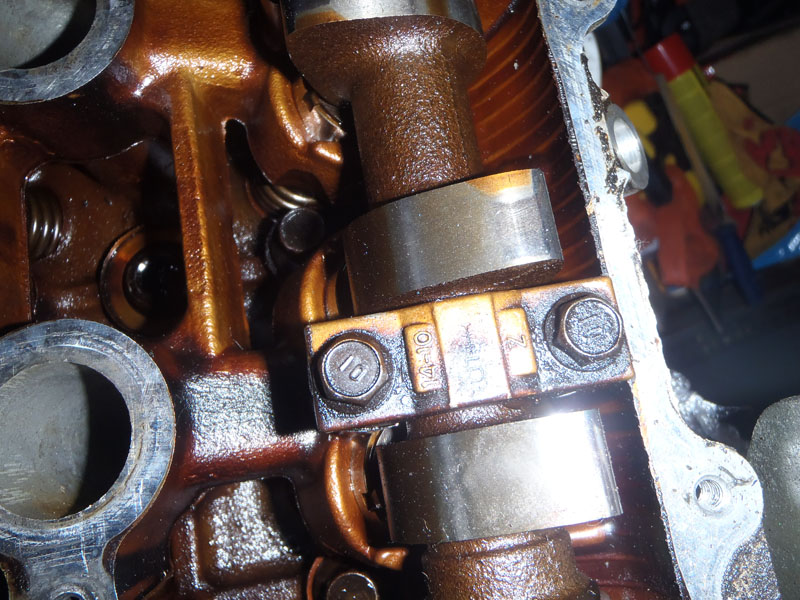 I’ll readily admit I don’t know what those markings mean, if anything, but it seems the corners of the lobes are discoloured. There’s no vertical scratching so I’m not convinced it’s wear. I’m not using this head, so it doesn’t matter, just intrigued why they’d look like that.
Anyway, spun the engine over on the stand and started removing the 18 sump bolts.
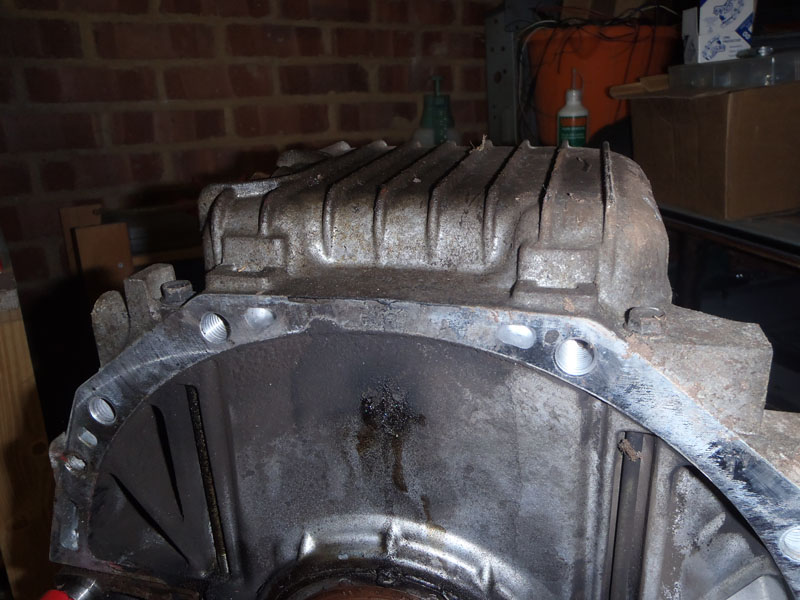 It also gave an opportunity to remind myself just how much height has been removed from the sump with my custom one. Mine is flush with the bottom of the bell housing, and you can see how much the standard one protrudes. Still, sump wasn’t difficult to remove, 18 bolts and a quick cut of the sealant and away it came. No dodgy levering required.
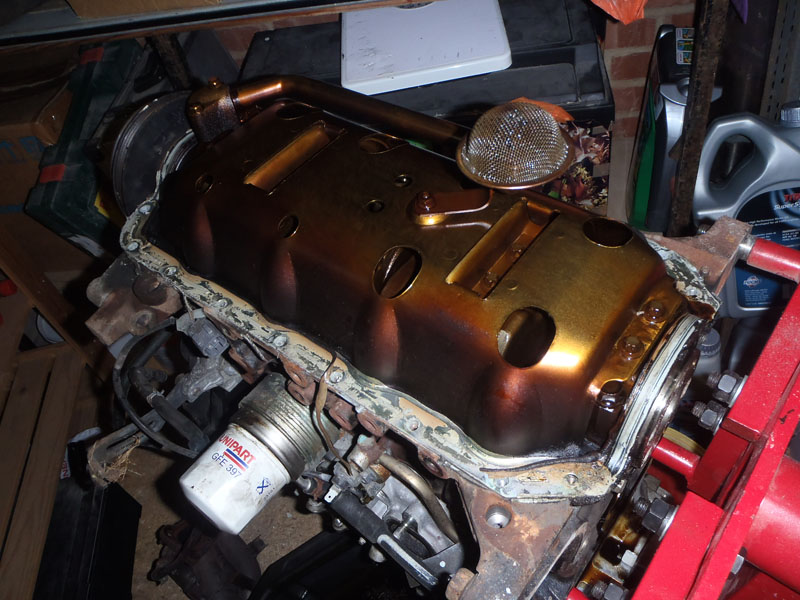 This left the baffle plate which contrary to the Rod Grainger manual is bolted in as well as held in with sealant. My mk1 engine one wasn’t, so presumably this is a change that was made with the mk2 or mk2.5. The pickup pipe was removed then the baffle. I’ll need to swap the pickup pump with the one on my current engine when I swap the sumps over.
 With the baffle removed it left the crank exposed. Before removing it I want to remove the oil pump to inspect that. Helpfully, the bolts securing that are covered by the crank pulley, which I’ve rather foolishly left attached. That didn’t want to come off with a breaker bar, so I think I’ll have to get the impact gun out. Pretty sure I had to last time as well. Ah well, good excuse to play with the air tools.
