
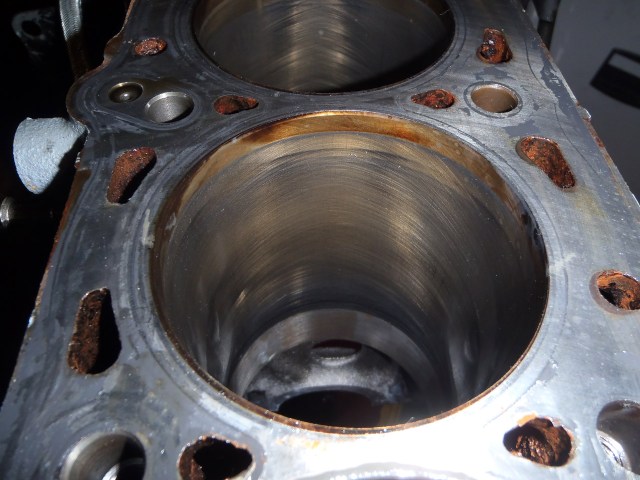
As I mentioned, I decided to re-use the existing block and keep the ‘new’ one on the shelf as a spare. The bores were just in such good condition… still!
I borrowed a honing tool which looks more like a bunch of grapes:
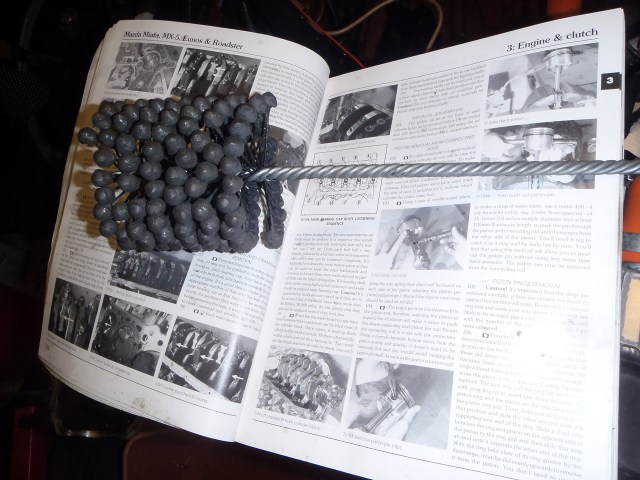
Honing tool
After a few passes up and down using a cordless drill the bores were nicely honed.

Bores honed
Next was to assemble the pistons. The first job was to attach the pistons to the rods. The pistons came with the pins and clips required, so it was just a case of plenty of lube and plenty of patience! Just the one clip got pinged across the garage and amazingly was found again.
Then it was time for the piston rings. Oil scrapers first with a spacer in the middle. These go at the bottom of the piston.


Then it was the compression rings. These have a certain way up but it wasn’t difficult to work out.


With all the pistons and rods fully assembled, the block was rebuilt!

That would be the oil and flash that makes it look like the bores are shiny – they really weren’t!
It was then time to say goodbye to the lovely shiny new bits and fit the new headgasket and head.


I decided to remove the adjustable cam pulleys as being forced induction I wouldn’t need to play with them. I refitted the standard ones and timed the engine up.

And back on with the covers:
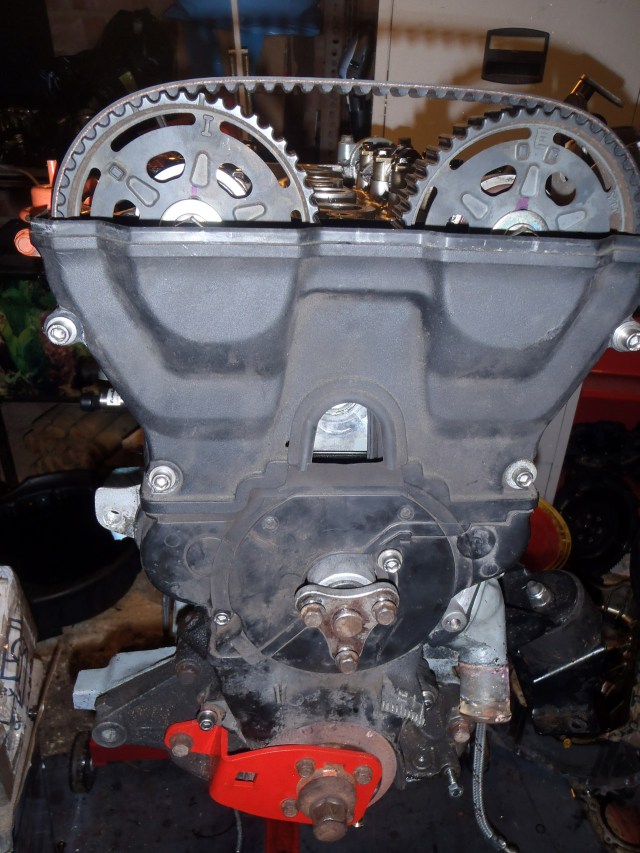
Probably should have cleaned them up a bit better really. Never mind.

I do believe your cambelt is rather loose in that last picture, was this something you picked up on or did you find out the hard way?
Not the hard way, fortunately! If I remember rightly it was when I was taking off the crank locking tool and realised I hadn’t tightened the tensioner and rotated the crank.
I’d had to look at this photo many times before – I was trying to work out why I had a cold start issue and thought the timing may have been out. It was the only photo I had and wasn’t good enough so I had to remove the covers again in situ to check. Doubly annoying – it was fine!