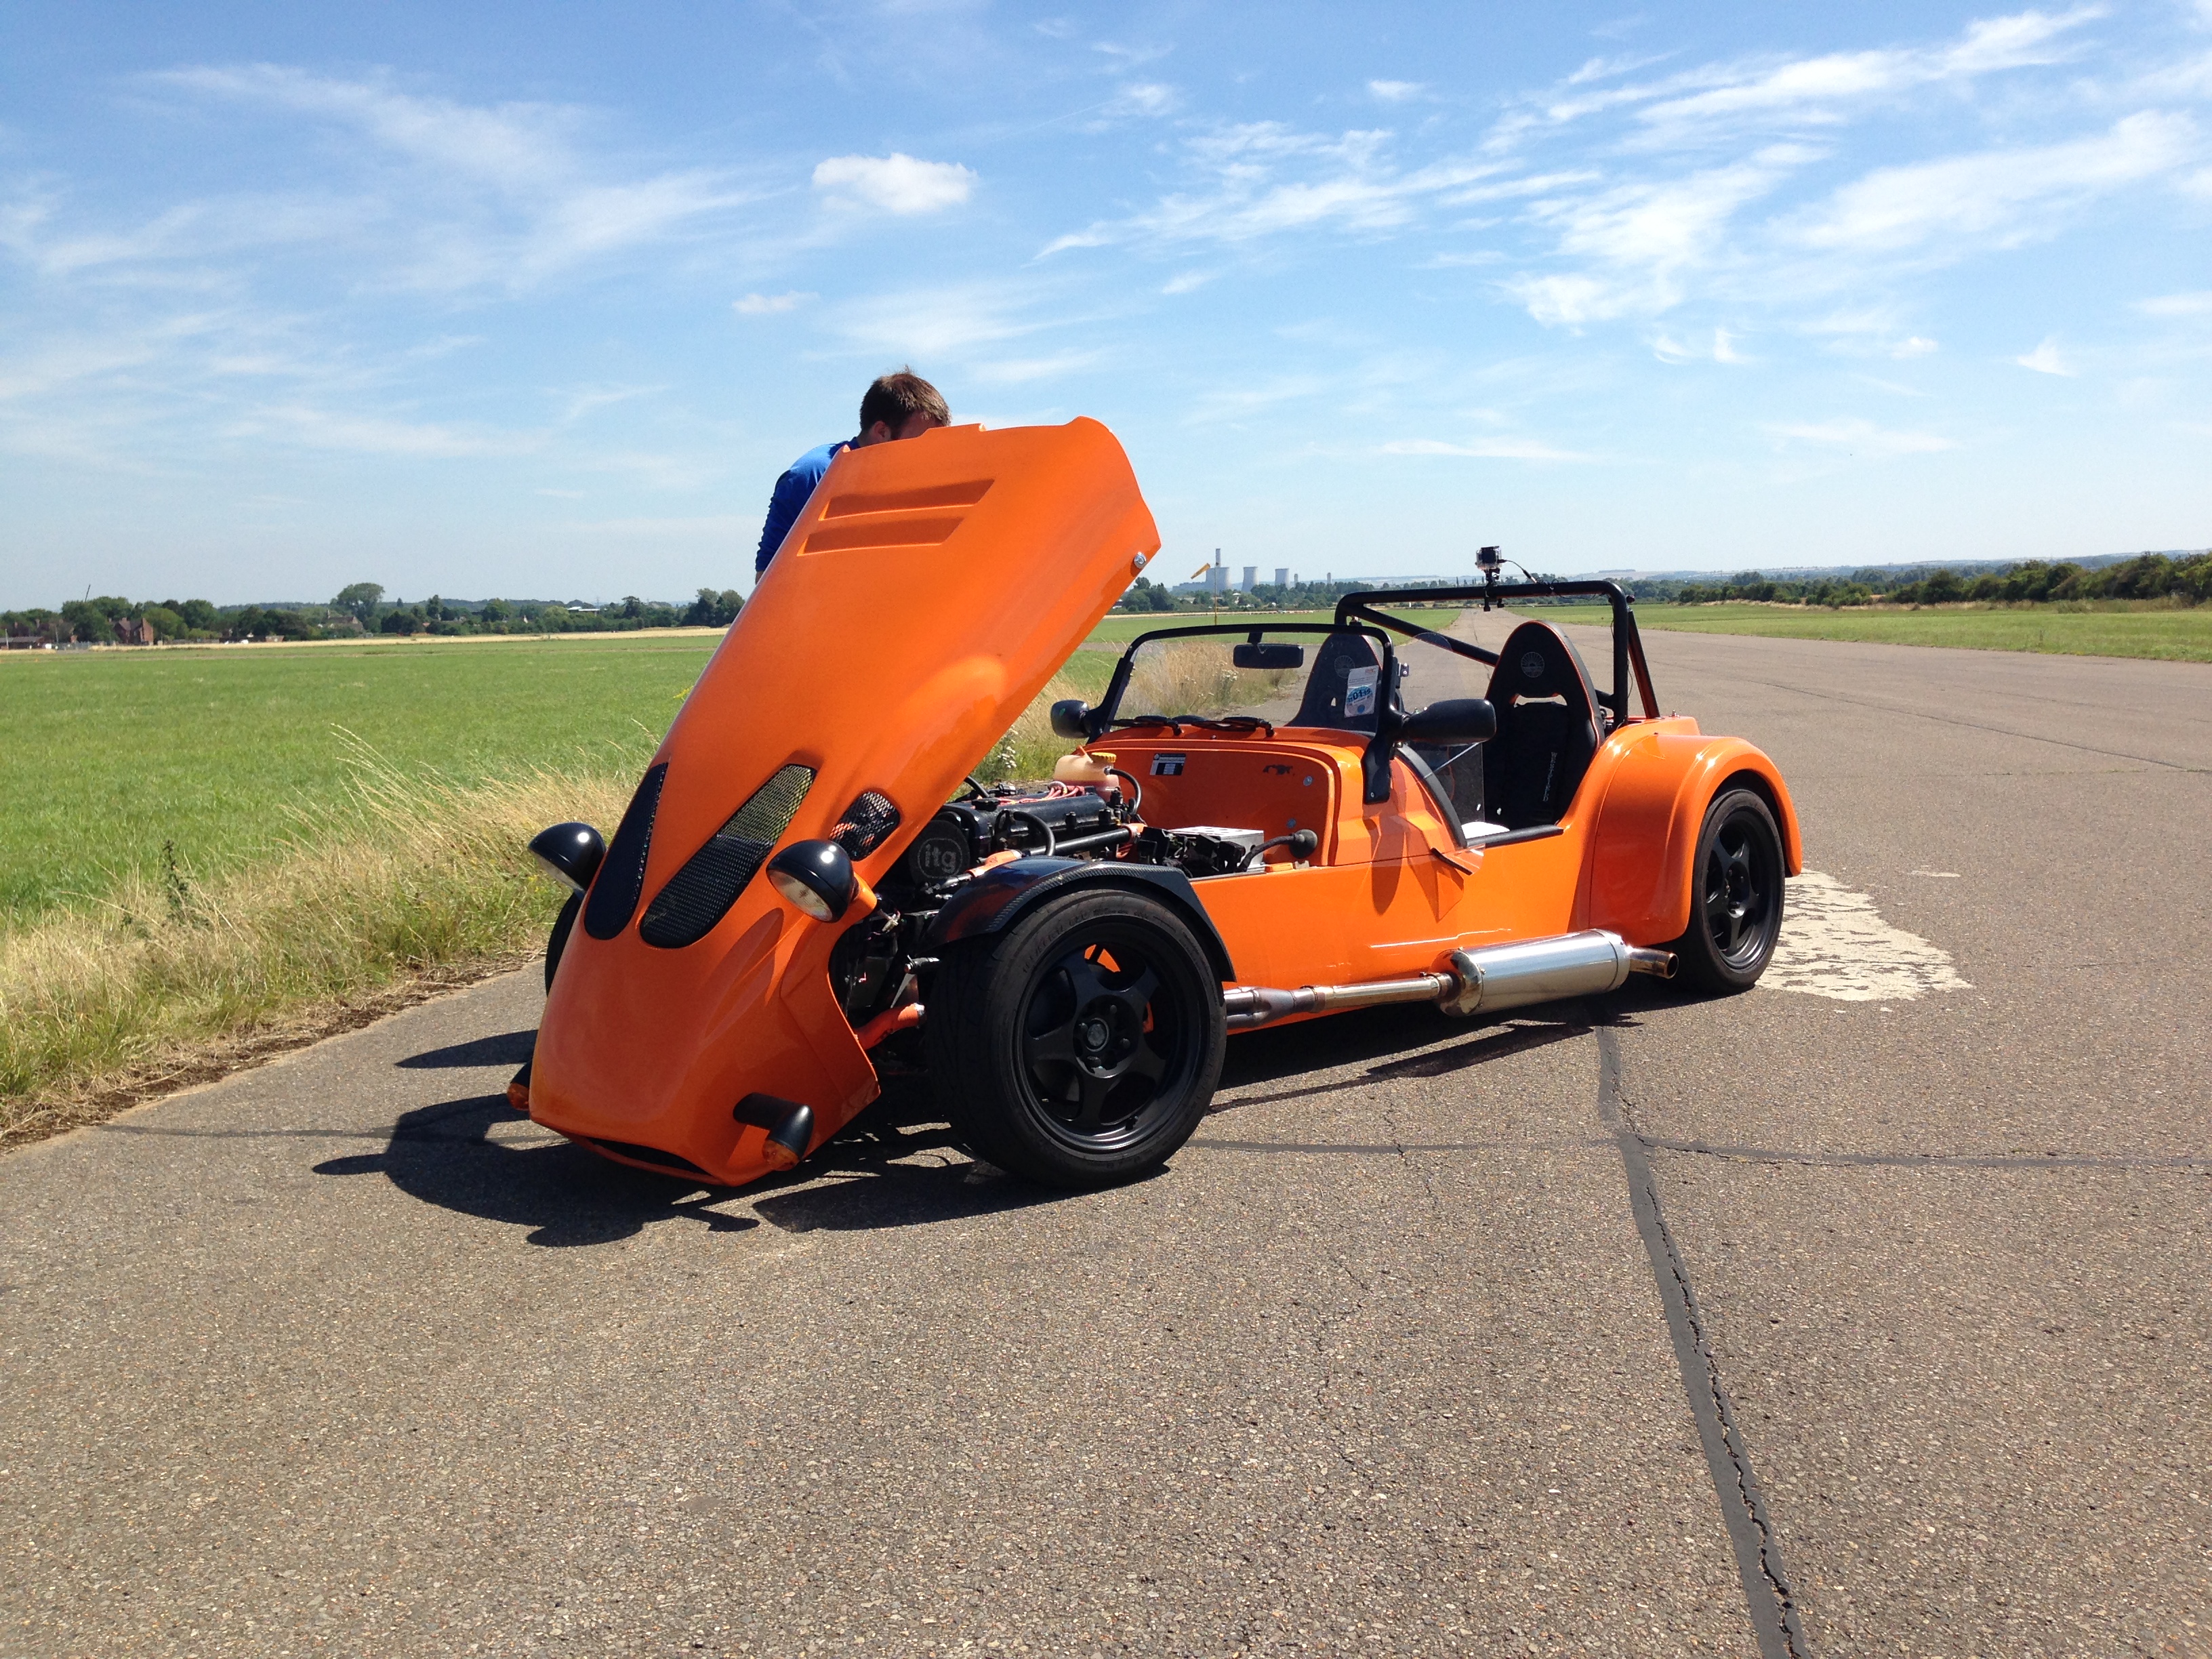
Well, I had to do something! I’d been almost haunted by the idea of throttle bodies for a long time. The appeal for me is the noise and the throttle response. Just how much extra power they deliver on the MX5 engines I don’t know.
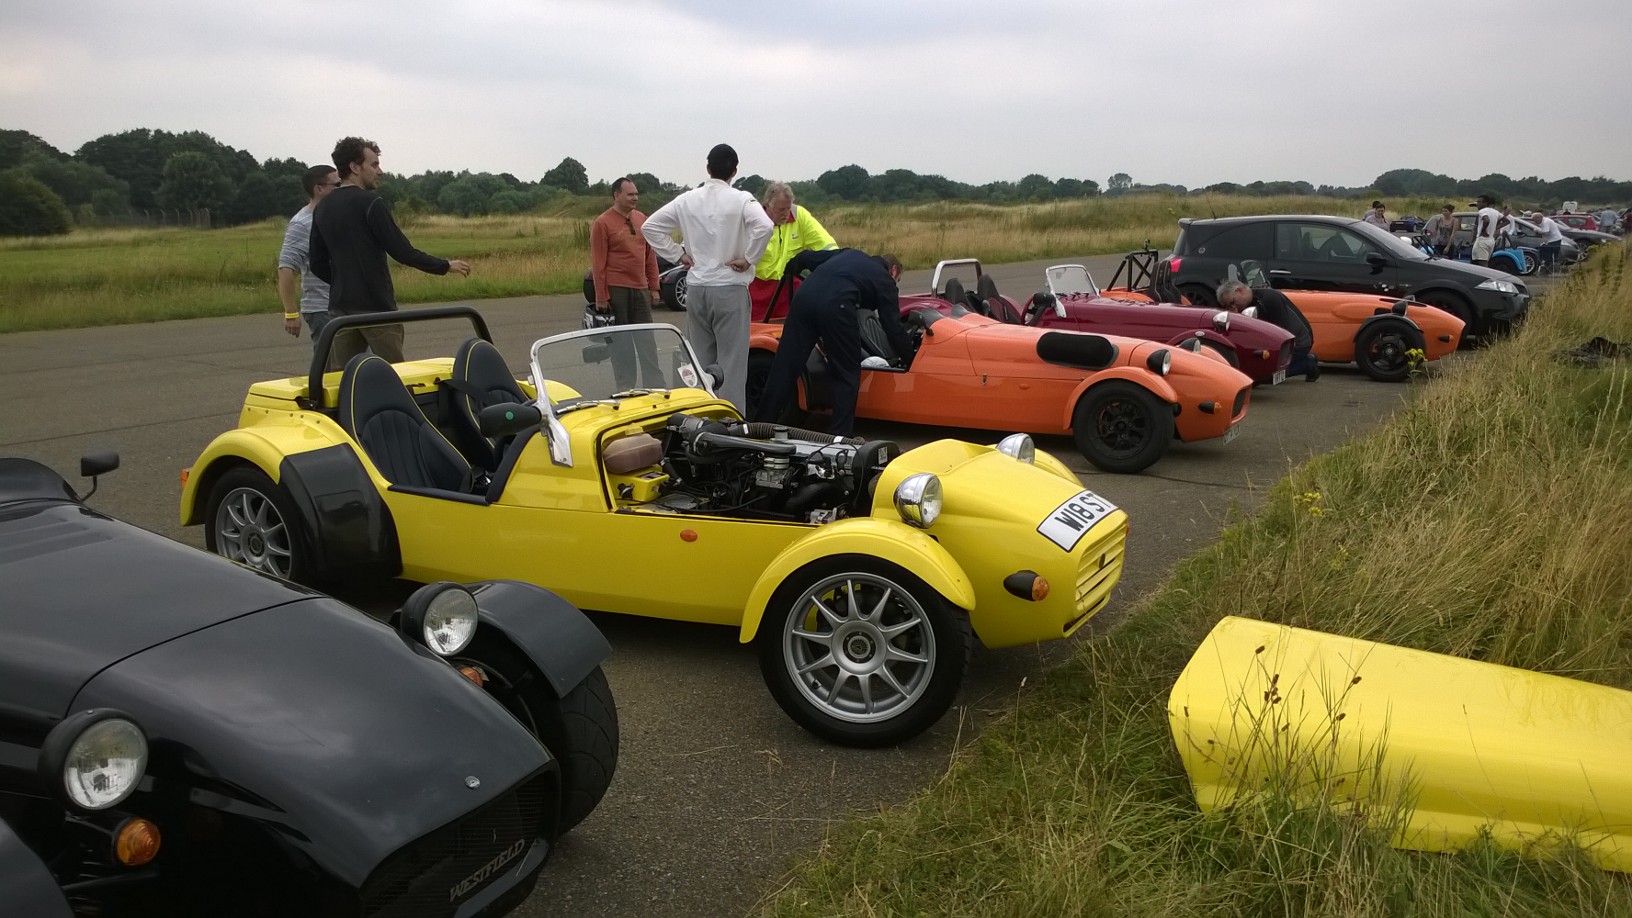
I nearly got a Jenvey kit a few times. At a WSCC meet last year Omex and Westfield were toying with the idea of developing a kit for the MX5 engine’d Westfield and so I offered my car as a development mule. Unfortunately though, it came to nothing.
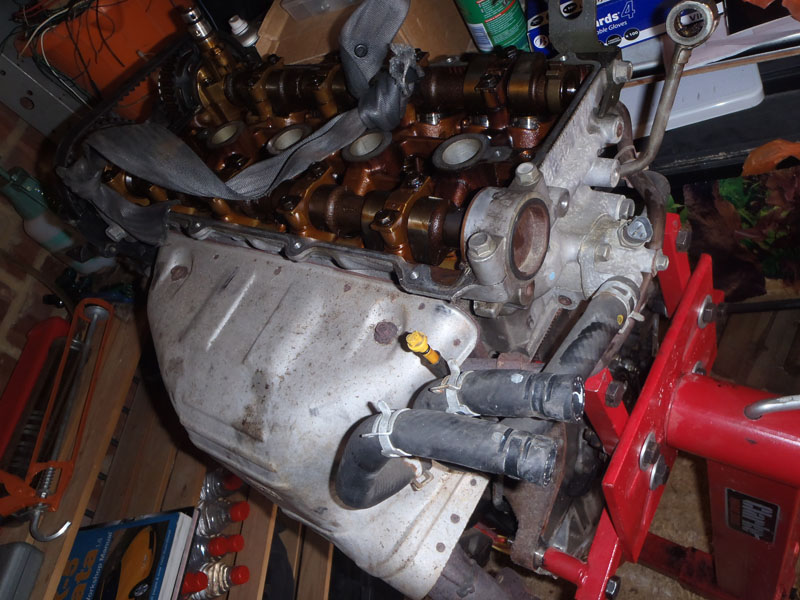
Fast forward to now, and seeing as I’m building an engine it made sense to carry on doing stuff that’s a bit more “hands on”. After reading a few builds on mx5nutz where people were using motorcycle throttle bodies I got a bit more interested in this idea. Then, by chance someone locally had a complete set of GSXR throttle bodies for sale cheaply, and I decided it was worth a punt. They’re not the best ones you could find – being only able to split into two not four, but I thought if I liked the results I can always go out and get a Jenvey kit and sell these on.


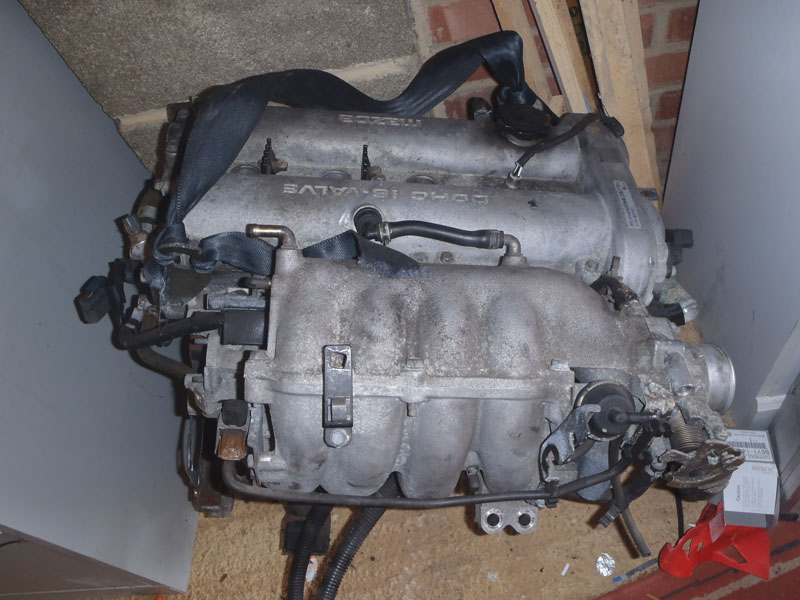
Only split in middle, not individually
They measure 42mm internal diameter, which is 3mm less than what Jenvey supply for the 1.8. However, these are what’s recommended if you’re using bike throttle bodies and who am I to question the internet?
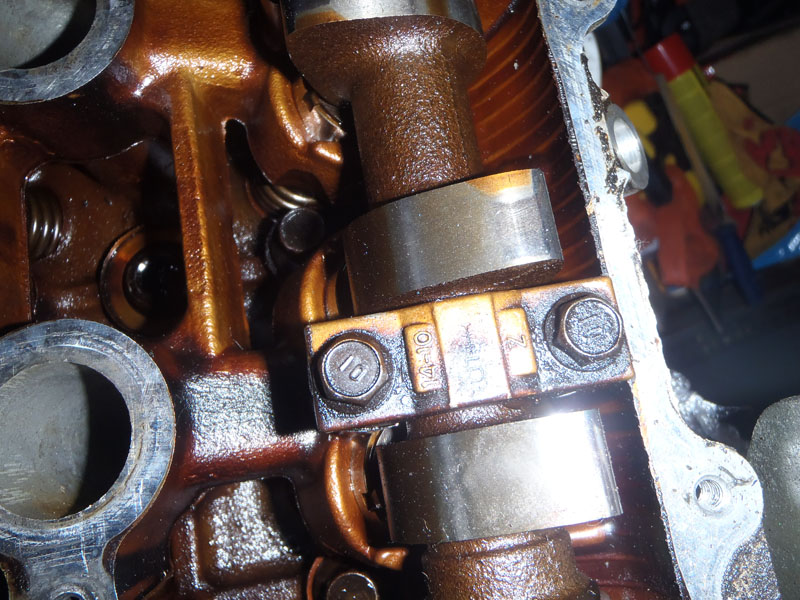
The first thing I noticed was the size of the throttle cam. A small movement on the accelerator pedal would result in a much larger movement of the throttle butterflies than what you’d get on an MX5 single throttle body.

Small throttle cam could result in over-sensitive throttle
There are also a second set of butterflies which I’ll remove. This should give me some space and I’ll look to retrofit the MX5 throttle cam some how. At first glance the thread on the GSXR throttle bodies is smaller but I’m sure that’s not insurmountable.
Something else to note is that these throttle bodies run two sets of injectors.
 I’ll stick with the OEM injectors in the head for now, but may well leave these in-situ to save sealing the holes up.
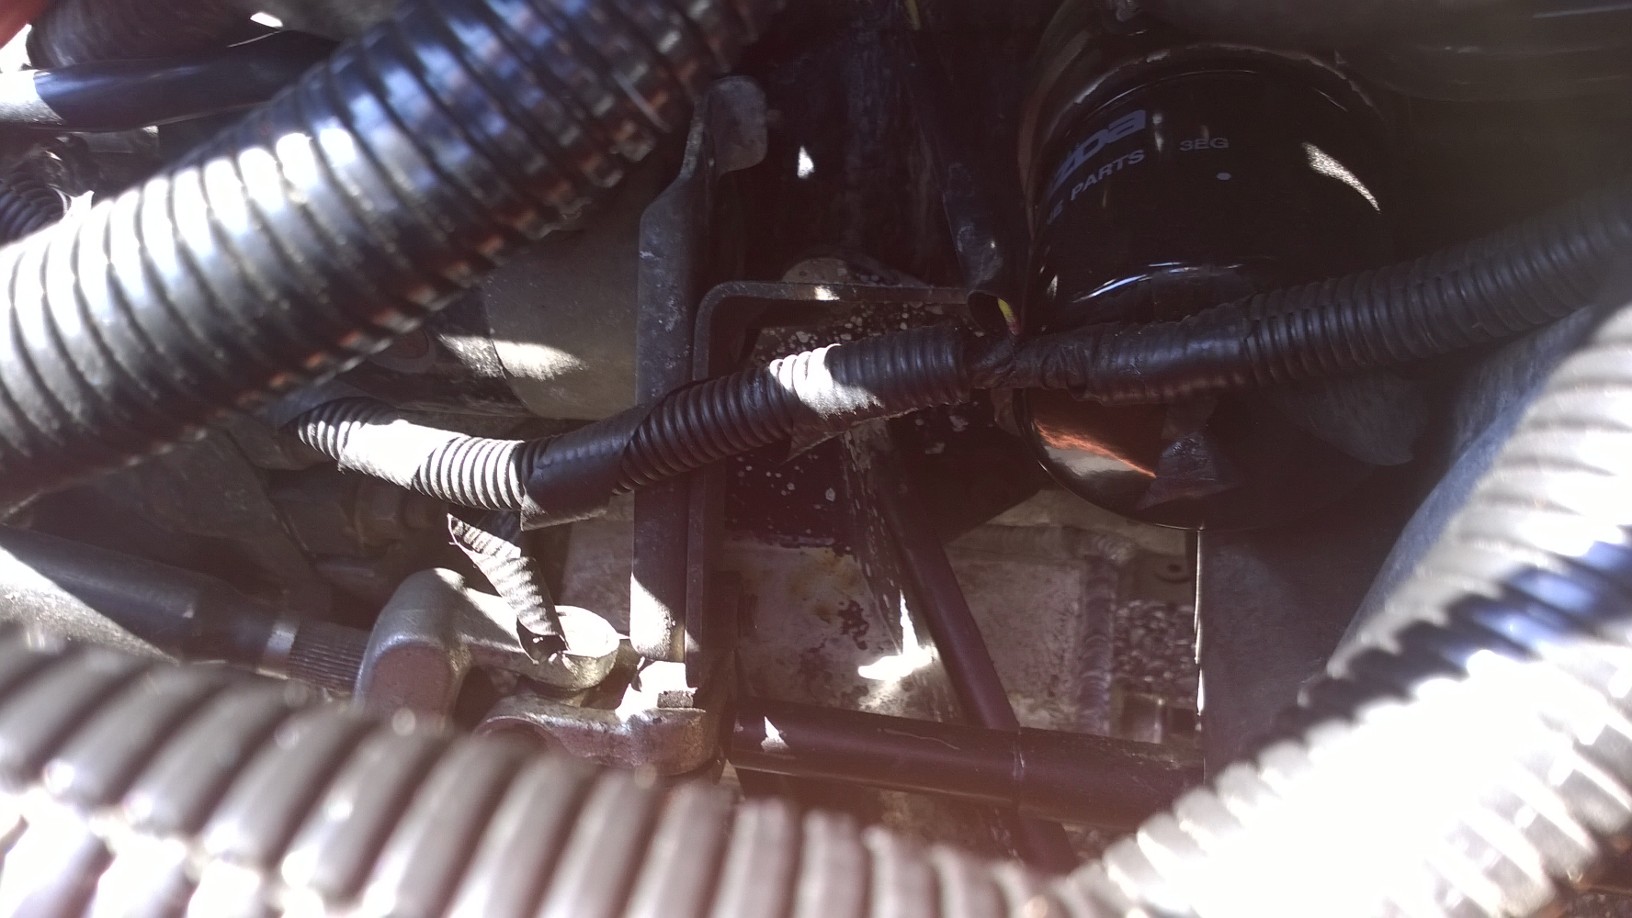
An unexpected bonus is that this setup includes an idle control valve. Whether it will be big enough to be useful on a 1.8 engine I don’t know. I’ll have to speak to a tuner but it may be that this could save some effort in setting up the cold idle.
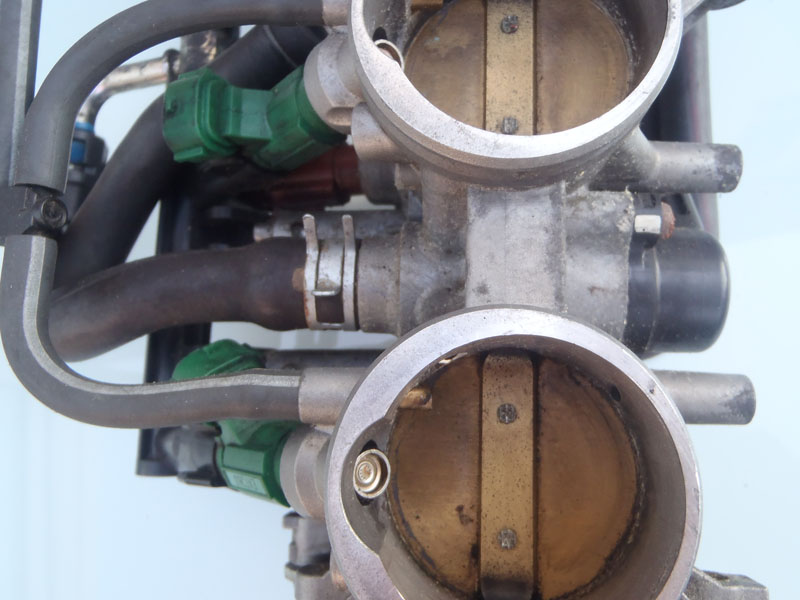
Idle control valve

Idle control valve opening
Lastly, as well as a throttle position sensor these bodies also have a MAP sensor included.

MAP sensor (follow vacuum tubes, on right)
Again, this should make mapping easier as won’t have to rely on air temperature and throttle position.
So, that’s another engine upgrade route chosen. Should be an exciting winter!