
I originally dropped this from the original build to save time and money. One year later, it seemed time to get around to fixing that. With power seemingly being restricted by the exhaust and a free-er flowing one on the way, it seemed to make sense to ensure the air flow going into the engine also wasn’t going to present any problems. It was still using the standard air box and economy paper filter.
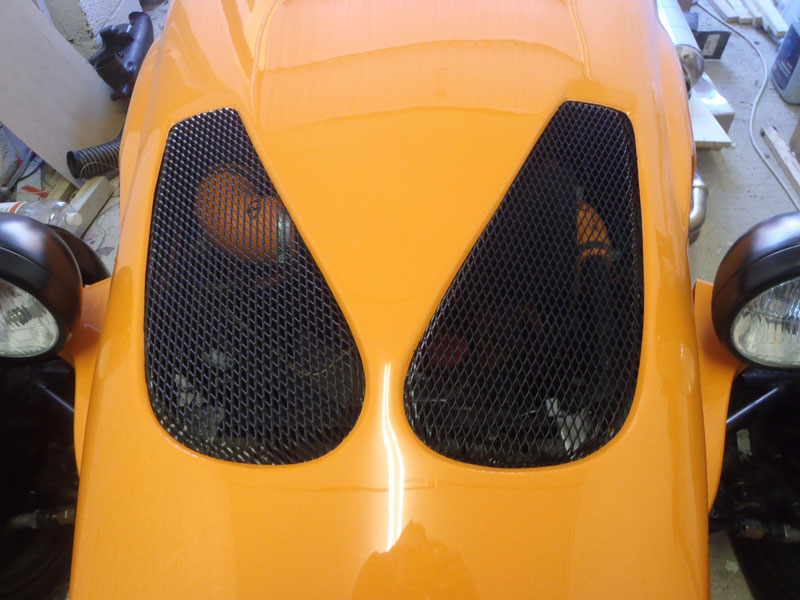
So, I ordered a couple of 90 degree bends from SFS hoses and some bits and bobs (including an air filter) from Merlin motorsport. My theory was I wanted the filter in between the nostrils on the bonnet, allowing it plenty of air flow but offering some protection if it rained whilst it was parked up. I removed the standard intake and was left with this gap to plumb an intake and catch tank into. Plenty.

I attached the first right angled hose along with the MAF and had a look at where they ended up.

Well that certainly kept the MAF out of the rain, but it didn’t look like it would be particularly successful with the second right angle added.
 No, that put it just behind the radiator. No space to fit a filter there! The first right angle was a reducer to fit the throttle body onto the MAF (63mm to 70mm). Fortunately, the ‘reducing’ part was in the elbow itself so I was able to do some trimming. I started off by trimming the throttle body end to bring everything closer to the engine.
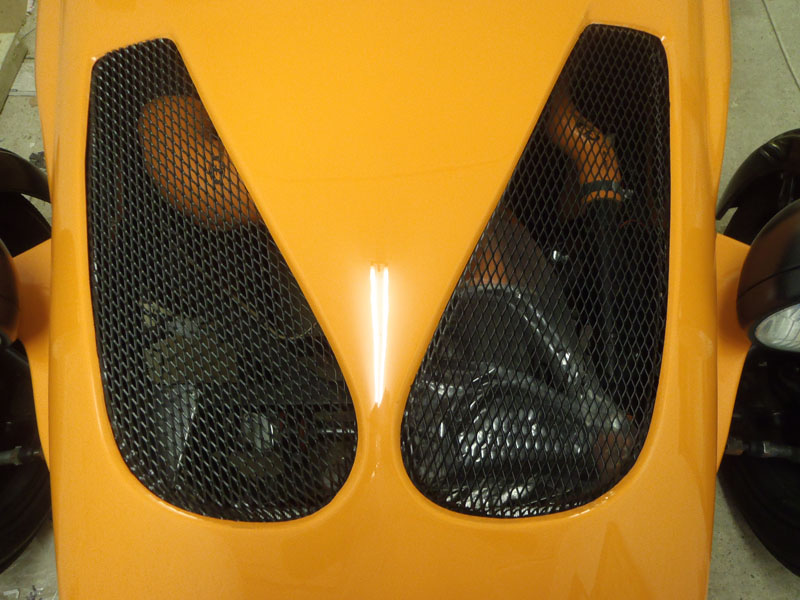
 That’s better, I could now test fit the filter (leaving it in the protective bag)
 So that couldn’t be any further under the grills! It’s a bit squashed too, much more trimming required. I attacked the MAF end of the first elbow next, to move everything left in the picture.
 That’s better. Trimming the second elbow should bring it left a bit further. Cutting that left me with a short offcut which I quickly realised could be used to join the filter onto the MAF directly.
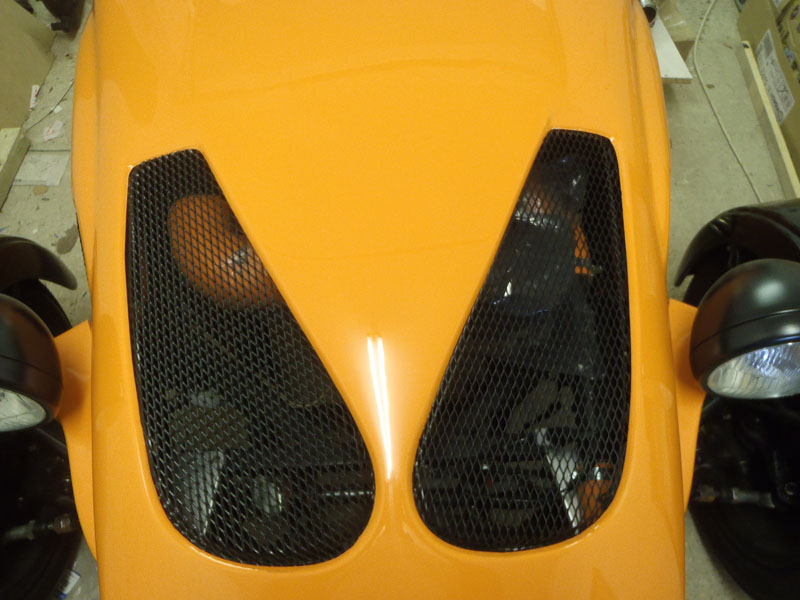
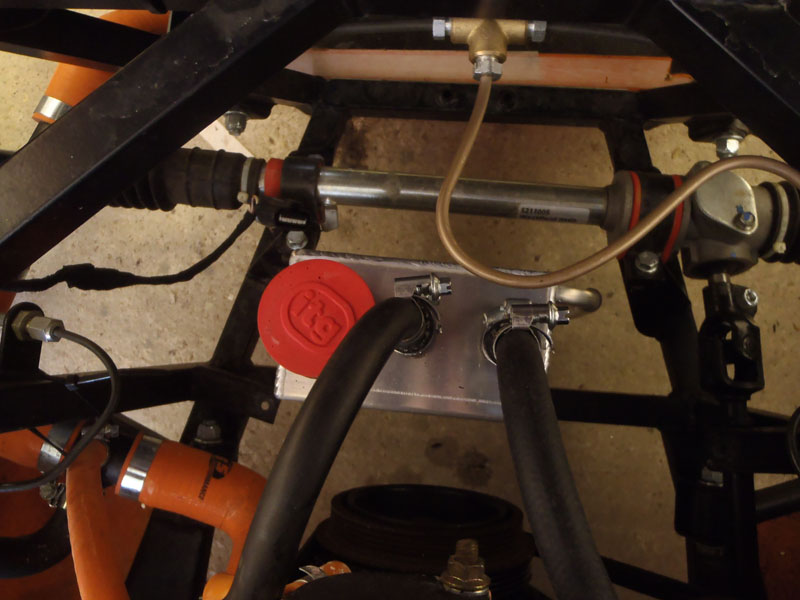
That still had the majority of the filter covered but with a straighter turn, surely better for air flow. I decided that would be my final position.
I still had to join the idle control valve to the post-MAF intake and so I used a tee off the silicon hose

With the air filter positioning decided, I started on the catch tank.
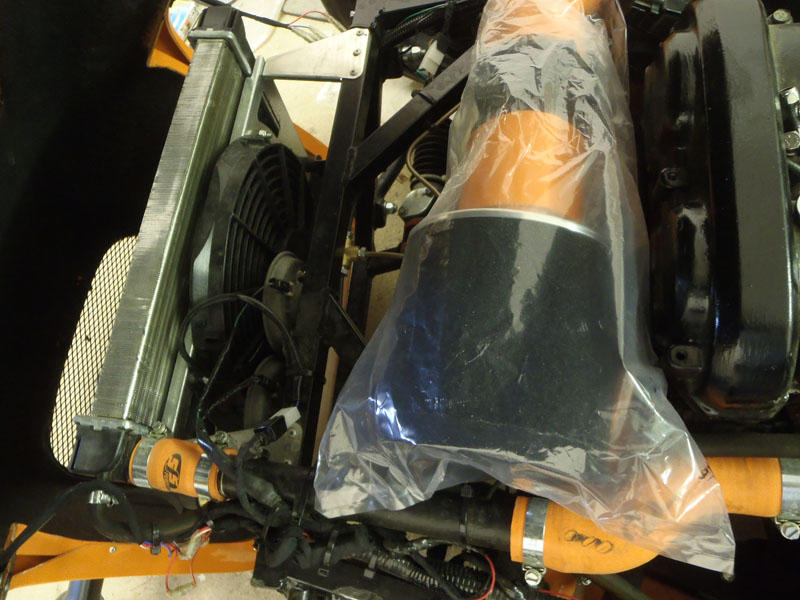
 That was the easiest position for now, but I think I’d rather find somewhere else for it to live permanently. It was too big to fit on the scuttle area. I might tuck it under the intake manifold but it’s easily accessible here.
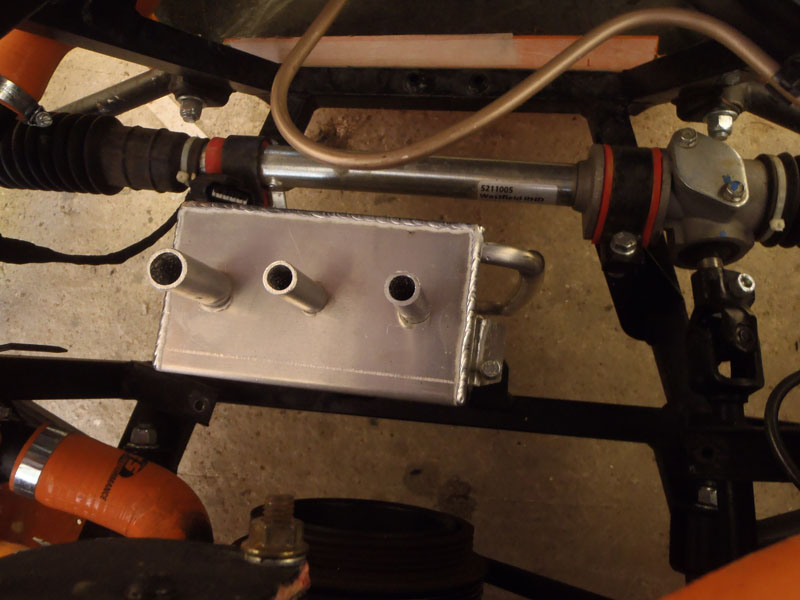
 All plumbed in, one pipe for each side of the rocker cover and the intake manifold port blocked off. That was just with a bolt in a pipe for now, need to order an orange silicone blanking plug.
Back to fitting the air filter, it’s an ITG Maxogen filter with your typical round shape and a honeycomb interior structure.
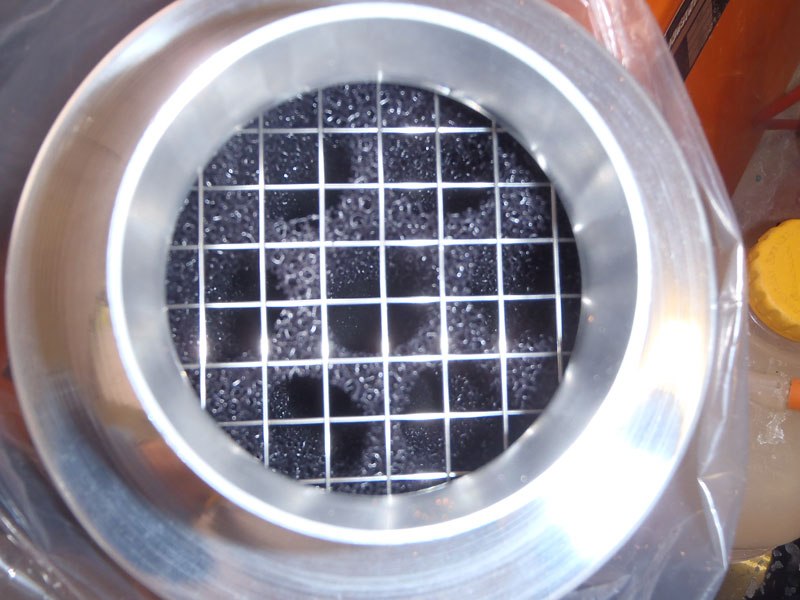 I don’t know if that’s for structure strength or offers filter benefits.


Just need to source one more hose clip for the filter. Unfortunately, Homebase didn’t see fit to stock the right size so I’ll try B&Q as that’s also just down the road. Then of course, time for a test drive.
