
Only a year late with this one, sorry folks. Been too busy driving it or modifying it!
I had always wanted a rear diffuser, more to tidy up the rear end than for downforce though. As it stands, the rear of the tub is open at the bottom, but closed on all other sides. With air coming in from underneath and possibly down through the transmission tunnel, it commonly gets referred to as a parachute.
The Aerodynamix diffuser is great as it mounts behind the rear seats and extends to be flush with the rear tub.
http://www.aerodynamix.co.uk/rear-diffuser-wide-body.html

You can see it has dropped steps formed in to allow for wishbone travel. With some diffusers, you need to cut these out instead.

Mine was one of the early ones so the top side is essentially ‘unfinished’. The current ones are black on both sides. Julian from Aerodynamix has offered to finish this for me, but I’m obviously too lazy to get it done!
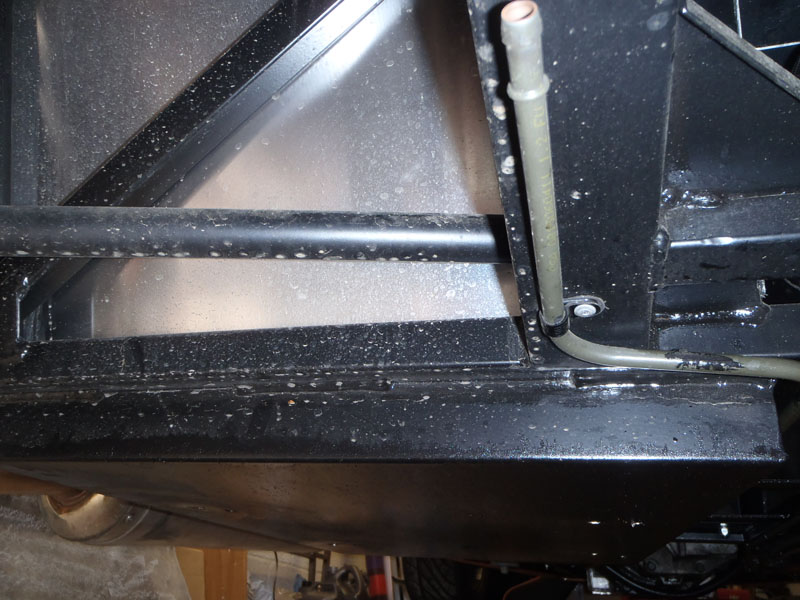
Another great feature of the diffusers is it is essentially ‘quick release’. To fit it, you attach this aluminium channel to the chassis tube at the base of the seat floors.

The front edge of the diffuser then slots into the channel, pictured below.


Of course, it’s not all that simple. When fitting the channel, you do need to do it in sections to you can fit it around the brake and fuel lines.
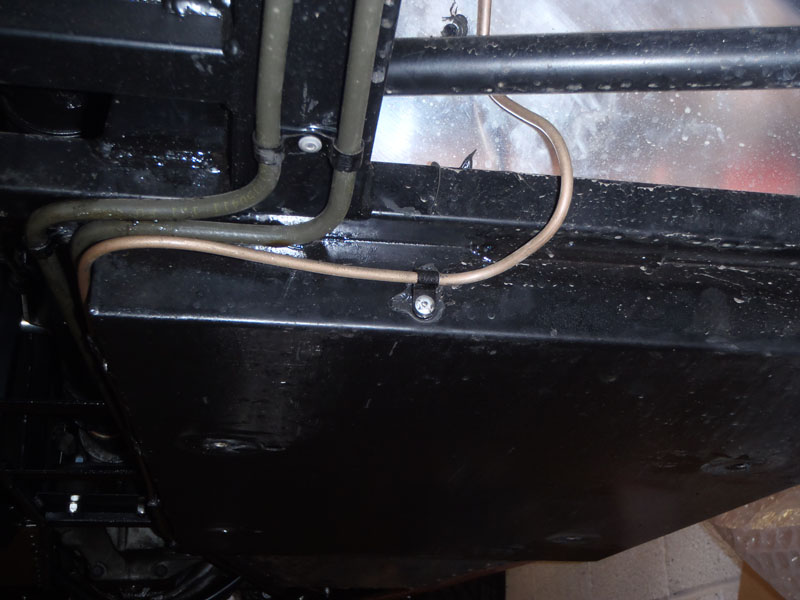
Once trimmed into three sections, I fitted rivnuts into the chassis. By drilling a hole through both edges of the channel, then drilling a much larger hole through the bottom edge (facing the floor), I was able to insert a bolt and a socket to attach the rails. The diffuser the slots into the gap, gripping nicely on the bolt heads.
Fitting the rear of the diffuser is also via a pretty neat method. Essentially, you get this (assuming you order the fitting kit)

Link below which has more photos – I obviously got carried away and forgot to take any more!
http://www.aerodynamix.co.uk/rear-diffuser-fitting-kit.html
Essentially you get your common bonnet pins, and some stays that go into the fixings for the spare wheel carrier. Once these are clamped in, you’ve then got a vertical hole for you to attach the rods of the bonnet pins. Mark it all up, do some drilling and once all assembled you’ve got a very quick way of fitting and removing the diffuser. Slot it into the front channel, raise the rear and side the pins in. Simple!
I’ve noticed no difference on road or track, and to be fair I wouldn’t. Speedo didn’t work when I didn’t have the diffuser and I’m not experienced enough to be able to tell the difference if it did change the nature of the car. However, I have had to work in the diff area since and it does stay nice and clean, so it must do something with regards to smoothing out the airflow.
