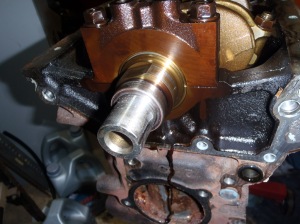
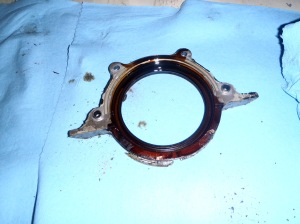
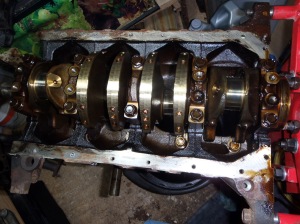
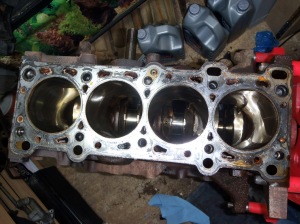
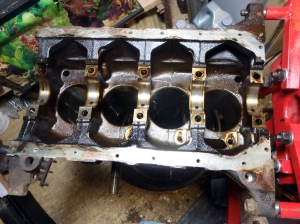
Onwards with finishing off the block today. Again following the order in the Rod’s manual to make sure it’s all done properly. First up was the removal of the oil pump. A fairly simple affair, just held on with 6 bolts. Some of these bolts differ in length so I made a note of what ones go where on the bag I stored them in. Once removed, the pump needed only a little persuasion to release itself from the block. I think it was sealed with sealant but one of the diagrams suggests it should be a gasket. I’ll have to investigate that further. You can see the sealant hanging down in the second pic below
Then onto the back of the engine and removing the rear crank seal housing. Just four bolts this time.
With that removed, the next step was the rods and pistons. I had originally thought I’d just be removing the crank, rods and pistons as one, but I think that was building too many lego engines in my youth. I can see how that wouldn’t really be possible (even ignoring the oil jets being in the way).
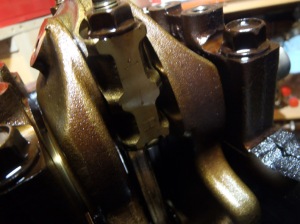
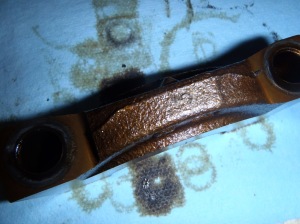
The bearing caps and rods have to go together. Handily, Mazda have marked them with diagonal lines at differing angles.
I suppose that’s of some use if you put all the bearing caps into one bag, but it wouldn’t tell you which bore they came from. I had already decided to bag them up individually anyway.
The Rod’s manual says that before removing the pistons you need to clear all the carbon deposits from the top of the bore with a reamer.
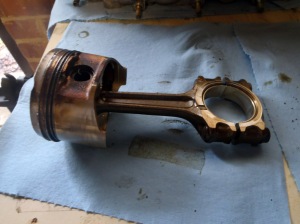
This was a step I wasn’t expecting – and I didn’t have a reamer! As it turned out there was only very light deposits anyway and they pretty much came off with a paper towel. I removed the first bearing cap, slid the rod and piston out then reattached them.
I then bagged that up for cylinder one. This left a nice gaping hole in the bore…
Then, carry on for cylinders two, three and four.
Getting there now, but it was time for lunch and I was out in the afternoon. Once back, I carried on. Crank next!
Much like the head, the main bearing cap bolts are removed in a spiral sequence. Half a turn on pass one, then a whole turn, then fully removed on the final pass. I gave each one a rock with the bolts before fully removing just to break any seal the oil had made.
Whilst bagging up I noticed that they had numbers on them. Quite hard to see, but may have saved me bagging them up individually! Ah well, never mind. At least this way if the bearings fall out there’s only one place they could have come from, rather than five.
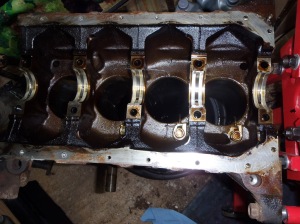
Soon, all the caps had been removed and I lifted the crank away.
I removed the remaining bearings and numbered them up with permanent marker.
Lastly, the oil jets were removed and bagged.
So, that’s it now, the block and head are ready to be sent away for machining. After giving it some thought, I’ve decided against getting the block decked by any significant amount, instead just getting a pass one the block and head to ensure they are both flat. I’d quite like to keep the engine non-interference, just in case I mess something up!
Not too sure what I’ll do whilst the block and head are away – guess I should start preparing to remove the current engine from the Westfield. I need to keep in mind that I’ll need space when the block and head return, and space is at a premium right now – there’s still two engines sat in the garage doing nothing.


