Picked up the block and head this morning after having the faces skimmed just to ensure they were true. No significant amount of meat removed. Probably missed an opportunity there.
Whilst they were at the machinists (Paul Gardias Engine Services), they were also treated to a nice bath, which saves me the job of cleaning them before painting.
The weather is warm and dry today so I wanted to get cracking with that painting. When I got home, it wasn’t looking like it would stay so dry. Just in case, I emptied out a storage unit and converted it into a makeshift spraying cabinet.

By the time I’d finished that of course it was bright and sunny! Next, I inspected the block.

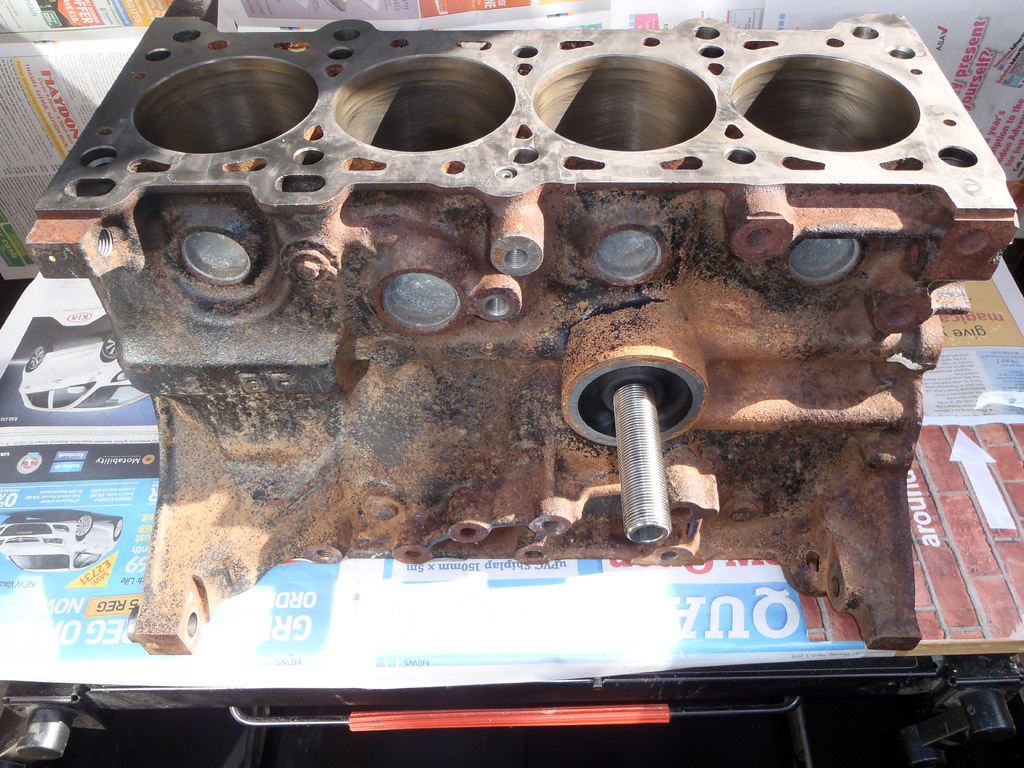
Obviously, the block wasn’t coming up shiny any time soon, but the grease is off and looks to be an adequate surface to paint on. It also looks to have had a new core plug fitted. Don’t know if this was by Paul or not. I’ve not got any photos of that area to check what it looked like before, but don’t think I noticed it being corroded or leaking. Perhaps Paul needed to remove it when putting it in the bath (I’m sure there’s a proper name for it).

The face of the block is now nice and flat and smooth so shouldn’t have any headgasket issues. I really hope not anyway.

The bottom of the block:

Next I took a look at the head. Again, nothing surprising, just nice and clean.


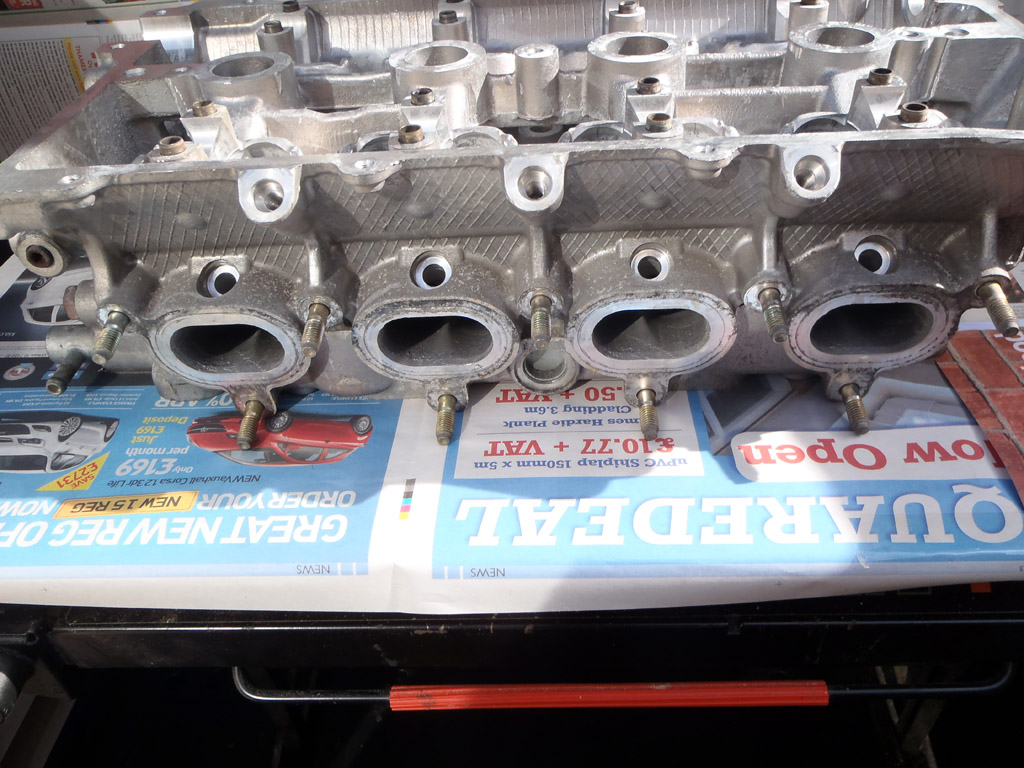
The exhaust ports are looking much clearer:

As are the inlet ports but they weren’t bad to start off with:

And onto the face. The chambers have cleaned up well. Also the bit of the head that always gets a close shave!


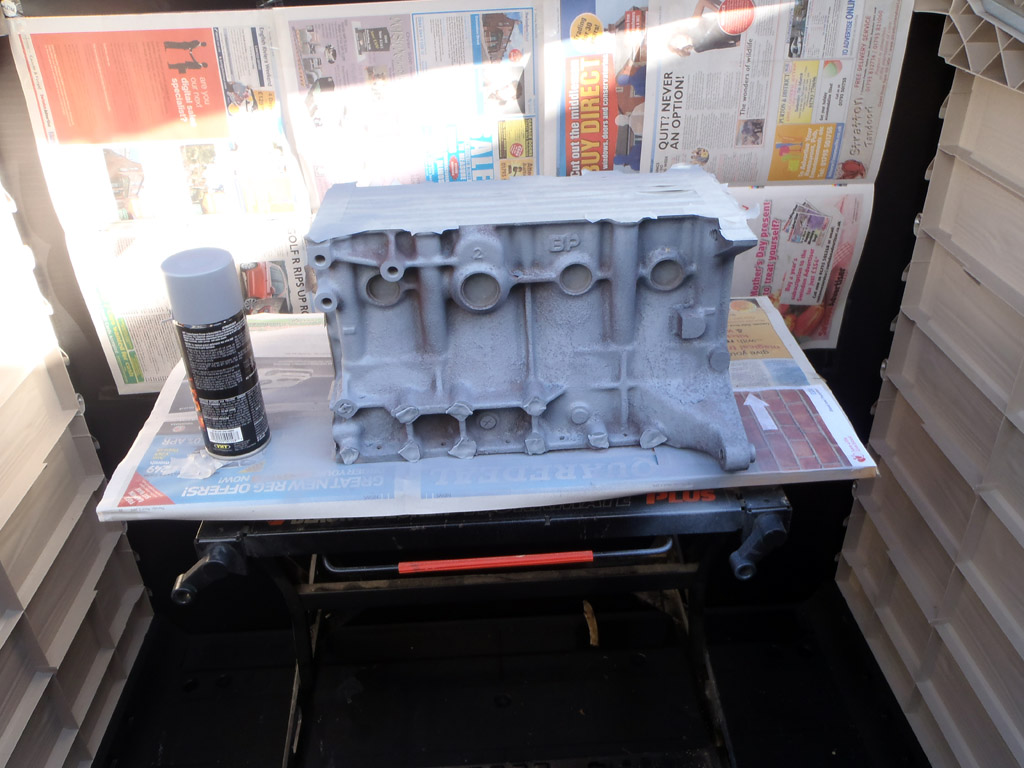
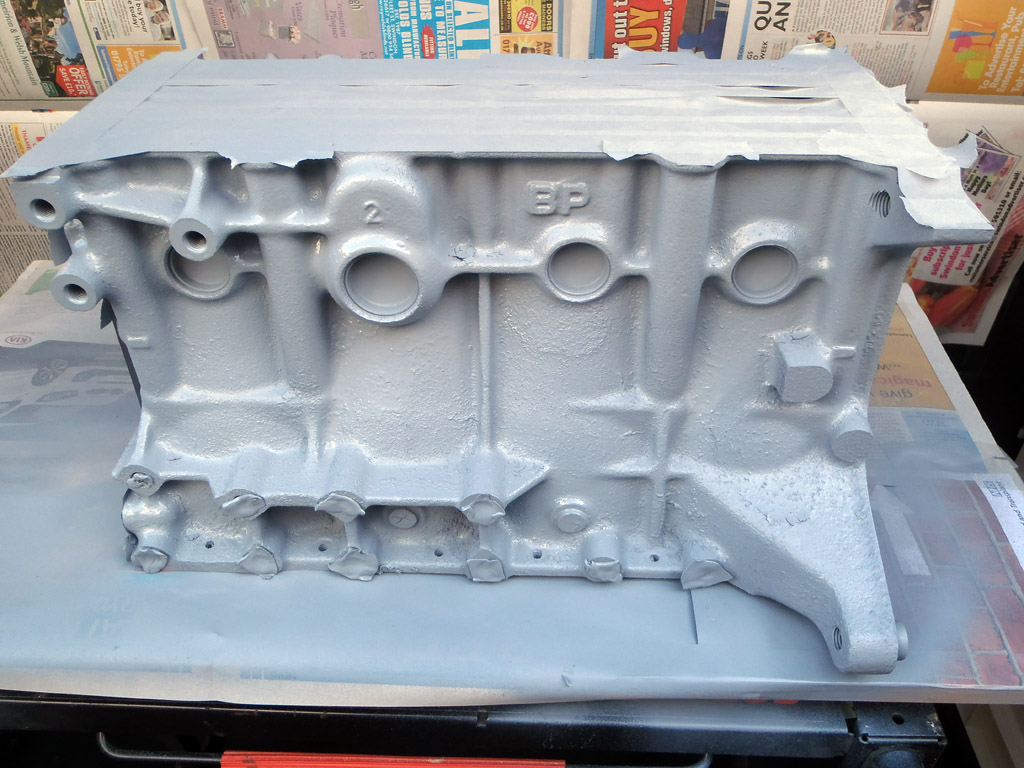
With the inspection of Paul’s handiwork done (think I was more interested in how clean stuff was!), I popped the block back on the workmate, masked it up then applied the primer. I’m using VHT Engine Enamel paints as opposed to the POR15 stuff from last time. This is simply due to the colour range and the fact that they’re aerosols rather than brush on. I’ve got the 3 stages – primer, colour and clear coat.
The primer is easy to apply with good coverage. Coat 1 should be a light coat:
10 minutes later, another light coat:

And 10 minutes after that a ‘medium wet’ coat:
After giving this an hour to dry, it was on with the colour. I’m going for grey rather than black this time as seeing other engines, I think I prefer it. I’ve got ‘Ford Gray’ which is slightly darker than the primer, I’d call it a medium dark grey. The camera shows it a bit lighter than it is. I’d say it’s halfway between what I’d want it to be, and what the camera is showing it as.
Here it is after 2 light coats:

And after the 3rd coat:

After 30 minutes drying time I applied the clearcoat. This is applied the same way – 2 light coats and a medium wet coat, 10 minutes apart.
And the end result:

Not massively different to when the primer was finished! It takes 3 hours to dry before handling, so that will do for today. Hopefully I’ll be able to get the head done tomorrow, maybe even the rocker cover if the weather holds out.
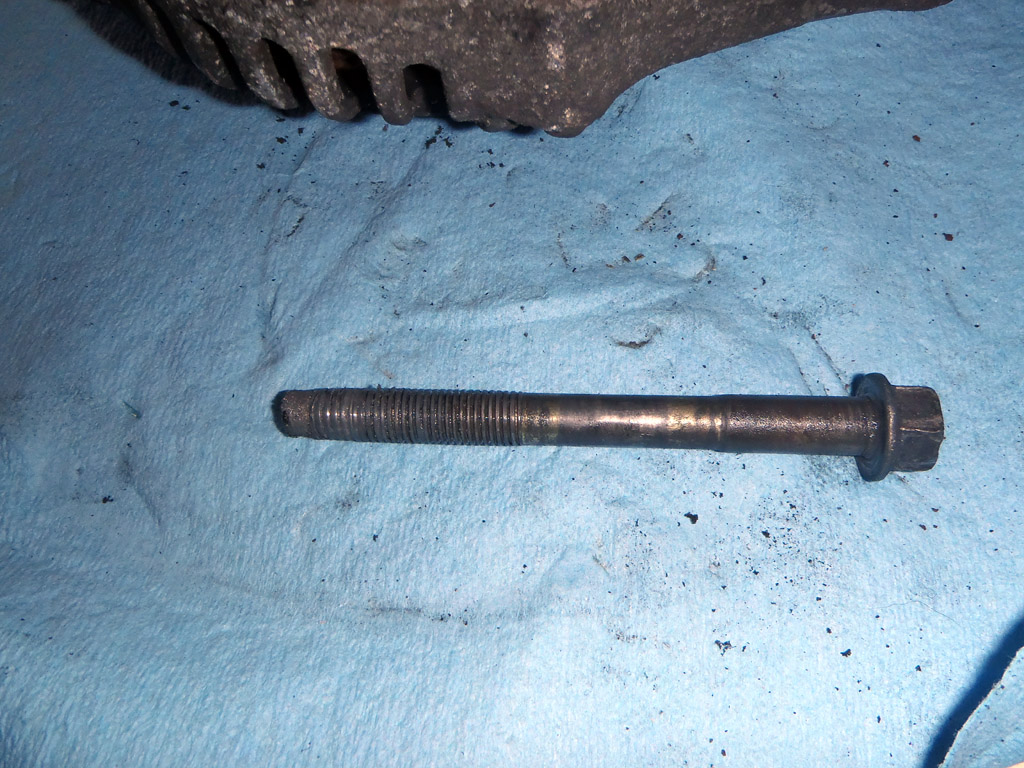
Lastly, whilst I was waiting for coats to dry I did a bit of meddling in the garage. Nothing major, just removed the thermostat housing and water pump inlet from the old engine. I also took a look at the alternator as I’d like to dismantle, clean and paint it. Removing the pulley nut now that it is off the car could be tricky though. I happened to look at the bottom bolt for it and noticed the thread was in a pretty poor state. That explains why it kept coming loose then!