
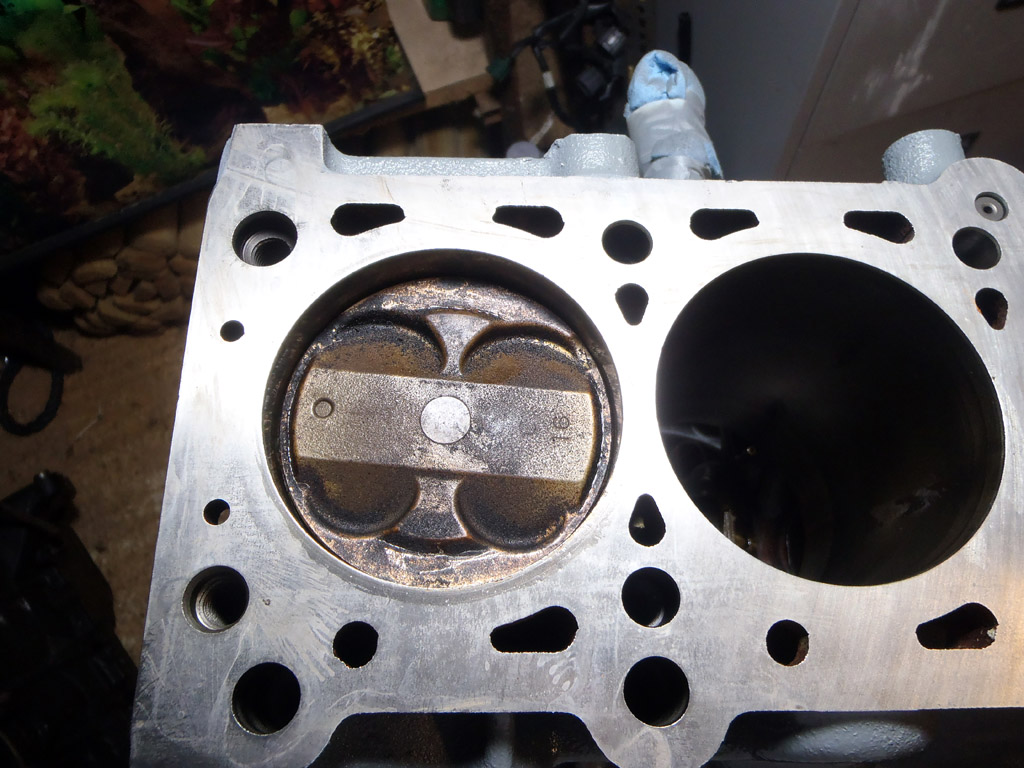
Spent some time in the garage this morning after the F1 qualifying. Feeling that early start now! First up I retrieved the mk1 windage tray from the original engine and fitted the MSBP in its place. I’ve decided not to modify my sump, but instead I’ll see if I can find someone to modify the mk2 sump. Modifying my sump will no doubt end in leaks!
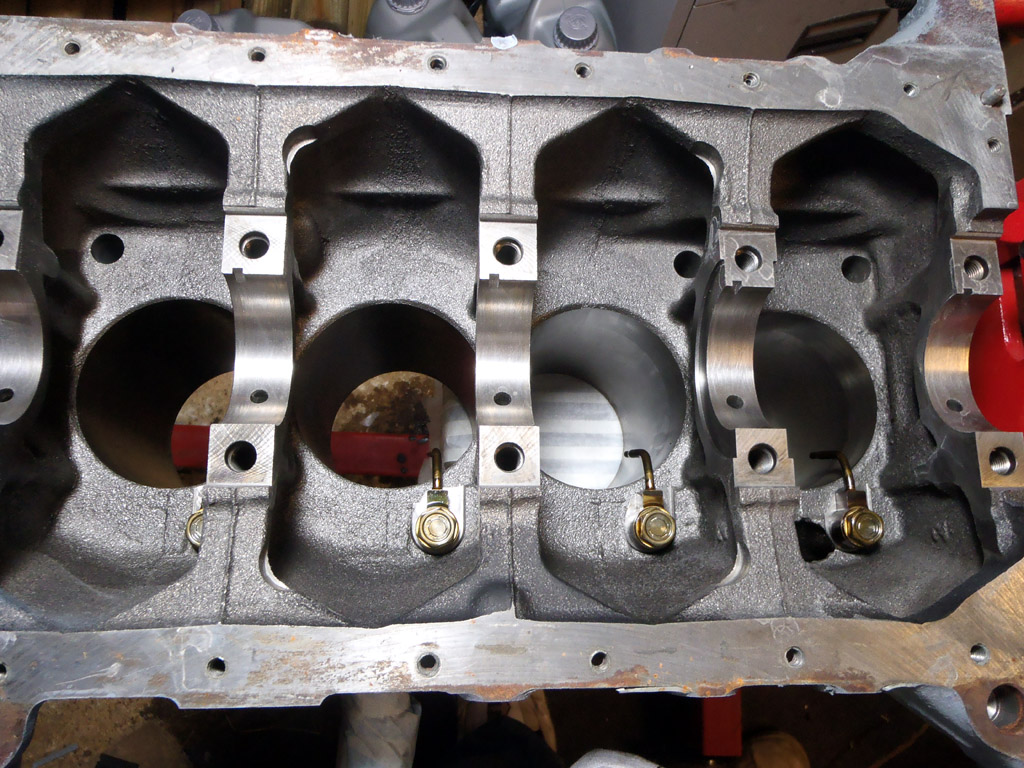
After this, I removed the engine from the stand and attached the new bare block in its place. First for refitting were the piston oil squirters. I dug out the bag with these in and cleaned them up, testing the ball/spring in each one. I fitted them, done them up finger tight then went looking for the torque settings. I’m glad I thought about it, for a long time I was reading the Rod’s manual wrong!
I usually work in lb/ft and was reading the 105-156 value as this. The keen eyed will spot that’s in lb/in but I didn’t. Fortunately, I thought that was far too tight for something internal to the engine, and checked the Nm value on my torque wrench instead. That was much more sensible, and the squirters were duly torqued up. The fitment of dirty oily things into my nice clean engine had begun…
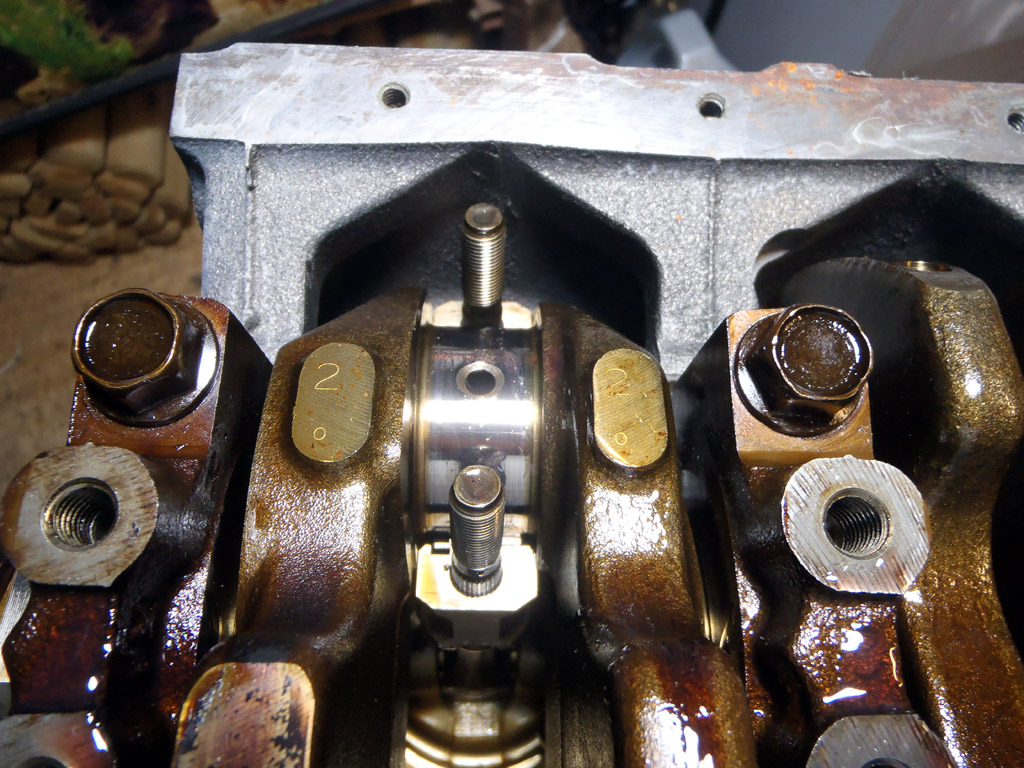
Next up were the mains bearings. I panicked a little when I saw I’d put all five in one bag, but then remembered I’d written on them to say which ones they were.

One by one I cleaned them up and fitted them into the block. Next was the thrust washers which I’d forgotten to remove during disassembly. Thankfully the machinist had spotted that for me and kept them to one side.
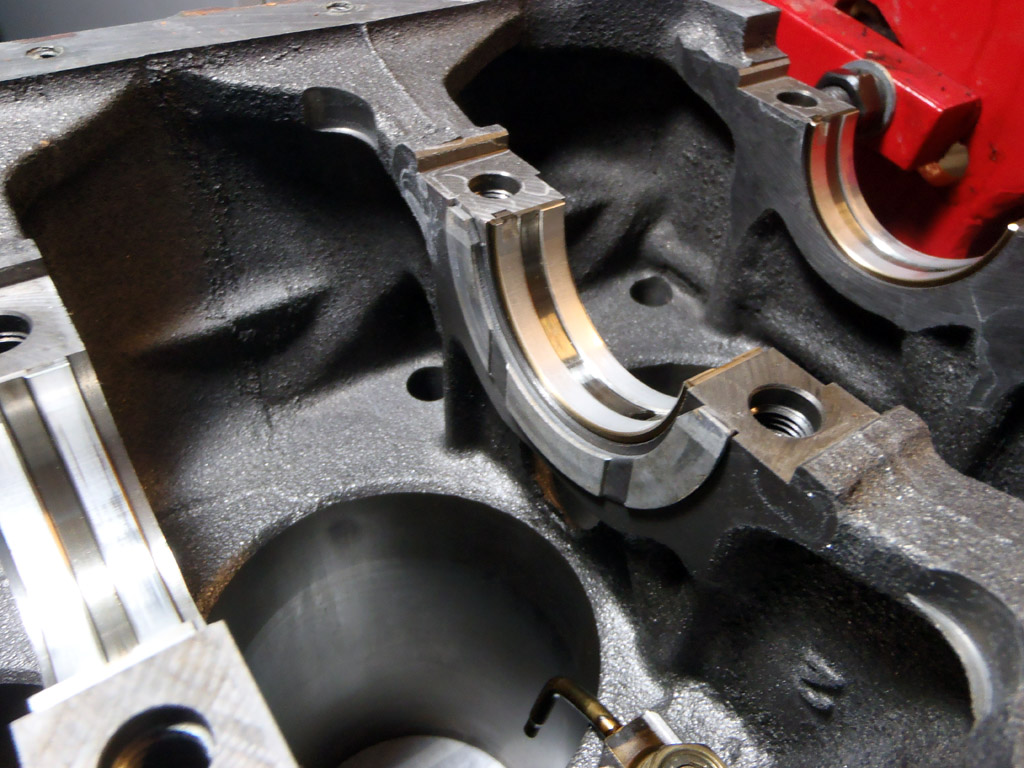
Before sitting the crank in, I applied some assembly lube. I’m using Torco MPZ products from Burton Power.
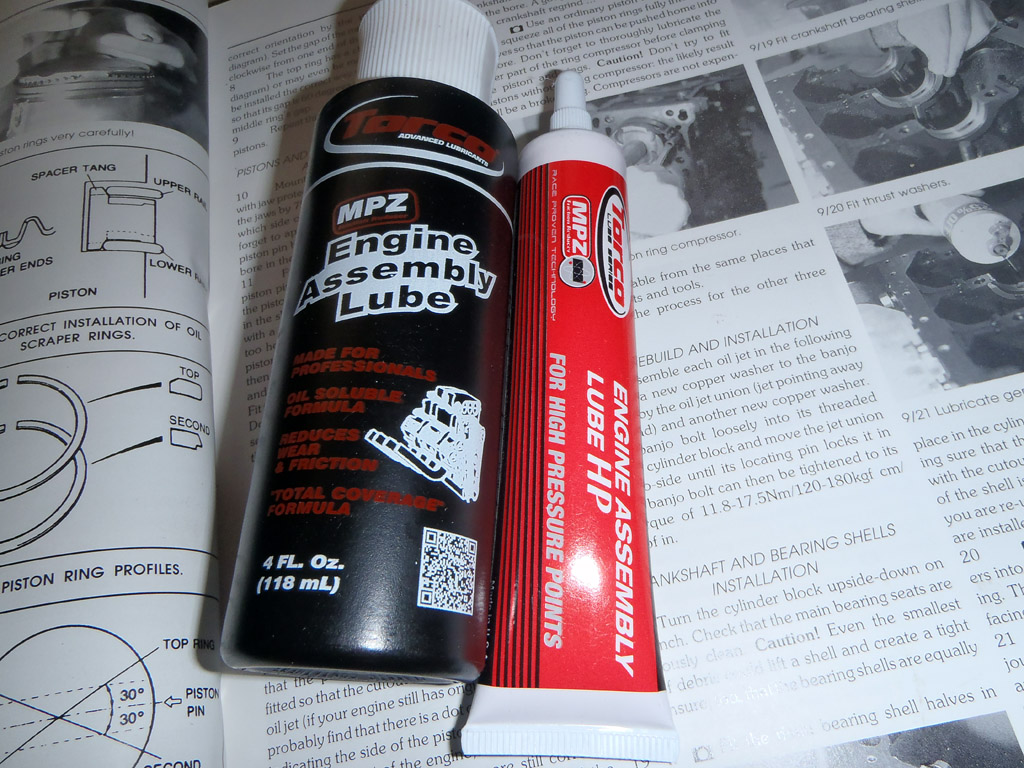
I used a bit too much, but it’s better than too little.
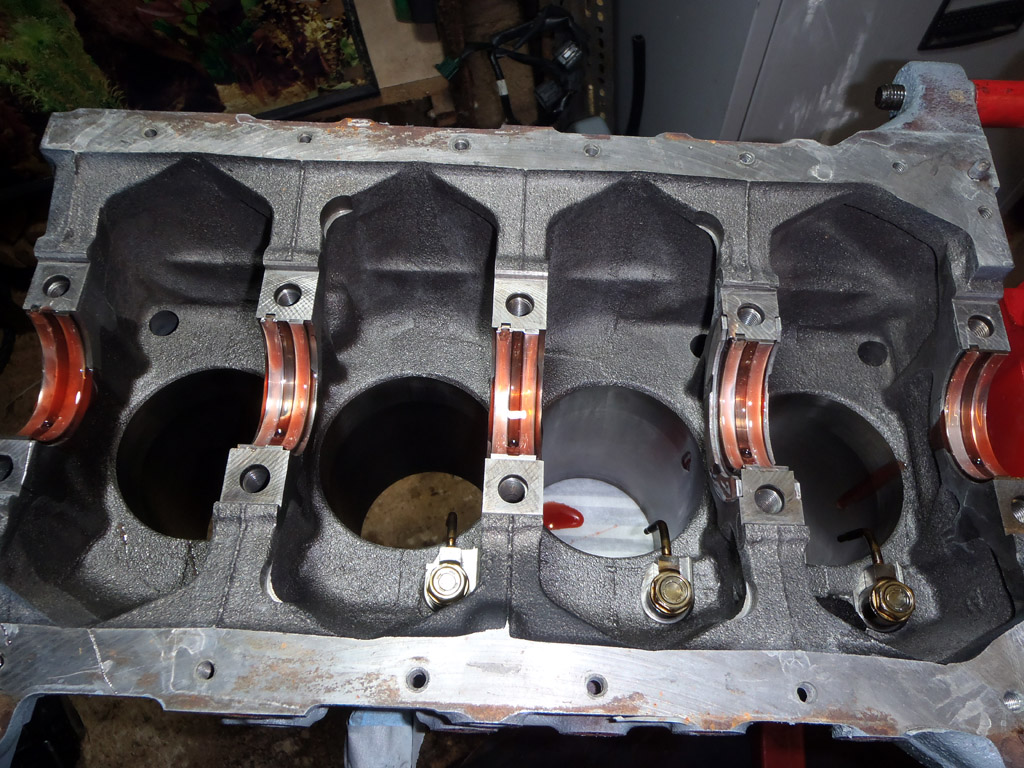
Of course, I’d soon learn how messy this stuff is. It’s quite sticky, more like a red treacle, but I guess that’s to ensure it stays in place until the oil comes along.
With a mess suitably made, I placed the crank back in (after lubing that up too).
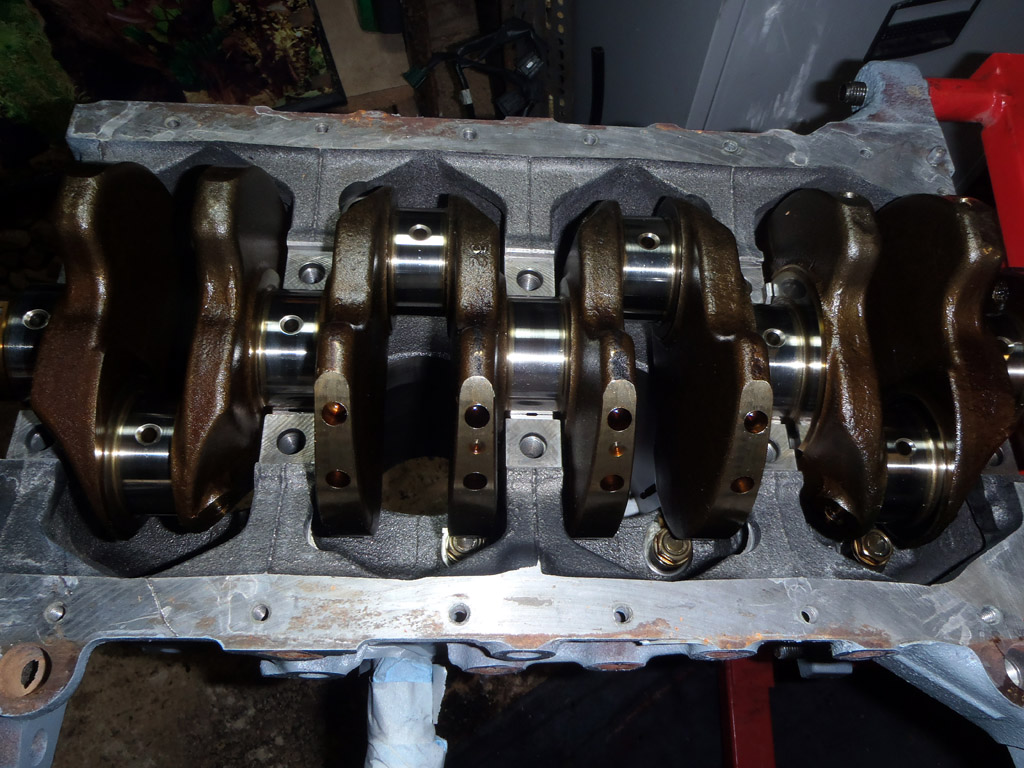
Then, I dug out the caps and fitted them.
The crank rotated nice and freely so it seems I’ve passed the first test. That was it for now, but I managed to steal some more time in the garage this evening and refit the pistons/rods.
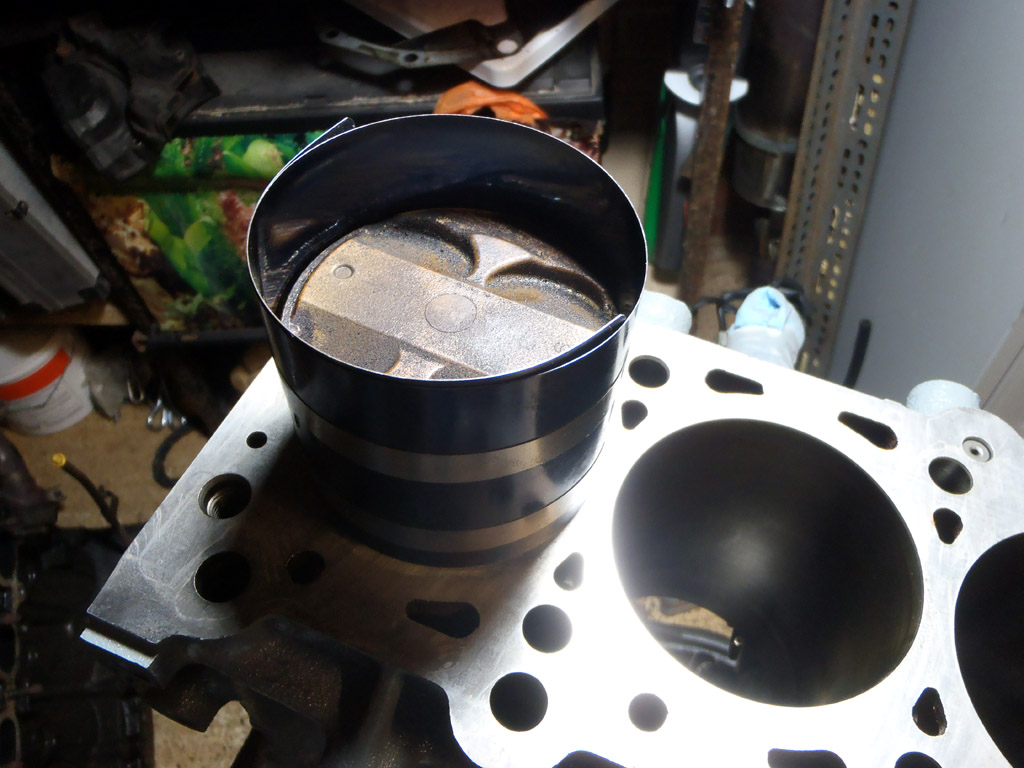
First off, I oiled up all of the bores and the piston ring compressor tool. Then, I took a piston, gave it a cursory clean to remove the loose carbon build up and lubed up the bearing.

To refit, you first need to compress the piston rings (else they’re not going to go back into the bores, at least intact. I’ve lifted the compressor slightly in this photo to show the cut out for the oil squirter on the piston. You need to ensure this is aligned with the squirter itself.

Then, ensuring there’s no gap between the tool and the block for the rings to pop back into, you gently tap the piston back in. I kept it all as vertical as possible to avoid scratching anything with the rod studs.
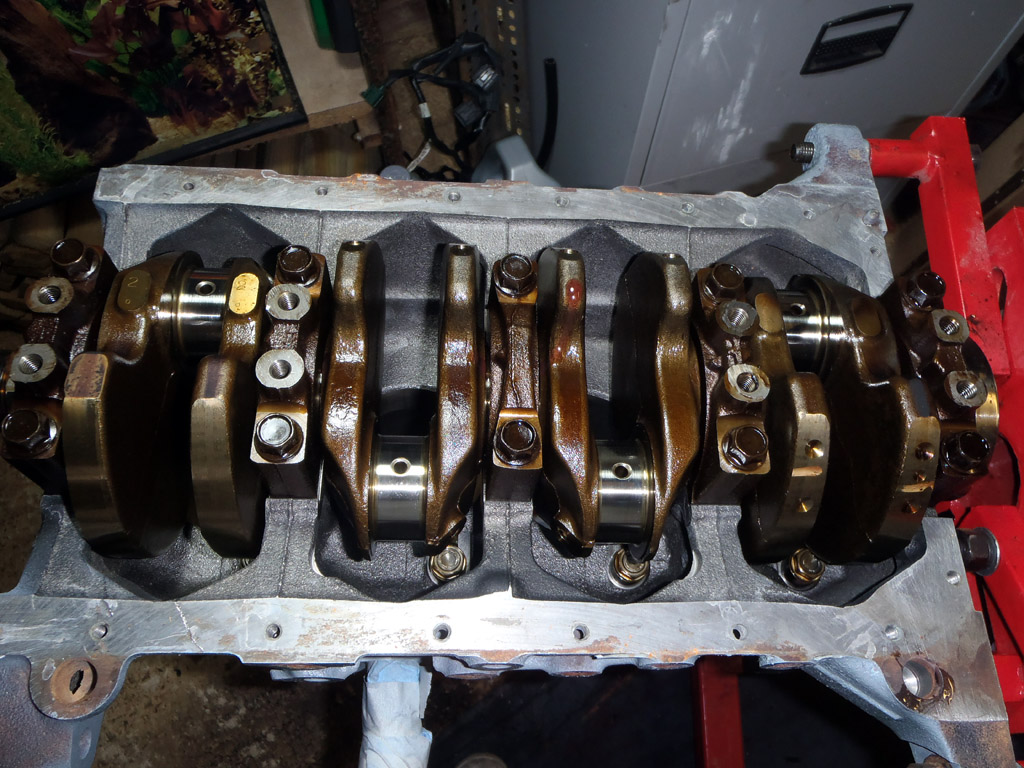
I flipped the block over, lubed up the crank and pushed the piston in further until the rod and crank were seated.
I lubed up the cap bearing and refitted that, torqueing it up. I double checked the diagonal mark to ensure they were the right way round.
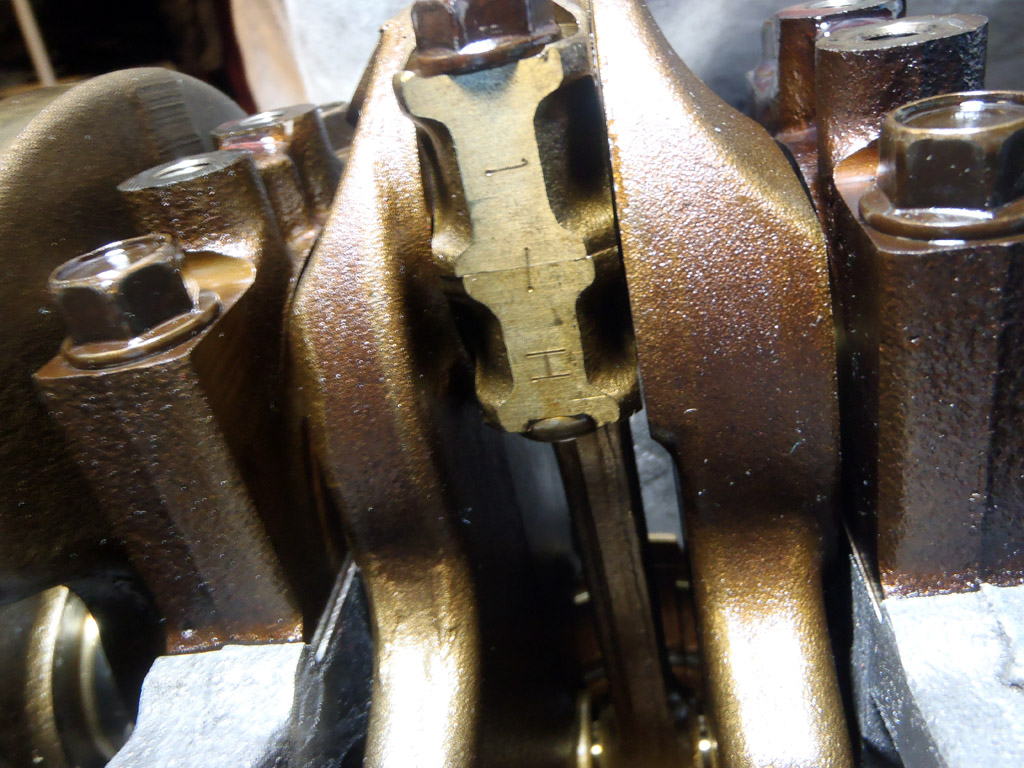
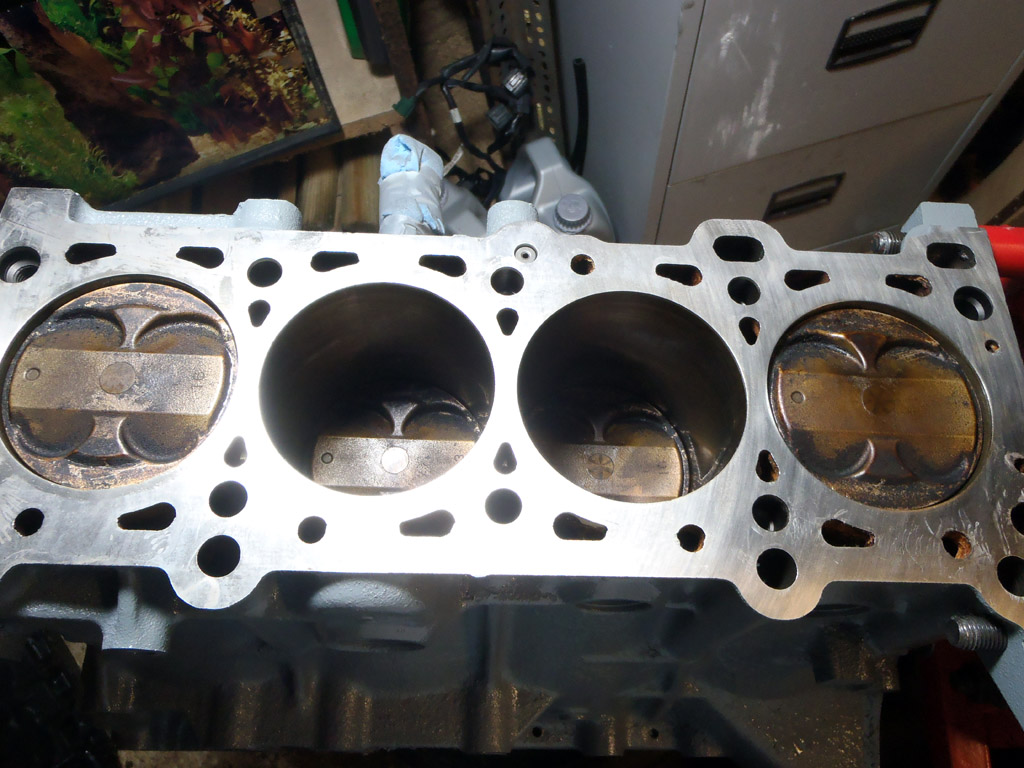
Repeat 3 more times and…
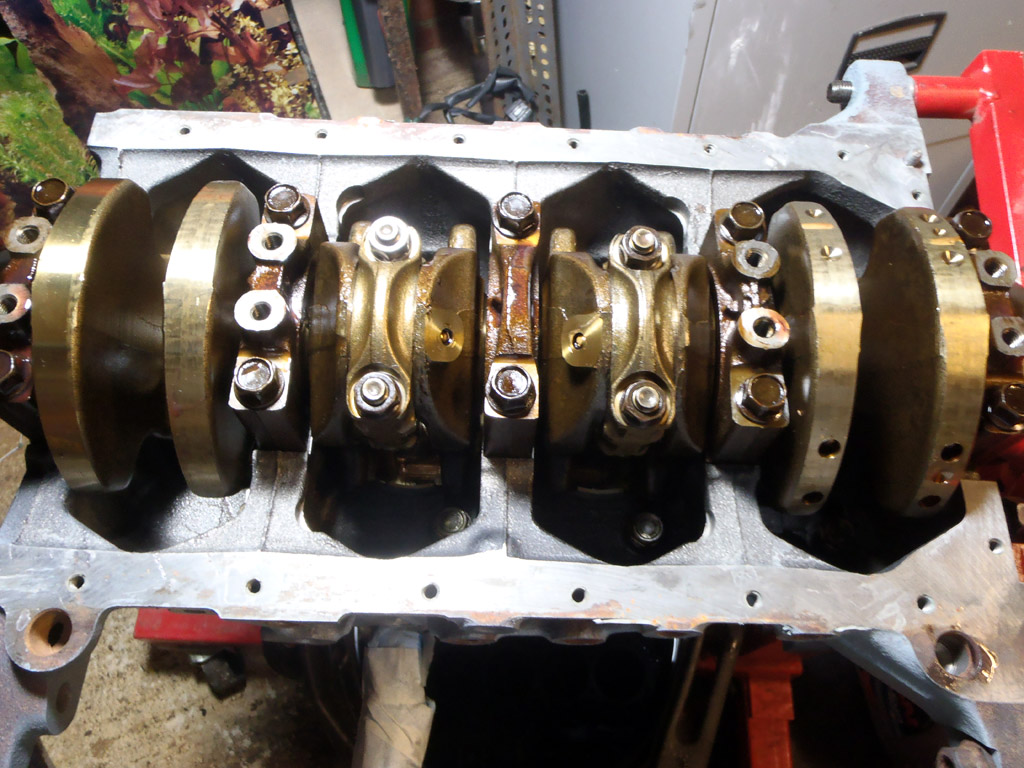
Hopefully I’ll get a bit more done tomorrow morning. I think rear seal, oil pump, front seal and baffle/sump will complete the block (aside from sensors of course).
