
With the crank and pistons/rods in, I could finish off the block, or at least the ‘internals’ of it. First up was the rear oil seal. The manual said to mount it in a vice like so (there are sticky out bits underneath that it’s lightly gripping in this photo):

However, I found it easier to close the vice a bit more and have it sitting on top. Using a drift, the old seal should be hammered out. It put up quite a fight, but eventually let go of the housing.

The new seal is then lubed (including the housing) and lightly tapped in with a nylon/rubber mallet
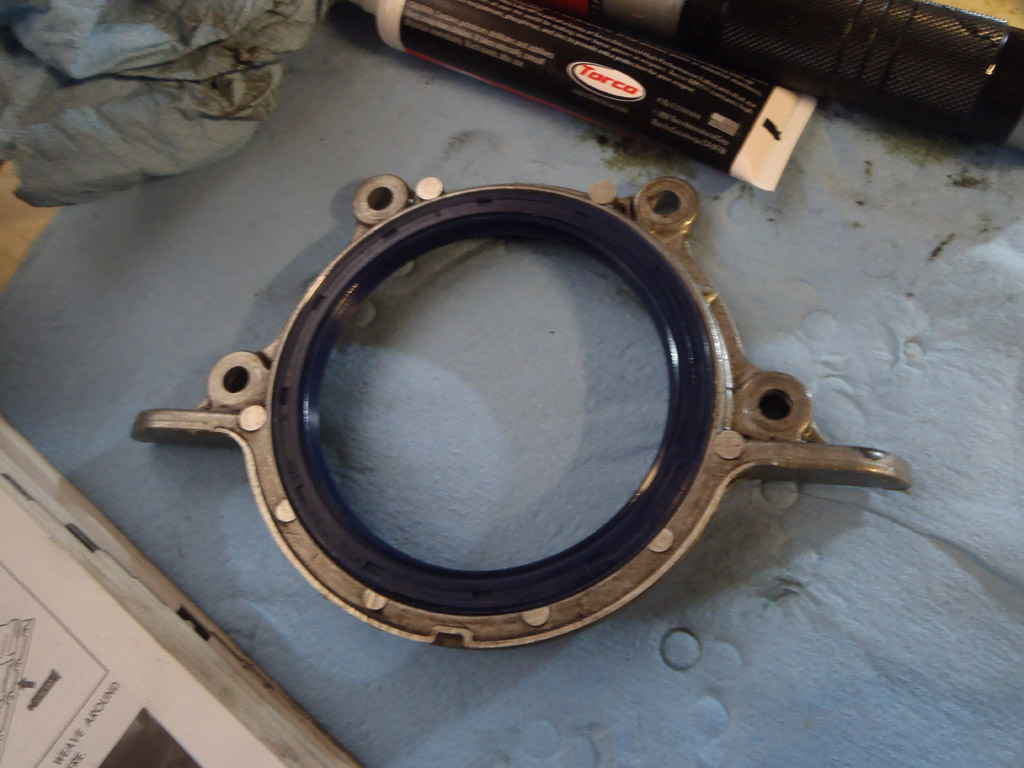
The inside of the seal is lubed along with the crank, and the housing bolted in. A small line of silicone sealant is applied to the housing first.

It’s a similar story with the oil pump… new seal, small line of silicone sealant on the body and it too is bolted up.

After this, things get a bit time critical. You apply a bead of silicone sealant to the windage tray, pop that onto the block, fit the pick up tray, apply silicone sealant to the front and rear half moons, fit the rubber gaskets, then apply silicone sealant to the sump and bolt it all together. All this needs to be done in 5-10 minutes to stop the sealant forming a skin.
It was a bit tricky. After placing the sump on top I noticed that it had a locating dowel in it… and so did the block. I had to remove the sump, punch out the dowel then refit it. In this time, the windage tray moved so it wasn’t lining up with the wholes. Careful application of swear words sorted that and the sump was fitted in the end.
Unfortunately I used a bit too much sealant, though it’s better than using too little. I’ll tidy these bits up once it’s dried.


The manual says to fit the flywheel and water pump next. I’ll save the flywheel until later though as it’s not particularly easy to fit in this engine stand (it might be now I’ve spaced the engine away a bit). I also need to order a new water pump seeing as I’ll not be re-using the mk1 one as planned.
Next will probably be starting the rebuild of the head then.
