
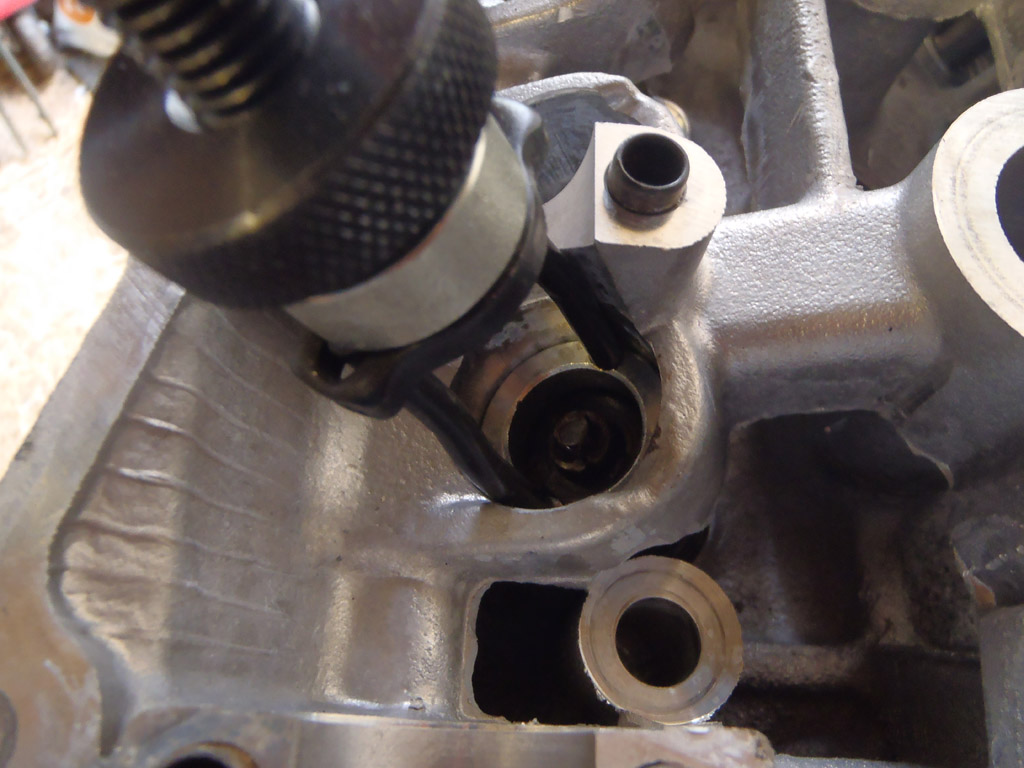
With the head repainted, I built it back up this weekend. First job was to check whether I’d get away with not lapping the valves or not. There’s a fair chance I would seeing as the faces were untouched and the valves were going back in their original position. The easiest way to tell is to fill the combustion chamber with petrol and see if it leaks. I refitted some spark plugs then dropped in the valves.

Looks like they were all fine apart from cylinder 3. Then I noticed one of the valves wasn’t quite closed. I pushed it in a bit further and tried again.

Much better. It didn’t evaporate off as quick as I’d hoped but after sniffing all that I didn’t really care. I cleaned it back up then started work on the valve seals. The valve seals differ for inlet and exhaust. The inlet valve seals are grey and have one (or no) ridges. The exhaust are grey or green (handily green in my case) and have two ridges. The ridges are on the top.

Inlet on left, exhaust on right
Easy to fit, just not so easy to fit correctly. You push them on with your finger then occasionally have to push them straight. Most of the time they go on straight to start off with.

With the seals in, the next job was the fiddly repetitive task of fitting the valves. The start of it is easy, wipe the stem with an oily cloth, push it into its home, fit the washer that goes at the bottom of the spring, then the spring, then the retaining cap. Then, break out the valve compressor and compress them so you can fit the collets.
It’s the collets that are less than fun. I followed the same trick as in the Rod’s manual but I understand there are tools you can get to help you. This trick was to apply a small blob of grease to the inside of the collet, then stick it to a small screwdriver with another blob of grease and have a game of operation. Eventually, you’ll get them in the right place and you can (carefully) release the compressor. I gave each one a tap with a hammer to ensure they were planning on staying put.
Repeat 15 times…


I’d managed to get the inlets done before I ran out of time on Saturday, then finished the exhaust valves off this morning.


So, ready to refit the head. The manual said to ensure the pistons were halfway in their bores and to oil the faces and bores liberally. I fear this may not have been what they had in mind! At least I don’t have to worry about blue smoke on start up – got the perfect excuse for that now.

The head gasket was next, making sure it was the right way round. I’m using a genuine gasket for this, just for piece of mind.

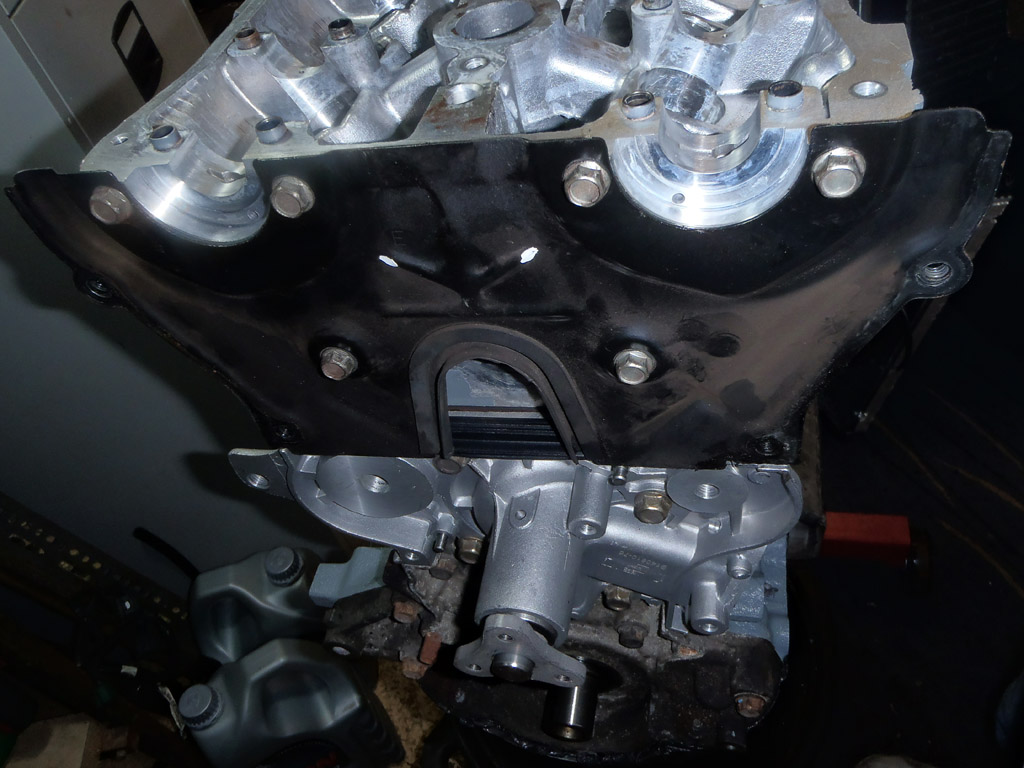
I bolted the head on with new bolts. The manual then called for fitting the front thermostat housing. Well I’ve no need for that, so I did a job I wanted to do with the mk1 engine and fitted a core plug instead.

Then fitted the front plate, which now wasn’t really sealing much!
Whilst doing this yesterday and today I’d been painting the cam cover. With the grey paint now dry I needed to mask it off to do the orange lettering. I adopted a very professional masking approach.

Basically I covered the lettering with masking tape, cut the letters out, then cut two rectangles out of a sheet of newspaper and used that to mask the rest of the cam cover.
Back to the head. I again liberally oiled up the cam follower housing and refitted the lifters, in the same positions they had come from. I used some assembly lube on the bearings – this stuff wasn’t quite as messy as the stuff I’d used on the bottom end.

Then the cams went in along with the bearing caps.
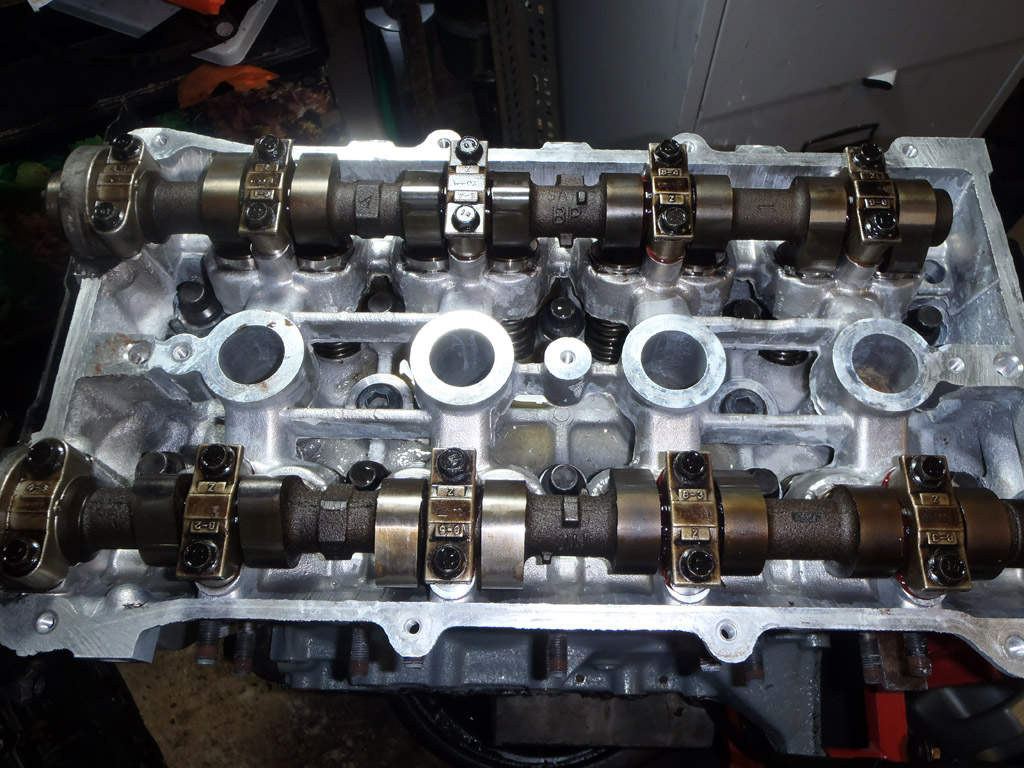
New cam seals. Not intentionally different colours, just bought at different times from different suppliers – bits I’d picked up for the mk1 engine and just never gotten around to fitting.
Pulleys next, making sure they were aligned as per the ones that came off. I fitted the adjustable pulleys that I’d picked up a couple of years ago. These have the pickups on the inlet pulley for the mk2 cam sensor, thankfully.
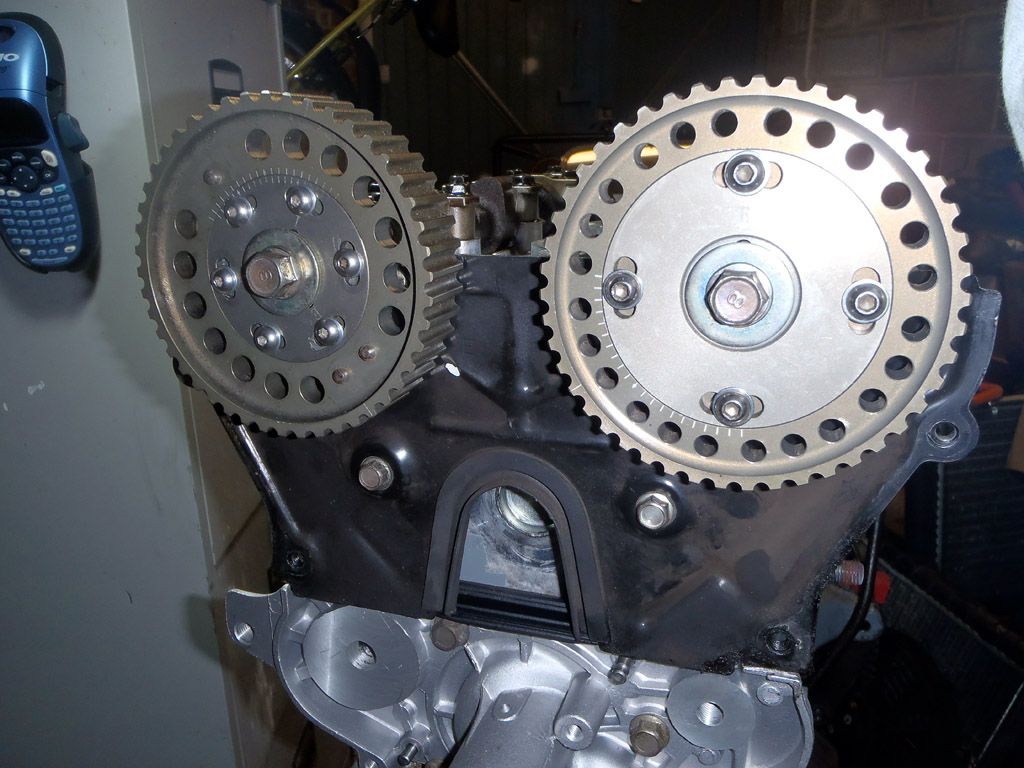
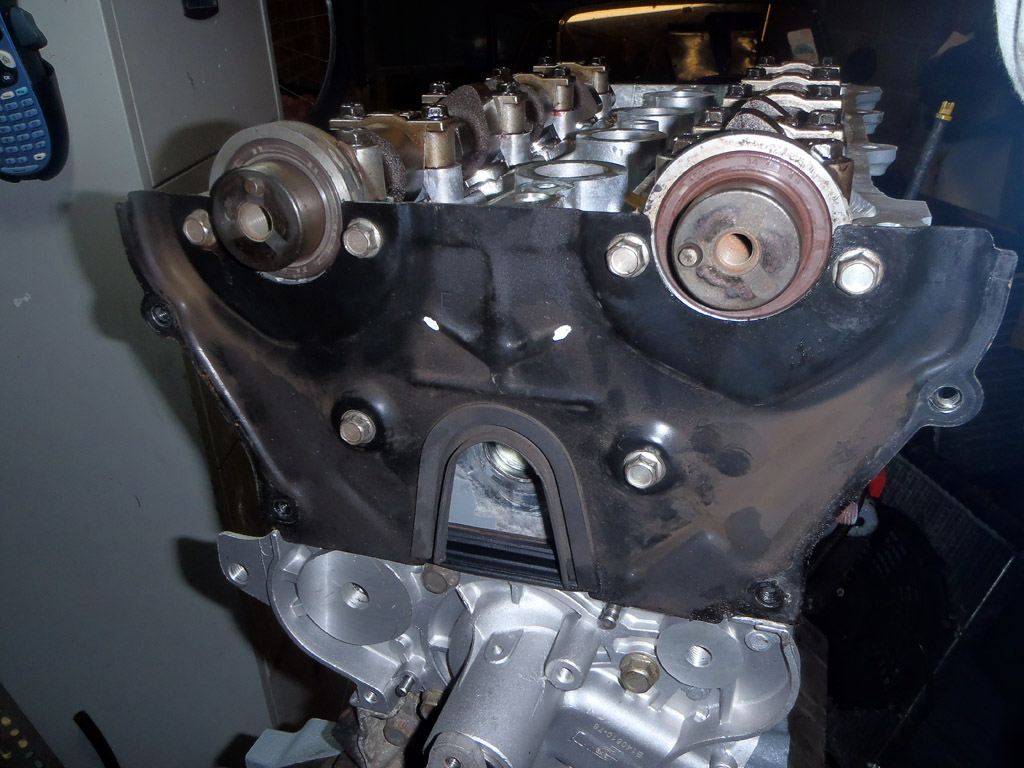
Lastly, the timing belt tensioner, idler pulley and crank pulley went on (not torqued up, not ready for that yet, obviously). I still think I probably should have cleaned the oil pump up a bit, but it will be covered, some of it. It just contrasts massively with the new water pump.

And all of a sudden, it’s an engine again. It kind of reminds me of the Westfield build where you’d put lots of time in, seemingly get nowhere then suddenly have something that resembles a car.
Timing belt next. I’ll use the OEM marks for now, then fine tune it with a set of gauges. No doubt the rolling road operator will retune it of course.
I had also finished the orange coats for the cam cover, so removed the masking before the paint totally dried. I had visions of removing the masking and the paint coming with it otherwise. I don’t really want to repaint any more parts! Lacquer still to go but I’m quite pleased with how it’s turned out. I think it looks better than black and orange did.

