Block stripdown complete

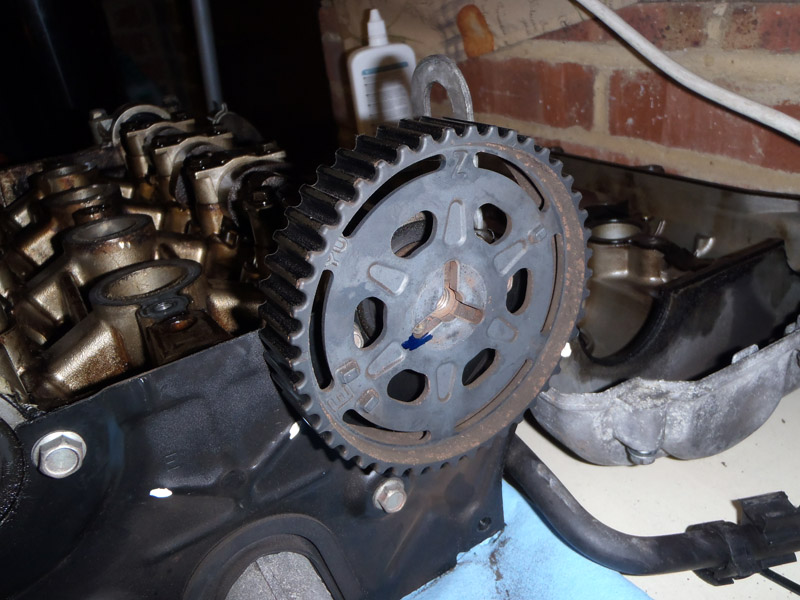
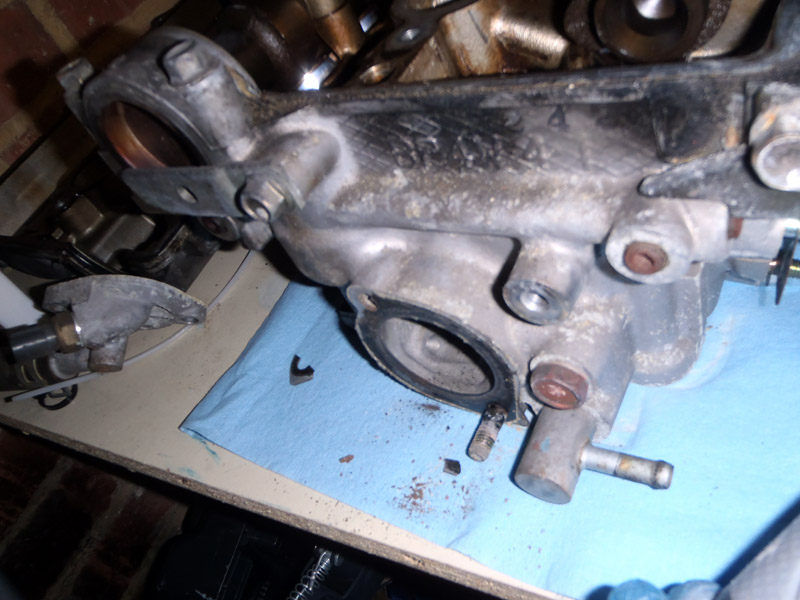
Onwards with finishing off the block today. Again following the order in the Rod’s manual to make sure it’s all done properly. First up was the removal of the oil pump. A fairly simple affair, just held on with 6 bolts. Some of these bolts differ in length so I made a note of what ones go where on the bag I stored them in. Once removed, the pump needed only a little persuasion to release itself from the block. I think it was sealed with sealant but one of the diagrams suggests it should be a gasket. I’ll have to investigate that further. You can see the sealant hanging down in the second pic below

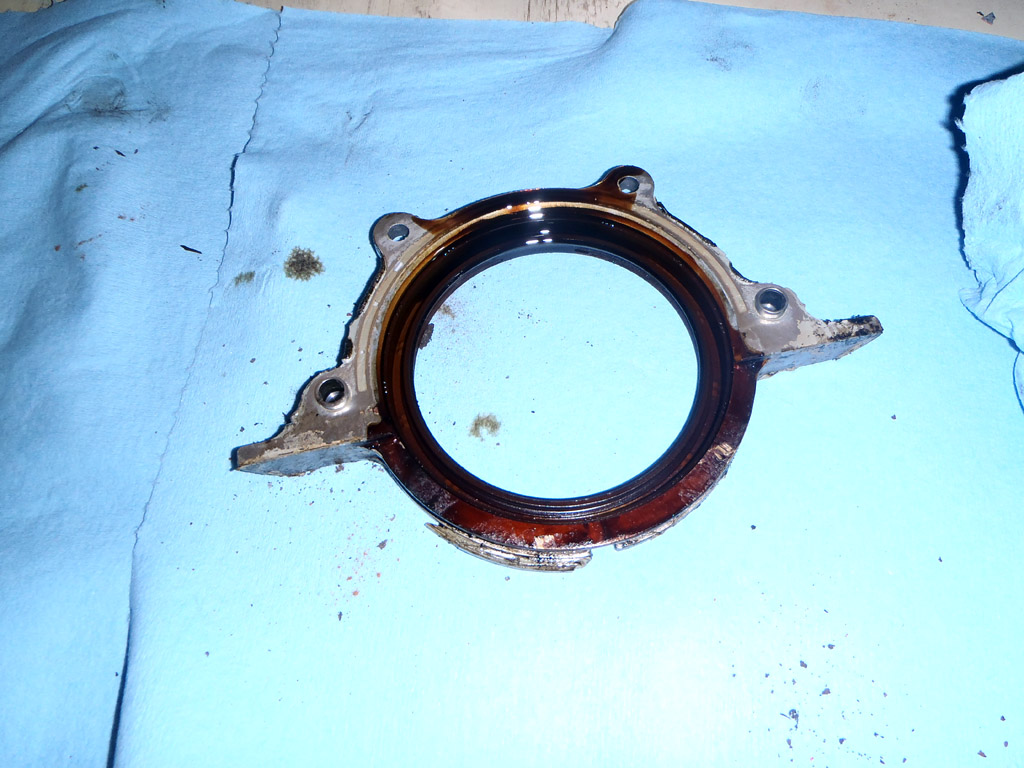
Then onto the back of the engine and removing the rear crank seal housing. Just four bolts this time.

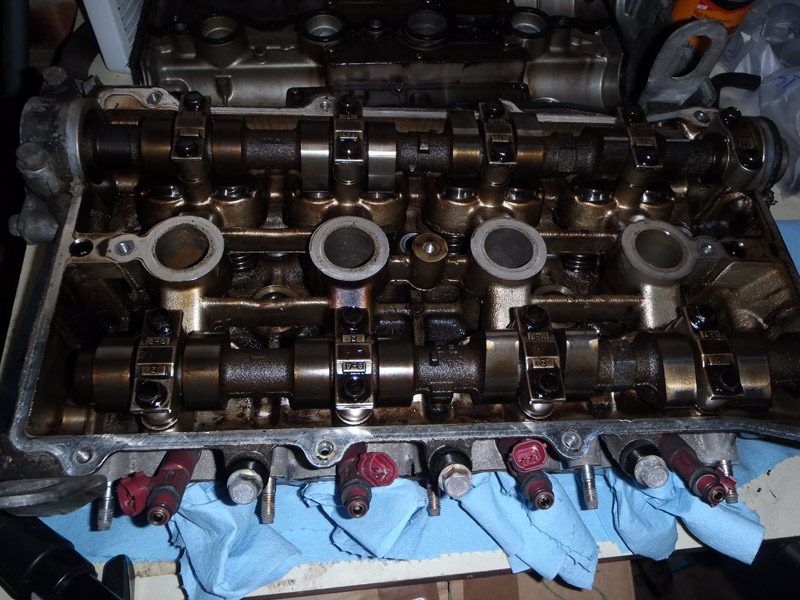
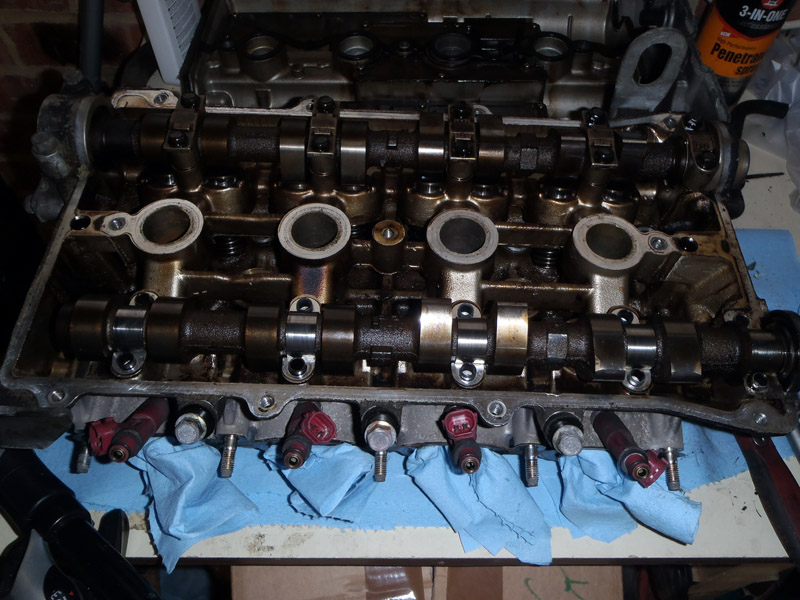
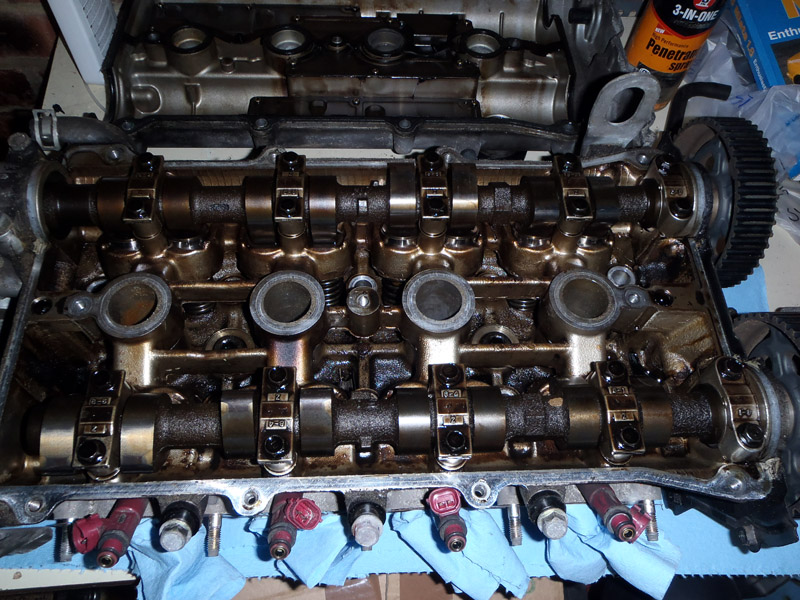
With that removed, the next step was the rods and pistons. I had originally thought I’d just be removing the crank, rods and pistons as one, but I think that was building too many lego engines in my youth. I can see how that wouldn’t really be possible (even ignoring the oil jets being in the way).

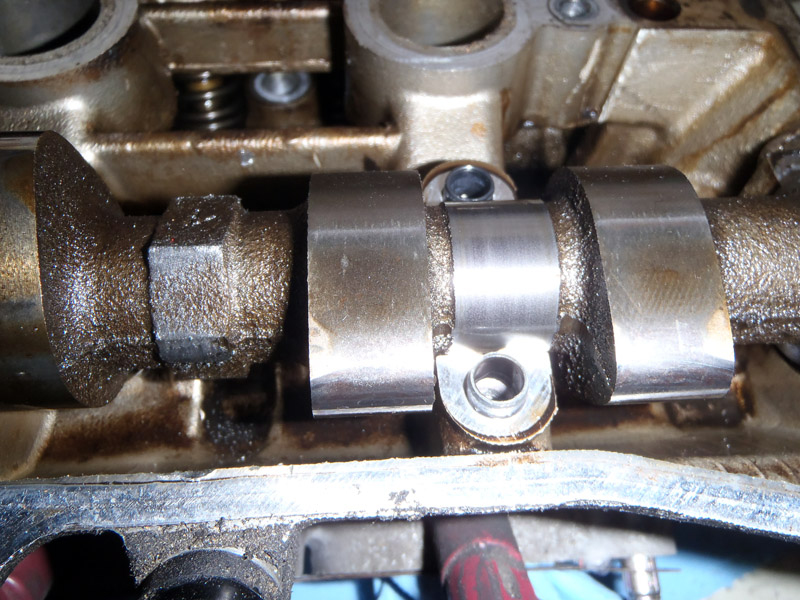
The bearing caps and rods have to go together. Handily, Mazda have marked them with diagonal lines at differing angles.

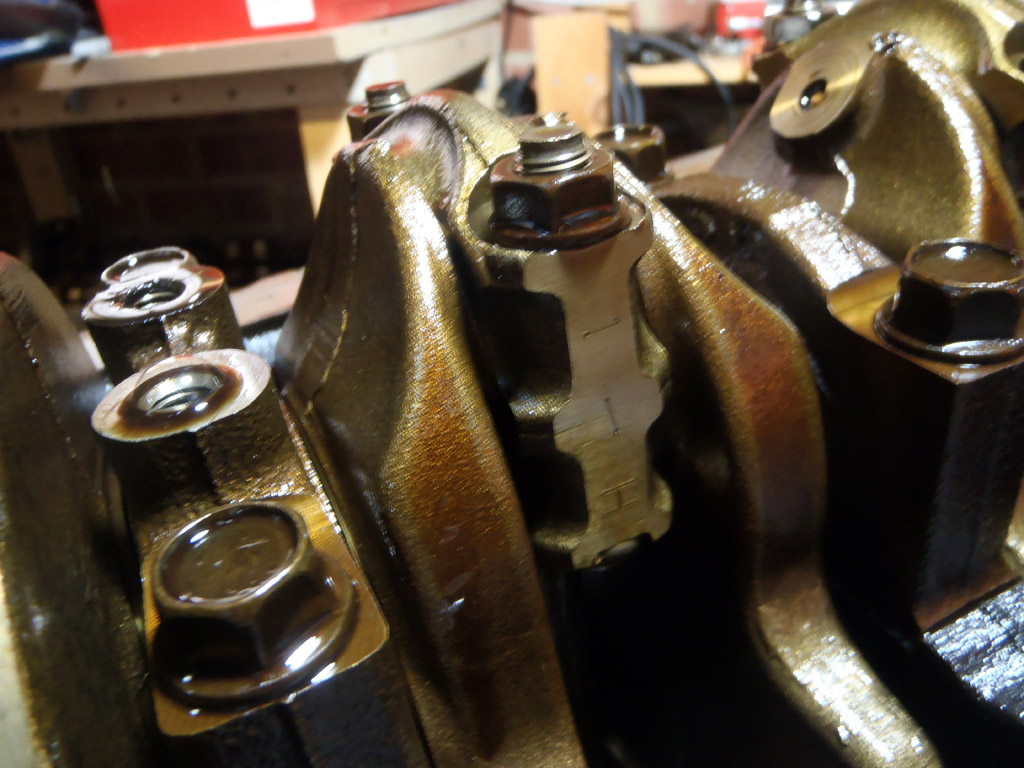
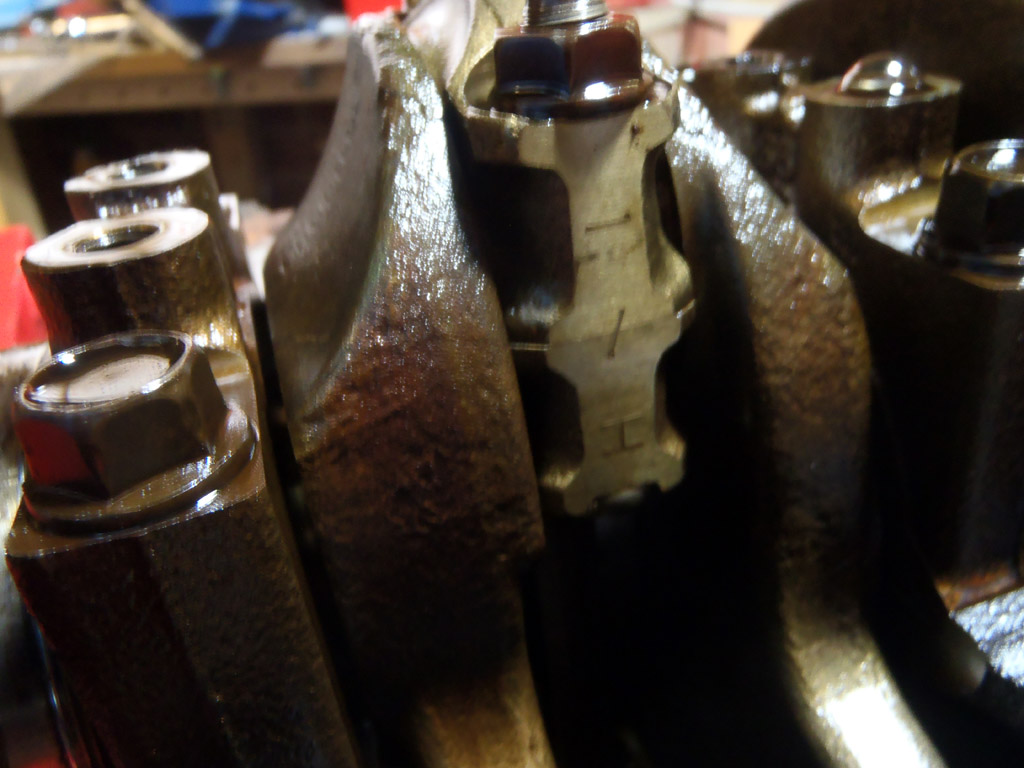
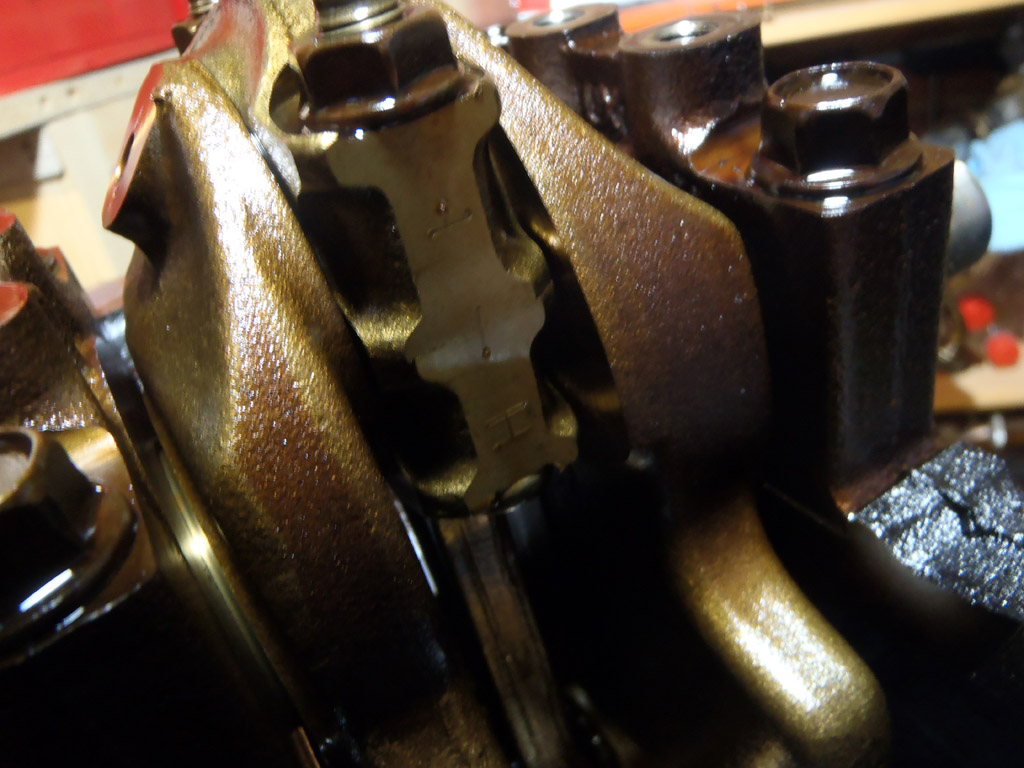
I suppose that’s of some use if you put all the bearing caps into one bag, but it wouldn’t tell you which bore they came from. I had already decided to bag them up individually anyway.

The Rod’s manual says that before removing the pistons you need to clear all the carbon deposits from the top of the bore with a reamer.

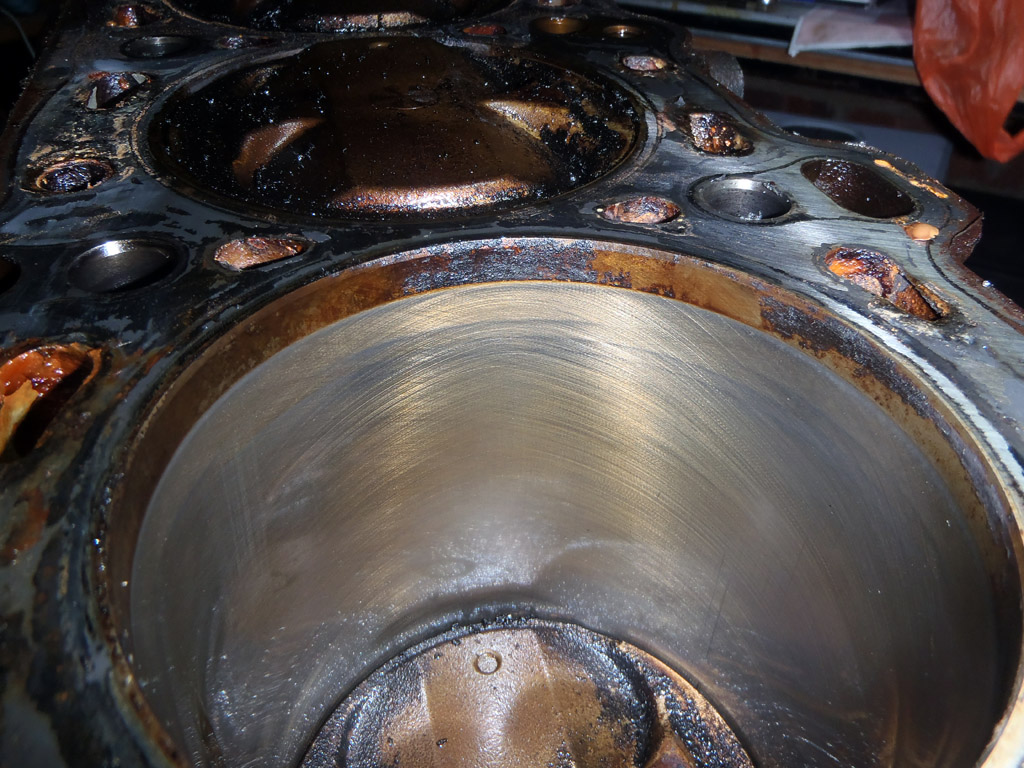
This was a step I wasn’t expecting – and I didn’t have a reamer! As it turned out there was only very light deposits anyway and they pretty much came off with a paper towel. I removed the first bearing cap, slid the rod and piston out then reattached them.

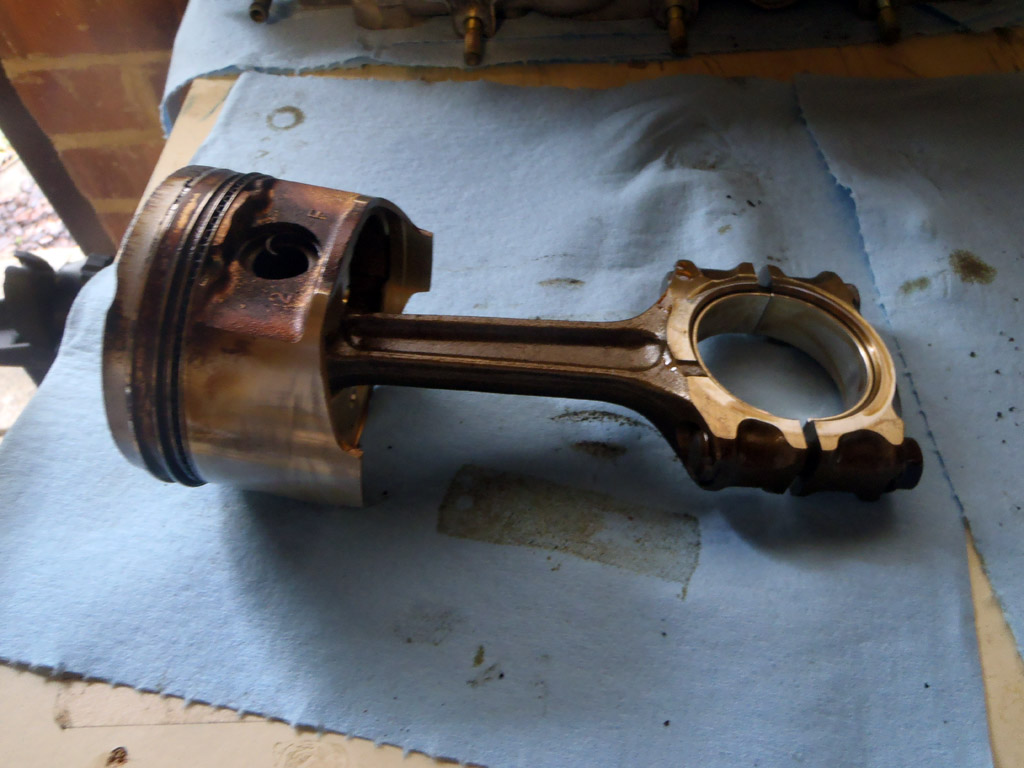
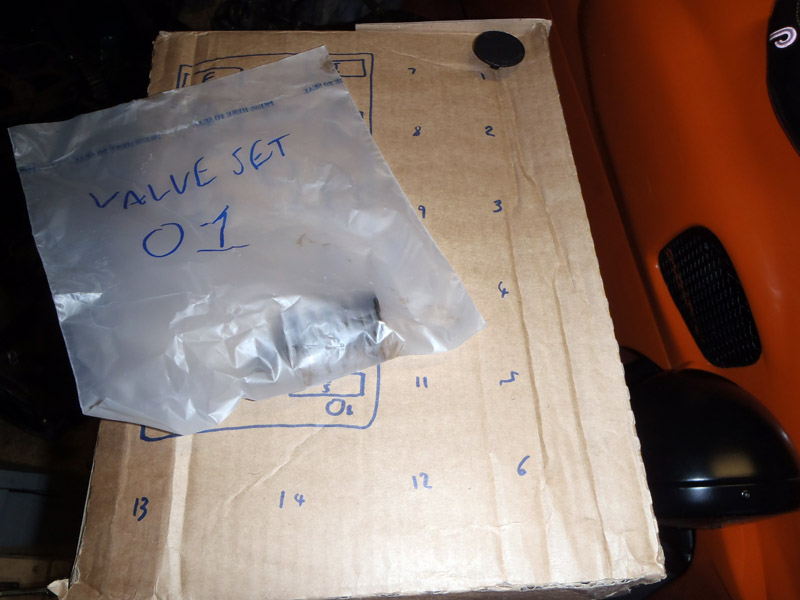
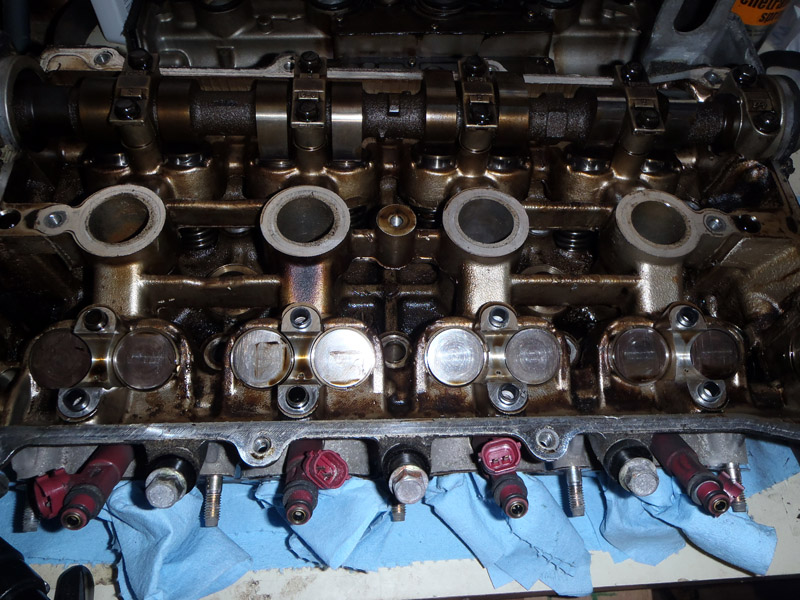
I then bagged that up for cylinder one. This left a nice gaping hole in the bore…

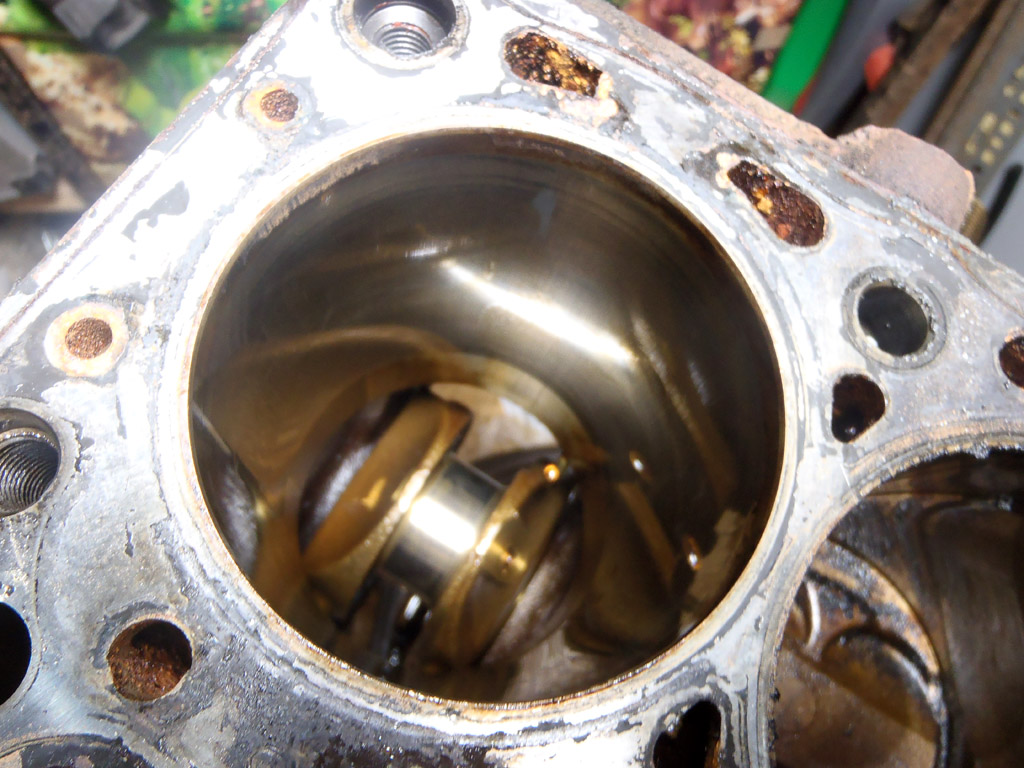
Then, carry on for cylinders two, three and four.

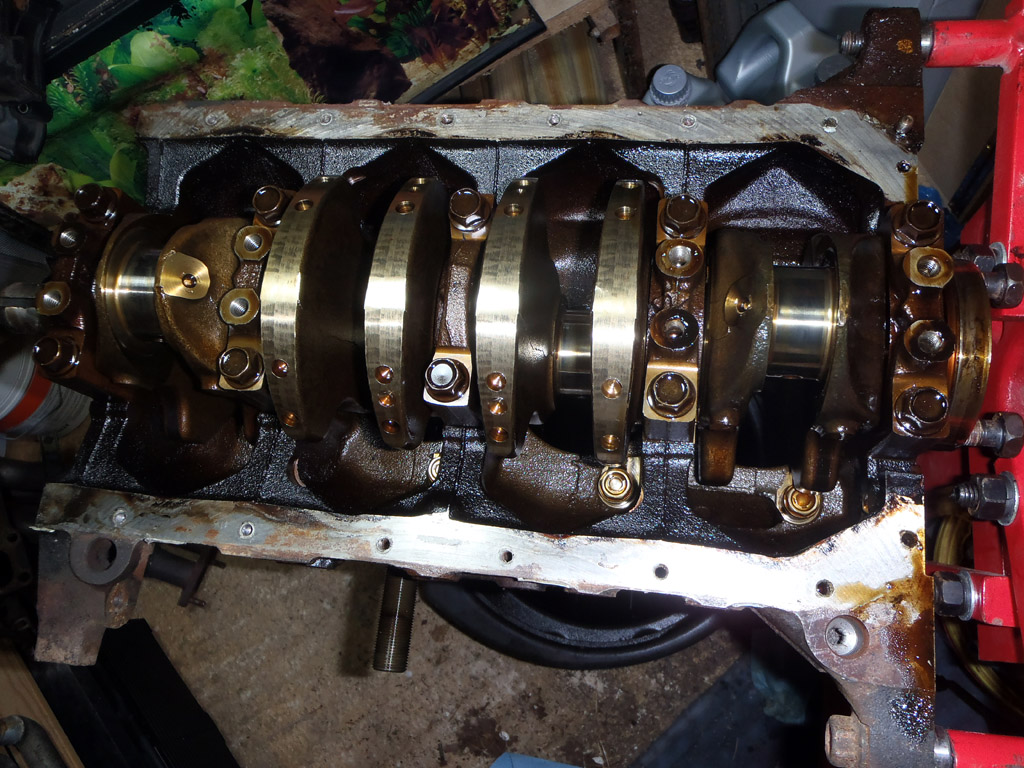
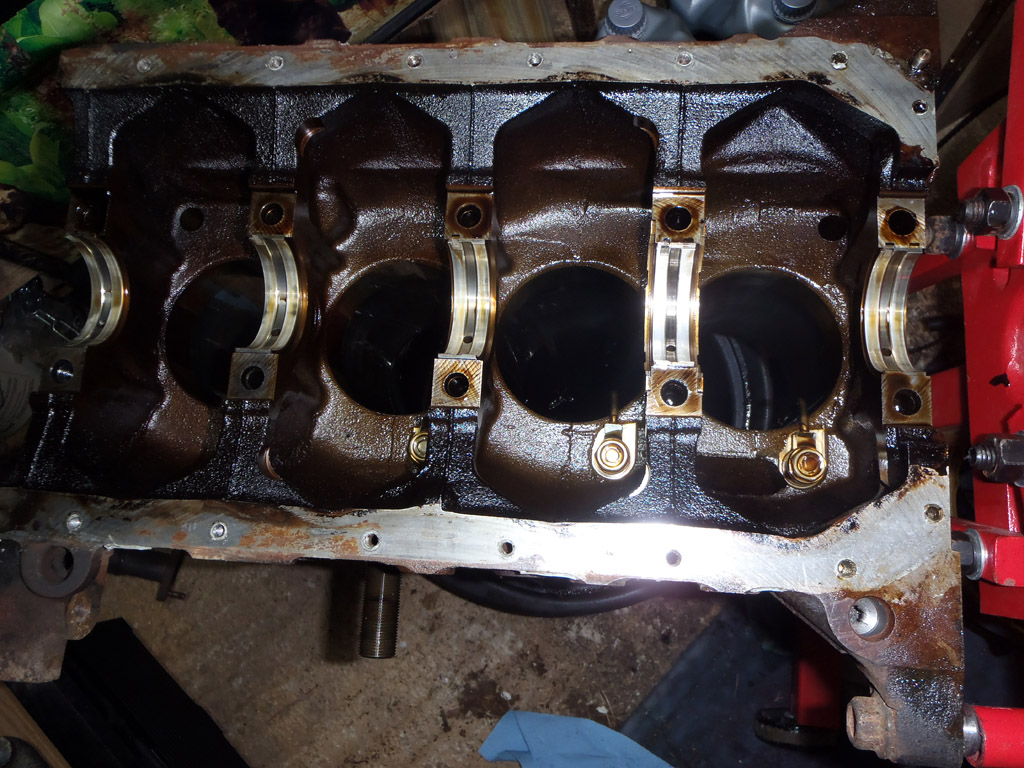
Getting there now, but it was time for lunch and I was out in the afternoon. Once back, I carried on. Crank next!

Much like the head, the main bearing cap bolts are removed in a spiral sequence. Half a turn on pass one, then a  whole turn, then fully removed on the final pass. I gave each one a rock with the bolts before fully removing just to break any seal the oil had made.

Whilst bagging up I noticed that they had numbers on them. Quite hard to see, but may have saved me bagging them up individually! Ah well, never mind. At least this way if the bearings fall out there’s only one place they could have come from, rather than five.

OLYMPUS DIGITAL CAMERA

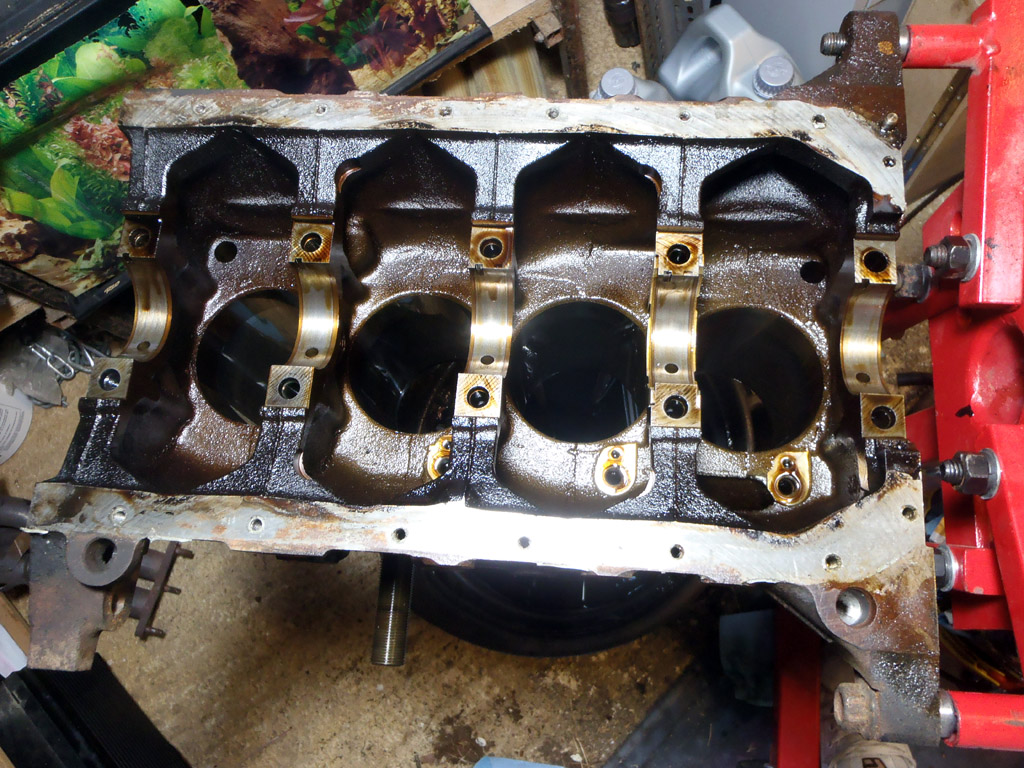
Soon, all the caps had been removed and I lifted the crank away.

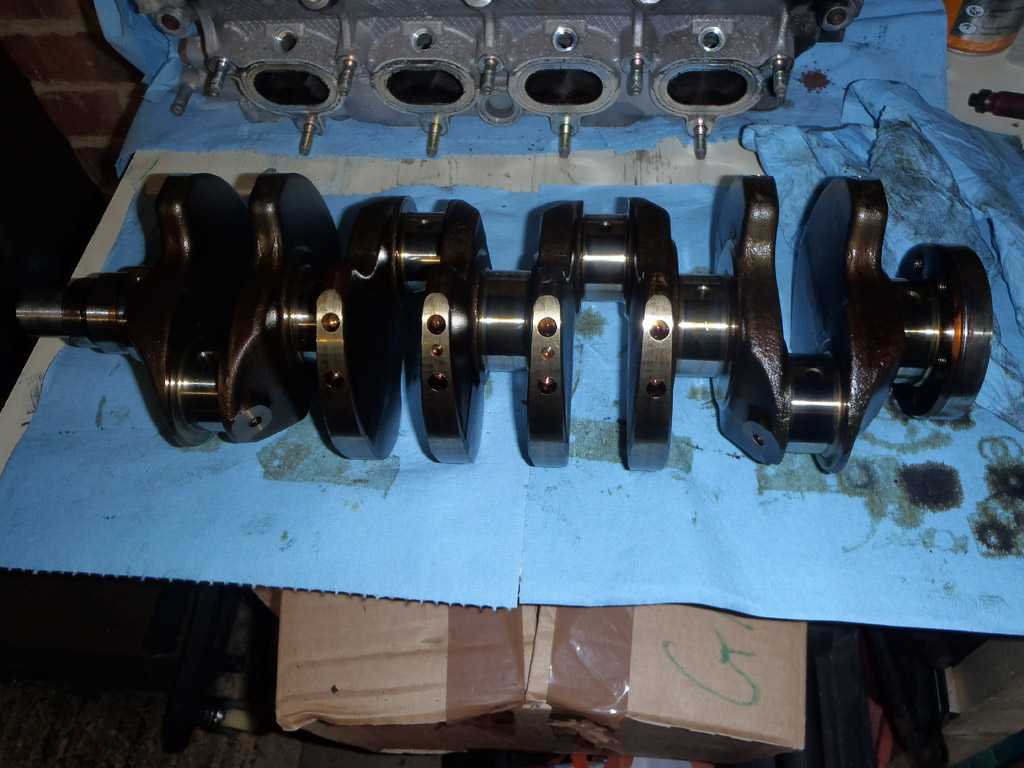
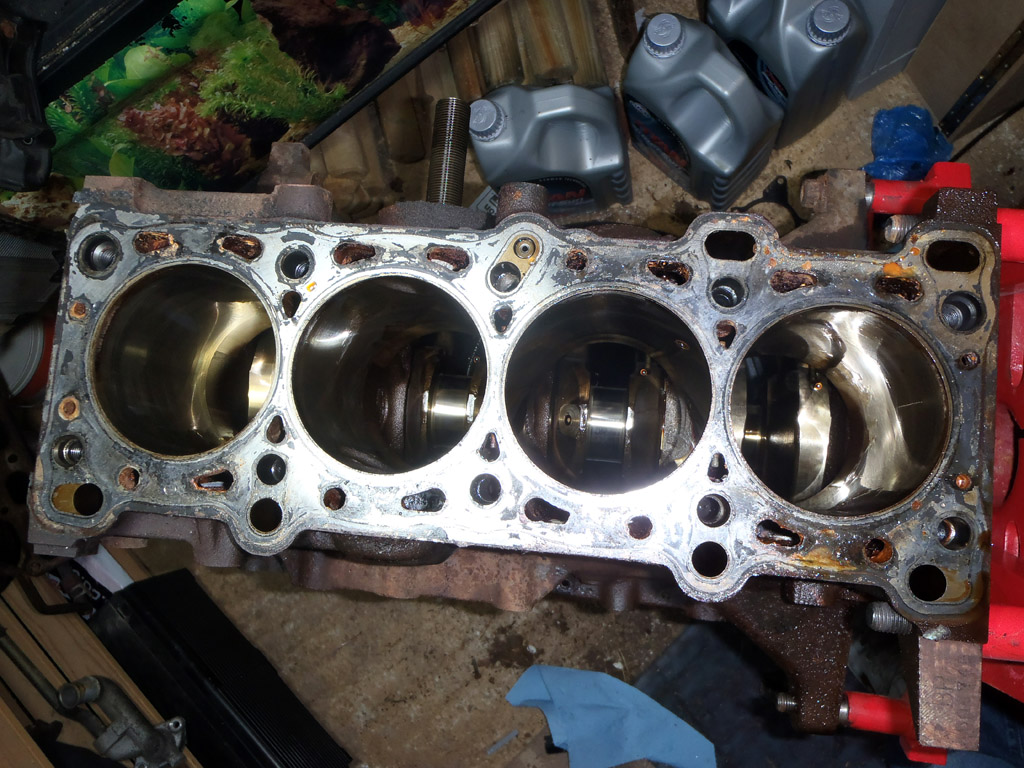
I removed the remaining bearings and numbered them up with permanent marker.

Lastly, the oil jets were removed and bagged.

So, that’s it now, the block and head are ready to be sent away for machining. After giving it some thought, I’ve decided against getting the block decked by any significant amount, instead just getting a pass one the block and head to ensure they are both flat. I’d quite like to keep the engine non-interference, just in case I mess something up!

Not too sure what I’ll do whilst the block and head are away – guess I should start preparing to remove the current engine from the Westfield. I need to keep in mind that I’ll need space when the block and head return, and space is at a premium right now – there’s still two engines sat in the garage doing nothing.

Posted in Performance upgrades | Leave a comment

Valves out

With my finger now nearly grown back after the modifications I made to it last time, I could recommence battle in the garage. This morning’s job was a pretty straight forward affair – finish the stripping of the head. All that was left was removing the valves and the spark plugs because I’d forgotten about them.

Having not done valve removal before, I read the section in the Rod’s manual a few times. It was a bit confusing because they had to fabricate an extension to their valve spring compressor, where as the one I’d bought from machine mart was plenty big enough already.

With the head flipped onto its side I was ready to go. Turns out, I needn’t have worried – valve removal is a pretty simple affair, with just the collets being fiddly. If I think they’re fiddly now though, I expect I’m in for a whole world of pain when it comes to refitting them!

I removed the first valve and put the bits and bobs into my highly technical parts storing system.

I later found out that no only was I incapable to getting the numbers 1-8 down the length of the box, I was also unable to count all the way to 16. Oops! I popped the spring, retainer and collets into a sandwich bag and slotted the valve into the box. I also wrote the valve number on the carbon of the valve as extra security. It should brush right off when I clean the valve up for refitting.

With one valve done it was time to repeat ad finitum. Or 15 more times, but it felt like more. I got more confident with the valve spring compressor and was probably at a normal amateur speed by the time I got to the end.

Valve spring compressor

Valve spring compressor

Collet removal

Collet removal

Eventually all the inlet valves were done

Flipped it over, remembering where number 9 now was and removed the exhaust valves.

Not that the above picture shows much more…
The only issue I have left is removing the valve stem seals. The manual suggests levering them out with a screwdriver but I didn’t get any joy with that. I’m going to run the head round a friends house – he has a seal removal tool and can show me how it’s done.

Quite enjoying this project, it’s nice to see how the engine works and hangs together. Well… used to!

Edit:
Have now visited said friend and stem seals removed. Easy when you have the right tools…

So that’s the head done, and if all goes to plan it’ll be the crank tomorrow.

Posted in Performance upgrades | Leave a comment

Cam and followers removal

This morning was one of those rare days when I achieved what I set out to do. Just! So, the head was looking like this, as left yesterday.

I got prepared first of all, gathered some egg boxes to store the followers in and made a diagram (obviously, highly technical) on the box I’d poke the valves into.

Highly technical head diagram

The labelling of the cam bearing caps is the same as is actually on them which should help me install them the right way round in case I forget.

With everything ready I set about removing the intake cam. Unbolting the cap bolts had to be done in a spiral as per other head bolts. This was half a turn in round one, then a whole turn, then remove the bolts. Everything was bagged and labelled up. Once unbolted, the bearing caps themselves were a little stiff but not too difficult to remove. You need to resist the temptation to wedge something in the face of them and lever them off. Instead, a few gentle taps with a soft faced hammer will loosen them enough to be rocked off. Same from the front one, just takes longer because it is also attached to the oil seal and could still have some sealant left on it from the rocker cover.

The surfaces looked in very good condition, which was lucky as I don’t know a massive amount about the history of the engine.

With the cams removed, I could turn my attention to the followers.

They’re not quite ‘liftable’ out by squeezing them between your fingers, but helpfully can be picked up by one of those magnetic things you use for retrieving lost screws. These are numbered and placed into their new egg box homes.

With that side done, it was time for the exhaust side. This was much the same as before, but I managed to slice the tip of my finger whilst removing one of the bearing cap bolts. Oops! Annoyingly it was one of those not-painful-but-really-bleedy ones and indeed is still bleeding a bit now nearly two hours in.

So, next up, removing the valves. All been relatively simple  so maybe this will be a complicated bit.

Posted in Performance upgrades | Leave a comment

Small amount of head stripping

Ah mid-week garage time. Reminds me of the build! Got a little bit done today… luckily I hadn’t returned the impact gun after borrowing one to remove the crank nut so I was able to remove the cam pulleys. Whilst I don’t intend to refit these, I still marked up how they fit just in case.

Intake:

Intake cam pulley

Exhaust:

Exhaust cam pulley

The tippex marks on them suggests the cam belt has been replaced at some point and it does look in good condition. I’ll buy a new one anyway, just in case.

With the cam pulleys removed I had good access to remove the front plate. A few bolts and away it came.

Cam cover plate

With that out of the way, the thermostat housing was next. With the current engine, I’ve just blocked this off. For this one though, I’ll remove it completely and fit a core plug instead.

Thermostat housing

Thermostat housing removed

And then what will become the new thermostat housing at the back

OLYMPUS DIGITAL CAMERA

I’ve decided to simply follow the Rod’s manual for disassembling the engine now… stopping once I’ve got a clear block and head. And skipping the disassembly of parts removed from the car, such as removing pistons from rods. Next up, cams and lifters…

Posted in Performance upgrades | Leave a comment

Mk2 head removed

Caught an hour in the garage this afternoon and managed to remove the head from the mk2 engine. It wasn’t too involved – I’d already removed the inlet manifold. So today all I had to do was remove the exhaust manifold, rocker cover, a few coolant pipes and I slid the cam belt off to save stripping the front of the engine.

MX5 mk2 1.8 head

Everything looks in order with nothing that stands out. I did start to remove the bolt holding the inlet camshaft pulley on but with no joy – it’s pretty tight. I think I’ll have to get the impact gun on that to free it up.

Away from the garage I’ve been shopping and have ordered:

  • Paint for the engine
  • Megasquirt DIYPNP ECU

I think I’ll also need to order new crank and cam position sensors too. The cam position sensor on the mk2 engine seemed to have been snapped off, and I don’t think the crank sensor was even there at all. I need to investigate the cam position sensor a bit further – it looks like on the mk2 it reads the pulley and I was going to replace them with vernier pulleys.

Will hopefully steal a few evenings in the garage this week. Need to get on with the fiddly stuff of disassembling the head and removing the crank.

Posted in Performance upgrades | Leave a comment