Half Hood

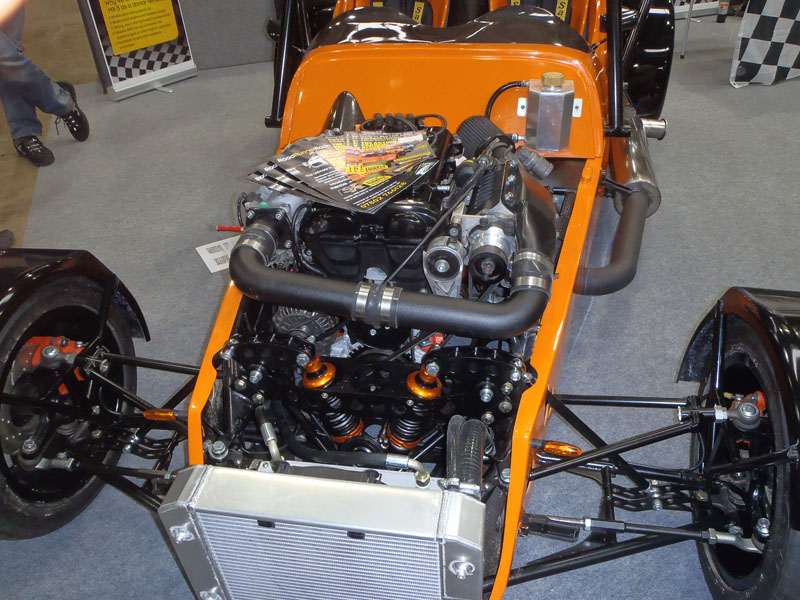
At the end of June I ordered a half hood from Westfield. It appeared to be a good compromise between the hassle of full weather gear and getting caught out in the rain. It arrived the day before July’s Cotswold WSCC meet so I fitted it that evening. Here’s how I fitted it:

Disclaimer: This probably means it’s the wrong way to fit it!

There were no instructions with the hood and I searched around but couldn’t find anything online. Turns out that’s because it’s reasonably obvious.

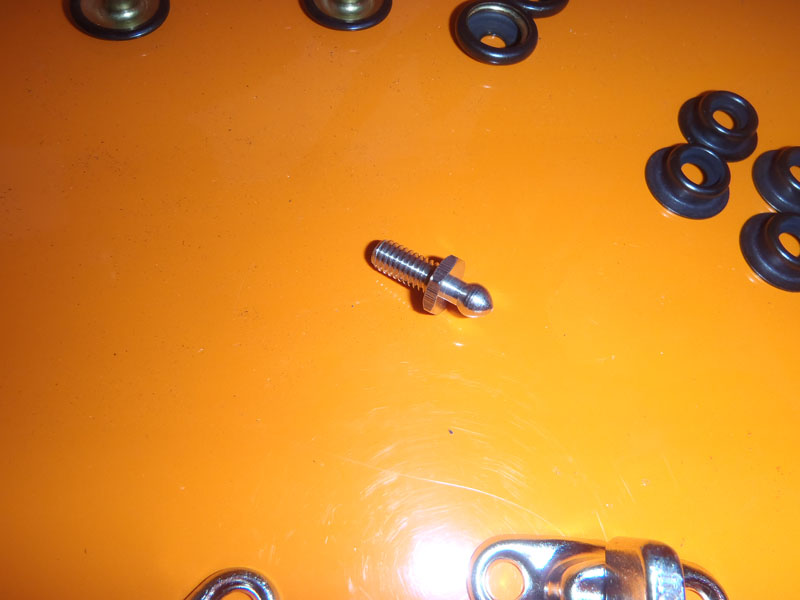
You get the hood itself along with these fittings:

FittingsThese are technical terms I’m going to use next so bear with me. The silver thingies at the bottom are what the rear straps mount to. The silver bolt thingy is what the front of the hood attaches to, and there’s some black poppers. Of the fixings kind.

I fitted the silver bolt thingy to the windscreen – I’d always wondered what the threaded hole was for!

OLYMPUS DIGITAL CAMERA OLYMPUS DIGITAL CAMERA

I then started on the back, and this bit I’m not sure is 100% correct. I think they’d be better off attaching at 90 degrees to how I’ve done them but the tub isn’t thick enough for that. Presumably you could fit it to the bootbox but if I’m honest I’m not convinced I’ll be keeping that. Anyway, I got the masking tape out and measured to ensure it was all as central as possible

Marking out

After removing the tape and riveting on, you can see how it might work better at 90 degrees. However, it’s still secure.

After that possible mistake, I made a definite mistake next! I fitted the popper thing to the tub on the horizontal surface near the arch rather than the vertical one.

OLYMPUS DIGITAL CAMERAThis means that the natural pull on it will be to remove it. You can’t do it up that tight. I didn’t make the same mistake on the other side so can tighten that up more. It doesn’t seem to make a difference to how the hood fits to be fair. That may be because it sits over the wind deflectors so is naturally tightened from the side.

With it all fitted I clambered in to see what it was like inside. A bit like putting up a new tent, you just have to go in straight away!

OLYMPUS DIGITAL CAMERA
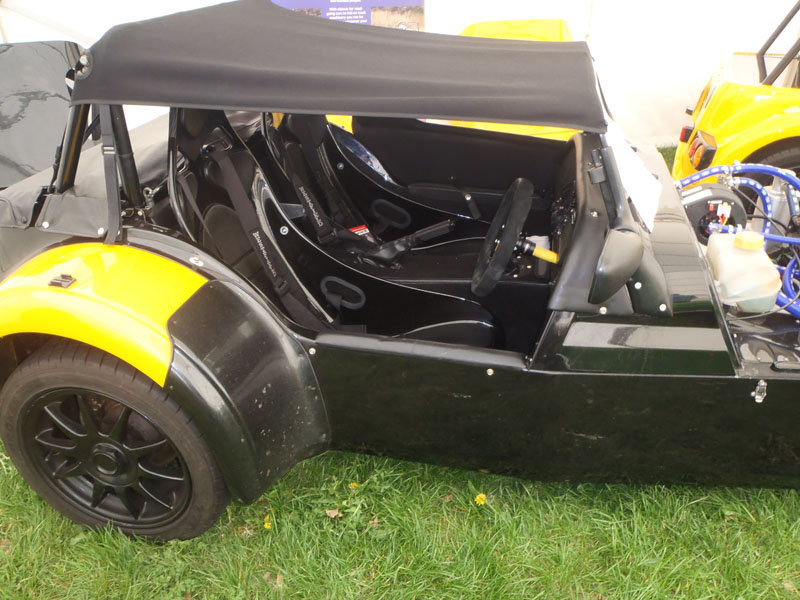
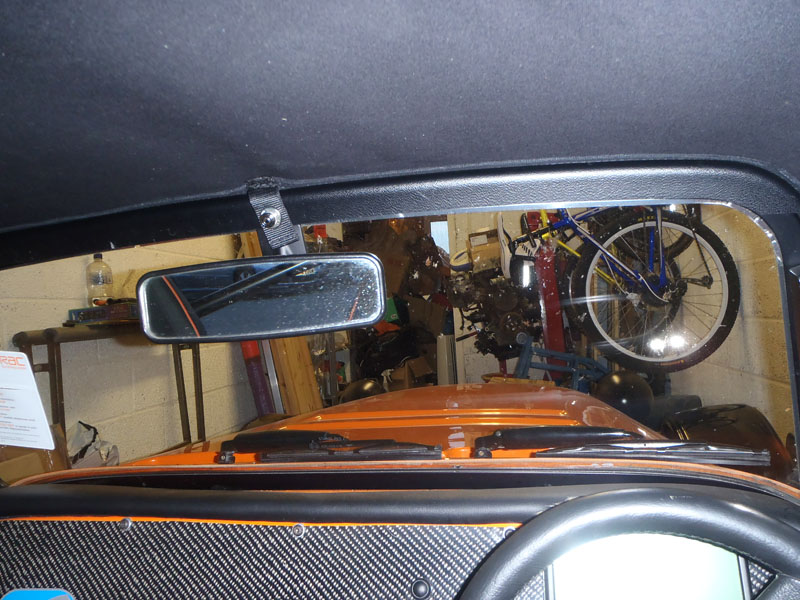
Ignoring the vast amount of crap in the storeroom – it’s not too bad inside. It’s certainly more ‘claustrophobic’ than with the roof off, but being compact in nature I didn’t find my head hitting the roof. Getting in and out was interesting of course. God bless those kick strips on the tub!

Half hood fitting
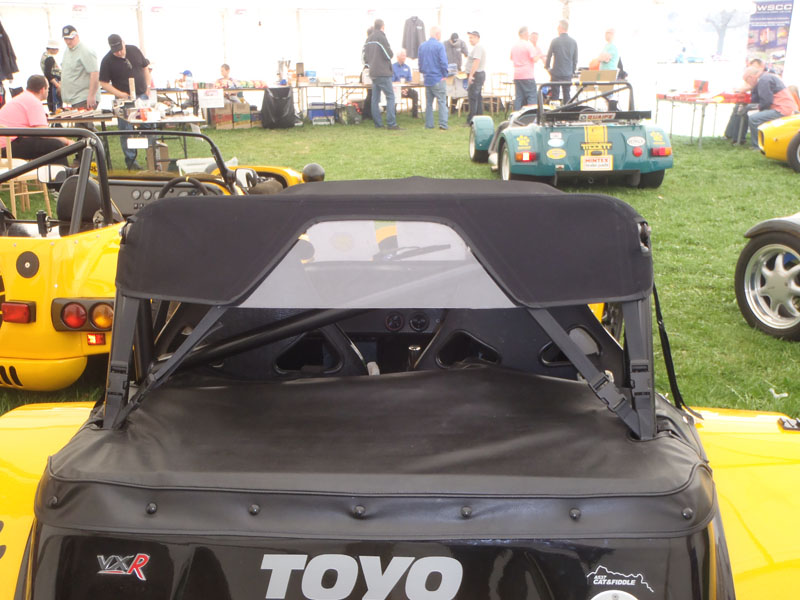
The next evening I drove the 40 miles to the ‘local’ WSCC meet. First impressions were life was much more civilised inside. Louder, definitely, but not a lot in the way of wind. I had my waterproof jacket on the passenger seat and it didn’t move the whole journey. Up to 60mph things started to get a bit disconcerting. I could see the rear view mirror moving and putting my hand on the top of the windscreen confirmed there was movement. Not a lot of movement, it was exaggerated by the rear view mirror but movement all the same. Whilst I didn’t have any flapping issues that others had sometimes encountered, the hood was tugging on the top of the windscreen. It didn’t seem to be much of a windscreen mounting issue, though I was later able to tighten the bolts a little bit. Instead, there was inherent flex in the scuttle itself.

Some people make roof bars to stop the hood from flapping. I’ll do the same, to go between the top of the screen and the RAC bar. Only for me, they’ll be to add some rigidity.

Posted in Cosmetic upgrades | Leave a comment

Hullavington Track Day

July 12th saw me and a few others at the Motorsport Events run trackday at Hullavington, just off J17 of the M4. Last year’s track day was cut short as I had to go camping later that day so I was determined to get some miles under my belt on this day. It started off well in that I arrived on time. A minor coolant leak delayed me getting to the sighting laps (needed to tighten a jubilee clip, nothing more sinister than that) so I only got one lap in. This ensured I did my traditional spin on the 2nd corner of the 2nd lap, just like Abingdon last year. A couple of missed chicanes later and I decided I was obviously not in the right frame of mind so came back in.


Once the 1st sessions were done it was open pit lane so off I went out again, a bit more relaxed and trying to understand what I did wrong. It looked like I’d initially made the 2nd corner far tighter than it should have been and opening that out did indeed mean I could carry the same speed through it and make it out the other end! On the chicane front I just needed to adjust my braking point. Lessons learned and I got on with getting some laps in. Towards the end I was quite comfortable and really pleased with how the car was driving. The suspension work done previously was definitely paying dividends.

Unfortunately, drama struck after 7 or so laps. At the end of the long straight I braked at the brake marker and turned in for the hairpin at the turn in marker. Then, a yellow flash and a bang… I wasn’t turning in anymore and instead heading off the circuit with what looked like front nearside damage.

Someone in another Westfield (not part of our group) had completely missed his braking point and sailed straight up the inside, connecting his rear offside wheel with my front nearside. I trundled back to where we were parked wondering what the damage was. It certainly didn’t sound healthy.

Once I got back and explained to the rest of the group that surprisingly it wasn’t my fault I took a look at the damage. I was relieved to see that it was largely cosmetic – the cycle wing stay had bent right up and the cycle wing itself was cracked. There was marking to the wheel and rubber marks on the exhaust. I bent the stays back into roughly the right position, taped up the wing and was ready to carry on. The guy who drove into me did come over to explain what happened, though fell short of an apology.

Photos taken later on in the garage:

Idiot rash Idiot rash 2

The cycle wings are due to be replaced with carbon CSR style efforts. It’s the wheel damage I’m more annoyed about – the wheels were perfect until this and now it looks like I can’t park.

But anyway, on with the day!

I managed to get a few more laps in before lunch and the car was driving ok. During lunch I stiffened the shocks to see what difference it made. It was quite good – the car was more stable and less ‘squirmy’ under braking and cornering. I also had a passenger ride in Mike’s 1.6 Mazda SDV (the dark red one in the later photos). His was largely like mine, only with Toyo R1R tyres and obviously a lighter engine. His car seemed much less dramatic and seemed to just get on with the corners rather than squealing and complaining. I’ve decided I’m not a massive fan of my tyres on track use, so may get some dedicated track wheels.

600529_10152968104525328_1494185149_n 992874_10151770689627463_685259370_n

Later it started getting really hot, 32 degrees and the coolant temperature rose to 95/96. I decided not to push it any further and took to cruising down the straights. Even the production cars were only doing a few laps at a time. I’d still like it to do better though so decided I need to move the pipe from above the manifold and potentially shroud the radiator in.

I also started leaking gearbox and diff oil so I will be clearing the breathers for those.

Overall though, ignoring the muppet, I had quite a good day. A few changes to make and hopefully I’ll get another track day in during September.

Posted in Track days | Leave a comment

Suspension setup

Only a year late but I’ve finally had the suspension all set up and corner weighted. Alignment prior to this wasn’t the best, all colluding to chronic understeer.

I dropped the car off at Track Developments who took initial weights with me in it. Excluding me, the car came in at 624kg with the vast majority of a tank of fuel. It’s a little heavier than I expected and a little demoralising considering I’ve never knowingly gone for a heavy option. I chose the wheels because they were the lightest for instance. My initial suspects on this weight are the sport turbo seats, but I’m also mindful that the car isn’t that heavy, coming in just under a zetec in full road trim.

I’ve asked for the setup to lean to a pointier front end which is something I prefer. I’ve not driven it hard yet (my catch tank hasn’t been that successful so I’m leaking oil out of the cam cover), but initial impressions are that this has been achieved.

There is a downside though – the car has been lowered slightly and now it scrapes getting it into the garage. I’ll have to try reversing in and if that doesn’t work, get all four corners raised slightly.

Posted in Performance upgrades | Leave a comment

Air filter and catch tank

I originally dropped this from the original build to save time and money. One year later, it seemed time to get around to fixing that. With power seemingly being restricted by the exhaust and a free-er flowing one on the way, it seemed to make sense to ensure the air flow going into the engine also wasn’t going to present any problems. It was still using the standard air box and economy paper filter.

So, I ordered a couple of 90 degree bends from SFS hoses and some bits and bobs (including an air filter) from Merlin motorsport. My theory was I wanted the filter in between the nostrils on the bonnet, allowing it plenty of air flow but offering some protection if it rained whilst it was parked up. I removed the standard intake and was left with this gap to plumb an intake and catch tank into. Plenty.

Front of chassis

I attached the first right angled hose along with the MAF and had a look at where they ended up.

Hoses placement

Well that certainly kept the MAF out of the rain, but it didn’t look like it would be particularly successful with the second right angle added.

Hose placementNo, that put it just behind the radiator. No space to fit a filter there! The first right angle was a reducer to fit the throttle body onto the MAF (63mm to 70mm). Fortunately, the ‘reducing’ part was in the elbow itself so I was able to do some trimming. I started off by trimming the throttle body end to bring everything closer to the engine.

Hose placementThat’s better, I could now test fit the filter (leaving it in the protective bag)

Hose placementSo that couldn’t be any further under the grills! It’s a bit squashed too, much more trimming required. I attacked the MAF end of the first elbow next, to move everything left in the picture.

Hose placementThat’s better. Trimming the second elbow should bring it left a bit further. Cutting that left me with a short offcut which I quickly realised could be used to join the filter onto the MAF directly.

Hose placement Hose placement

That still had the majority of the filter covered but with a straighter turn, surely better for air flow. I decided that would be my final position.

I still had to join the idle control valve to the post-MAF intake and so I used a tee off the silicon hose

ICV tee

With the air filter positioning decided, I started on the catch tank.

Catch tankThat was the easiest position for now, but I think I’d rather find somewhere else for it to live permanently. It was too big to fit on the scuttle area. I might tuck it under the intake manifold but it’s easily accessible here.

Catch tank fittedAll plumbed in, one pipe for each side of the rocker cover and the intake manifold port blocked off. That was just with a bolt in a pipe for now, need to order an orange silicone blanking plug.

Back to fitting the air filter, it’s an ITG Maxogen filter with your typical round shape and a honeycomb interior structure.

Inside filterI don’t know if that’s for structure strength or offers filter benefits.

Filter fitted Filter fitted Filter fitted

Just need to source one more hose clip for the filter. Unfortunately, Homebase didn’t see fit to stock the right size so I’ll try B&Q as that’s also just down the road. Then of course, time for a test drive.

Posted in Performance upgrades | Leave a comment

Stoneleigh 2013

Just a few selections of photos I took and some notes…

Digital Dash

The new half hood from Westfield (order placed!)
http://parts-shop.westfield-sportscars.co.uk/index.php?route=product/product&product_id=50 Half hood Half hood Half hood Half hood

Alternative to Mazda based Westfields, the SR2 Roadrunner. Very jealous of the extra engine bay space they get, used to good effect! Roadrunner Roadrunner Roadrunner

The Mazda SDV on the Westfield stand, completed with new manifold. Photos taken for help with cutting out the bodywork later. Manifold Manifold

Battery position on MegaS2000.  I’ll be looking to place mine down there at one point (already have the panel to go under the chassis)Battery

And took the opportunity to pick up some tools from toolorders.co.uk. Nice shiny Teng Tools! Teng Tools

Posted in WSCC Events | Leave a comment