
Seems to be lots of little jobs recently. It’s almost like that stage during the build where you do lots of stuff, but nothing really changes. Then you do one thing, and the project is transformed.
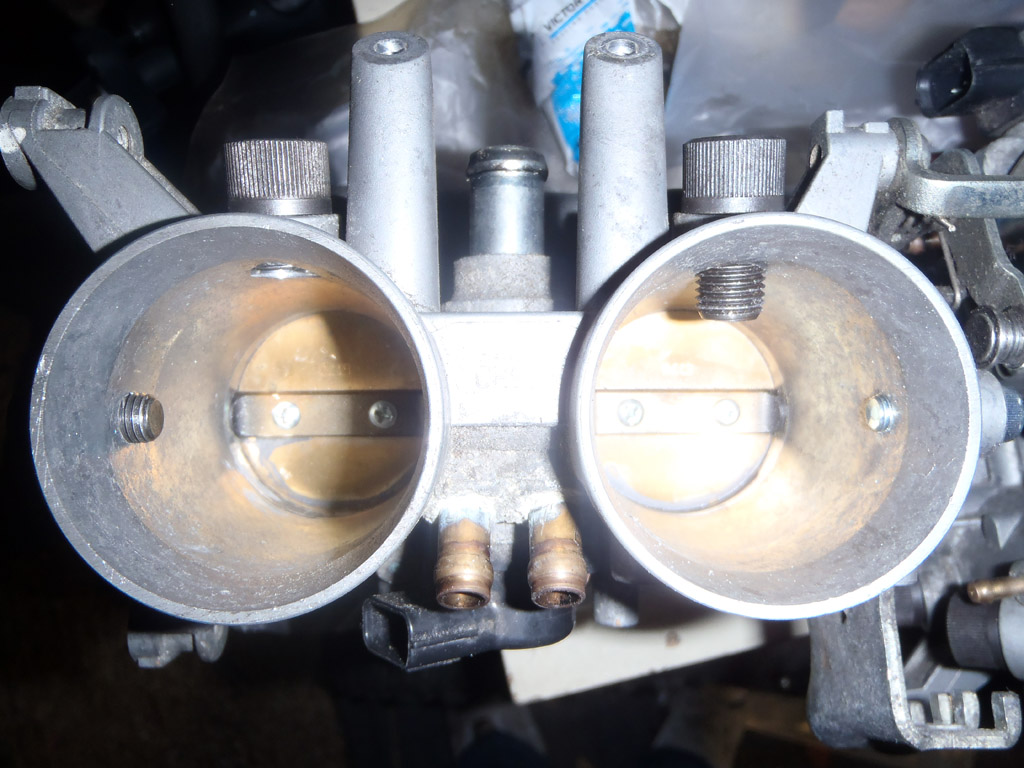
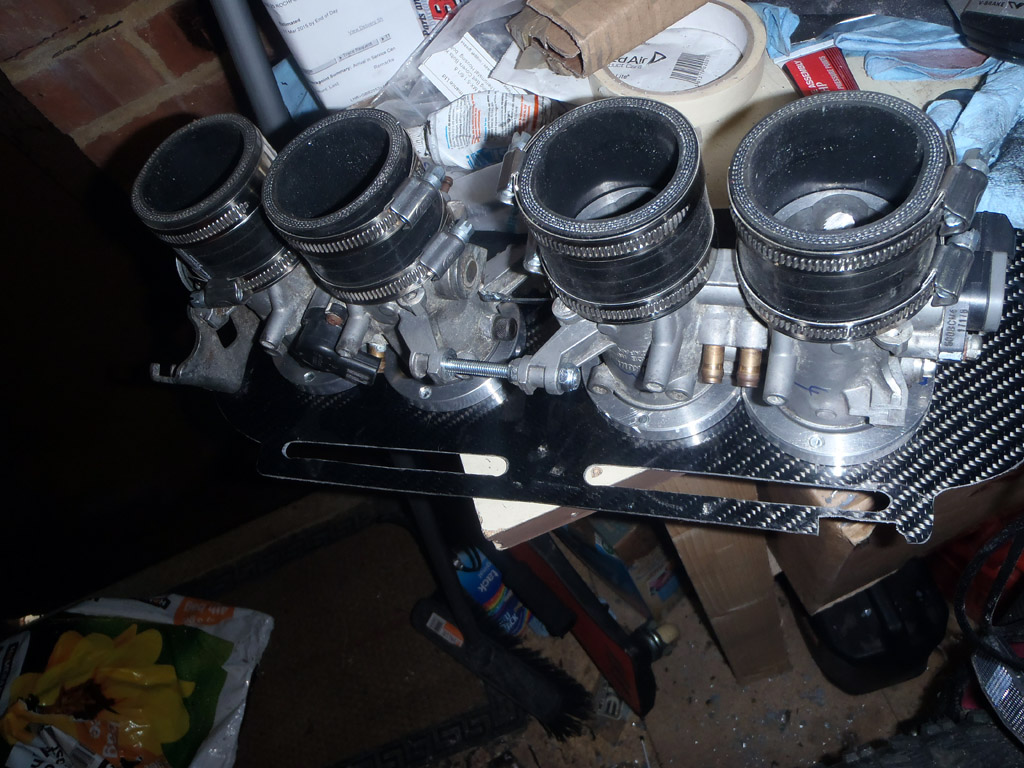
Started off plugging the holes in the throttle bodies (now termed ghetto-bodies due this). These were left by the bike injectors and the second set of butterflies. Some use chemical metal and fill the holes that way, which would leave quite a smooth finish. However, I was a bit worried about it failing and ending up inside the engine, so I decided to tap the holes and fit bolts in them instead. If they come loose, they’re going out not in!
Of course, even buying the shortest I could find they all still needed cutting down. Annoyingly, I’d left my decent hacksaw in the loft and lacked the motivation to go and get it. I resorted to one of those cheap hacksaws I found in a toolbox. Luckily found plenty of blades to go with it, given that I was going through a blade every one and a half bolts.

As I was getting incredibly bored of cutting bolts, I decided I’d just do the one pair of bodies for now, and the other later. I looked at the rings that the trumpets would mount on and cut them down a bit. I was a bit eager with the first one, though this did mean I didn’t have to cut the second one!
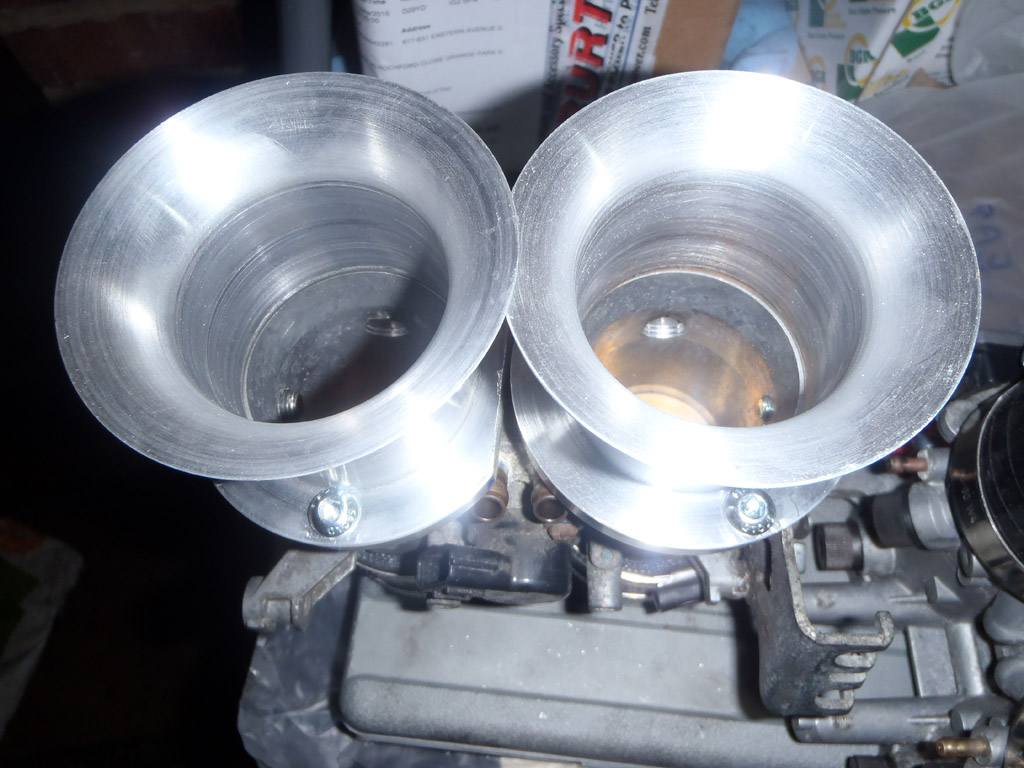
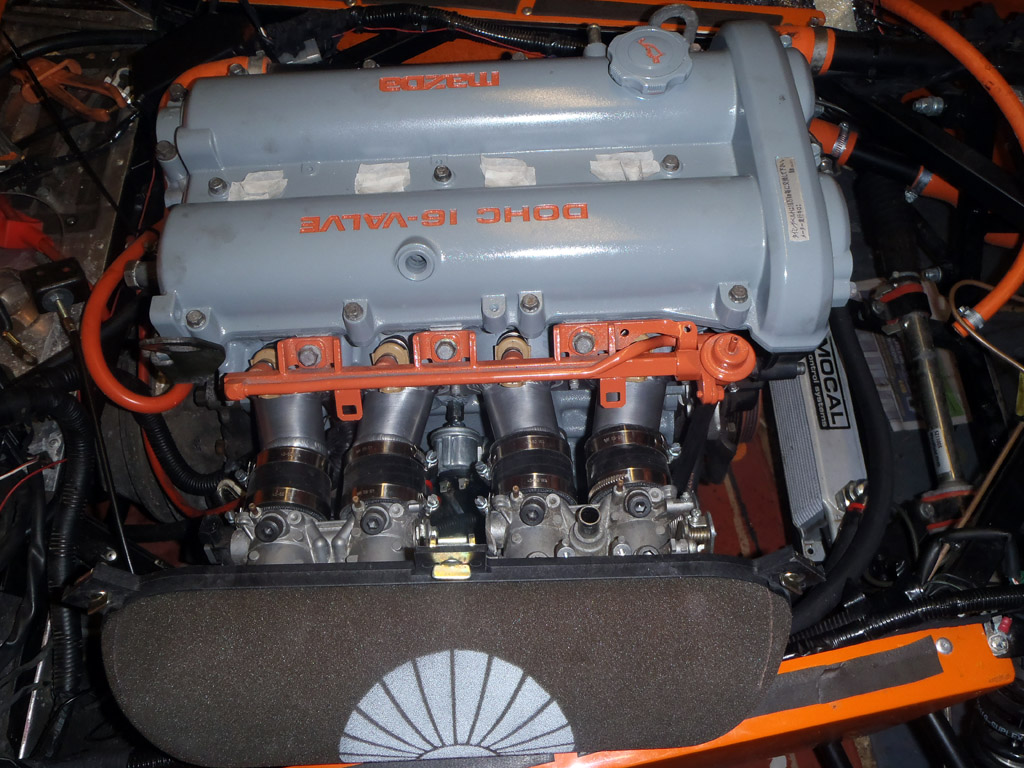
Looks like I will still need to file down the ends of the trumpets. For a bit of motivation, I test fitted the pair of bodies with the trumpets on.

Well that was disappointing – they clashed with the tub and I’d never get a filter around those! Until it dawned on me that they were still loose at the manifold end and a quick tighten of the jubilee clips made everything right with the world.

That’s better. Does look like I’ll be making full use of the bulge you get with the FW bonnet!
Fast forward a couple of days and I started attacking the next pair of bodies. Rather than going straight in and cutting the rings this time, I just filed them down a bit at a time. Looks much better I think (even if you won’t be able to see them anyway).

I’d also gotten an extension welded onto the throttle linkage and some nuts and bolts to space them out properly.

The rest of that day was spent shortening the rest of the bolts to act as plugs for the holes.
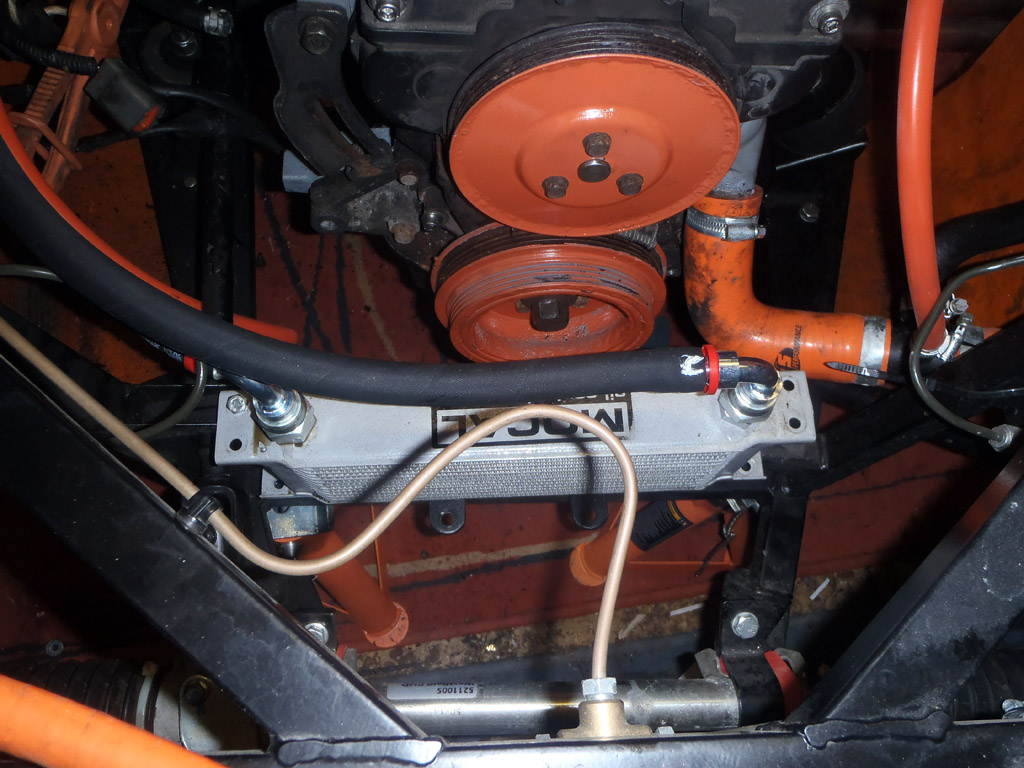
At this stage the progress on the ghetto-bodies wasn’t bad, but I did have a few jobs to do before fitting those. Namely the oil cooler pipes and fuel hose as they both sit underneath the intake. I popped down to Merlin Motorsport and got a length of hose and push-fit fittings.
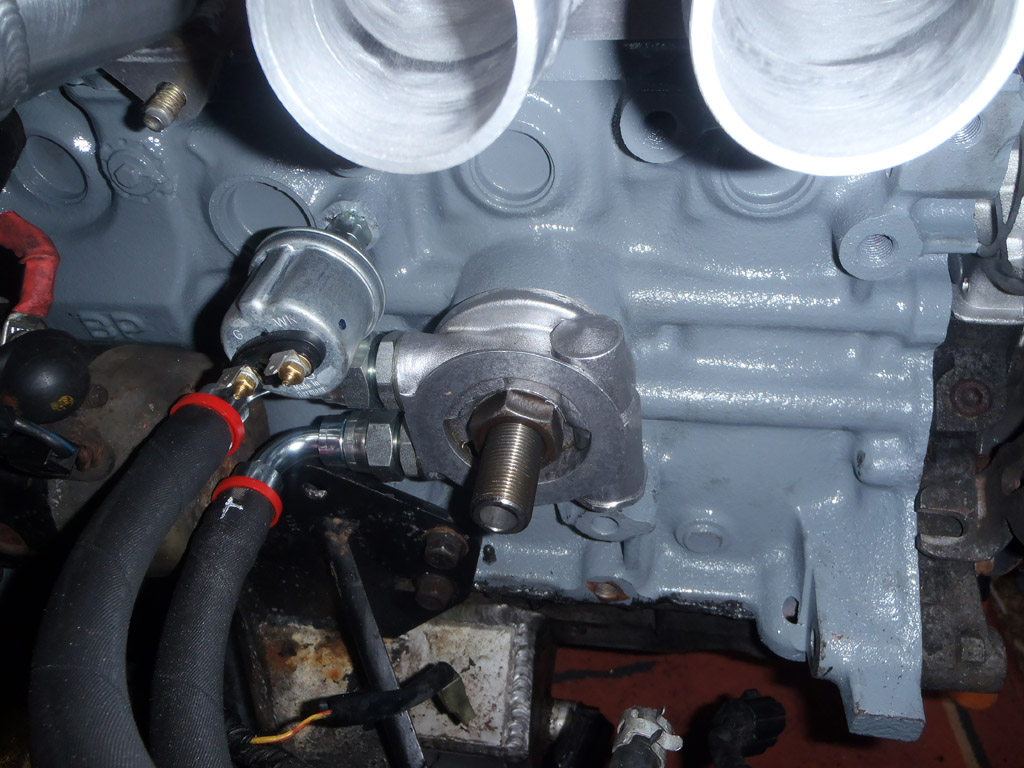
First up was to decide where the oil cooler was going to go. Luckily I noticed that the cooler itself fitted exactly between two unused brackets. I’m not sure what they would have been for originally, it might even be for an oil cooler.

I then temporarily fitted the barbs to the oil take-off and cut the hoses to length.

Basically, these fittings are your usual push fittings but a much tighter fit negating the need for hose clips.

For the first one I oiled up the barb and pushed the hose on. This took some doing but got there in the end.

The second one wasn’t quite so slick and stops about a mm or so short from the end. Shouldn’t be a problem, but it just doesn’t want to go on any further.
For the other two, I remembered the advice I was given to soak the pipe end in boiling water before fitting. This obviously expanded it slightly and also helped with lubrication. Whilst fitting wasn’t exactly easy after this, it was easier than before. With both hoses done, I attached them to the take-off and fitted that, then attached them to the cooler.
I also fitted the fuel lines, but didn’t take any photos.
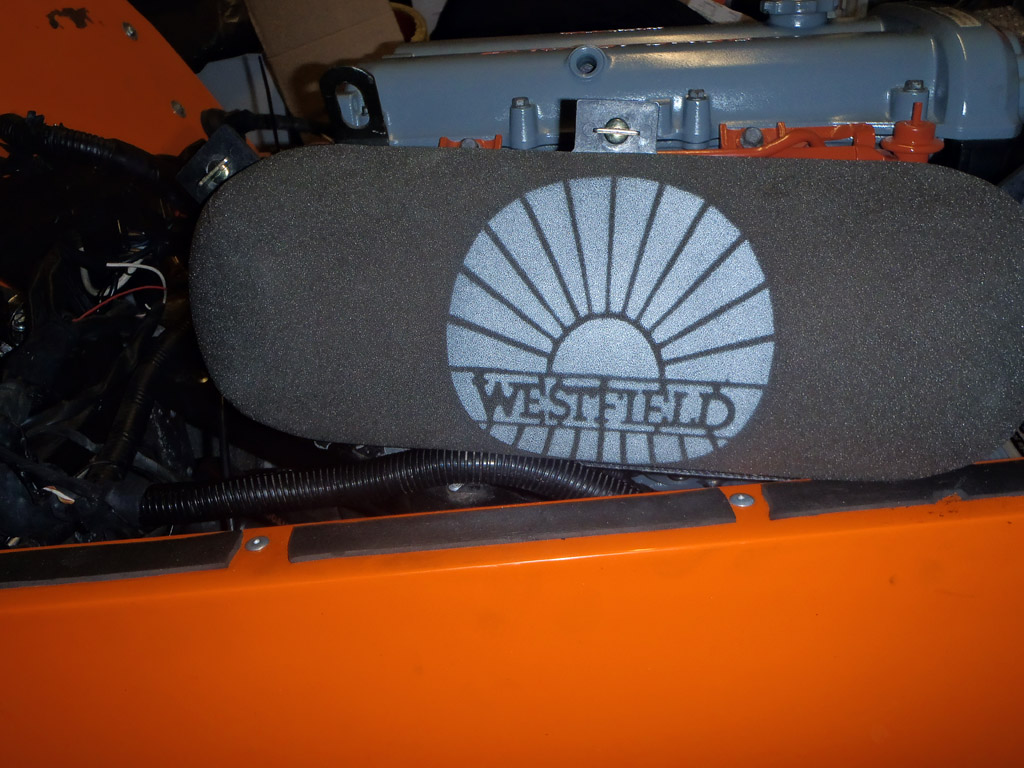
Last job was to fit the filter backplate. Unfortunately I’m tight for space here with the backplate and filter hitting the triangulation at the rear of the chassis. I’ve filed it down a bit, as much as I dare, but I’ve also had to angle the filter slightly to be safe. Shouldn’t pose a problem of course.
I started off by fitting the rings to the ghetto-bodies, making three marks on each one, holding the backplate in the right place then translating those marks. Then, I removed each ring, placed it against the marks and drilled through the screw holes to locate it before screwing them on.

I tested fitting the ghetto-bodies to the rings after each one to ensure they were ok.

I took the bodies back off and drilled the holes inside the rings, then put it all together.

It was all looking a bit tight towards the front of the car, so I place the bonnet back on to check I’d have the clearance I wanted.
Phew!
I’m not sure if I’ll get the engine started this weekend, not convinced. I think the major sticking point is I need to work out where the ECU is expecting the crank sensor feed as the mk1 loom doesn’t have it. I’ve asked the company I bought it from but haven’t had a response yet.
