All back together

Ok, the car is all back together now.

Most of the time was spent under the scuttle. I fitted the ECU in place of the Mazda unit, but opted for it to go underneath the ECU plate rather than above it. This would prove to be a good decision later.

I really hate all these wires from the Mazda loom. Good thing I rarely see them! Would love to create a new loom from scratch, but I’d surely change my mind about that half way through it!

Anyway, I also took the opportunity to mount the Race Technology DL1 data logger I picked up from the Westfield forum a while back.

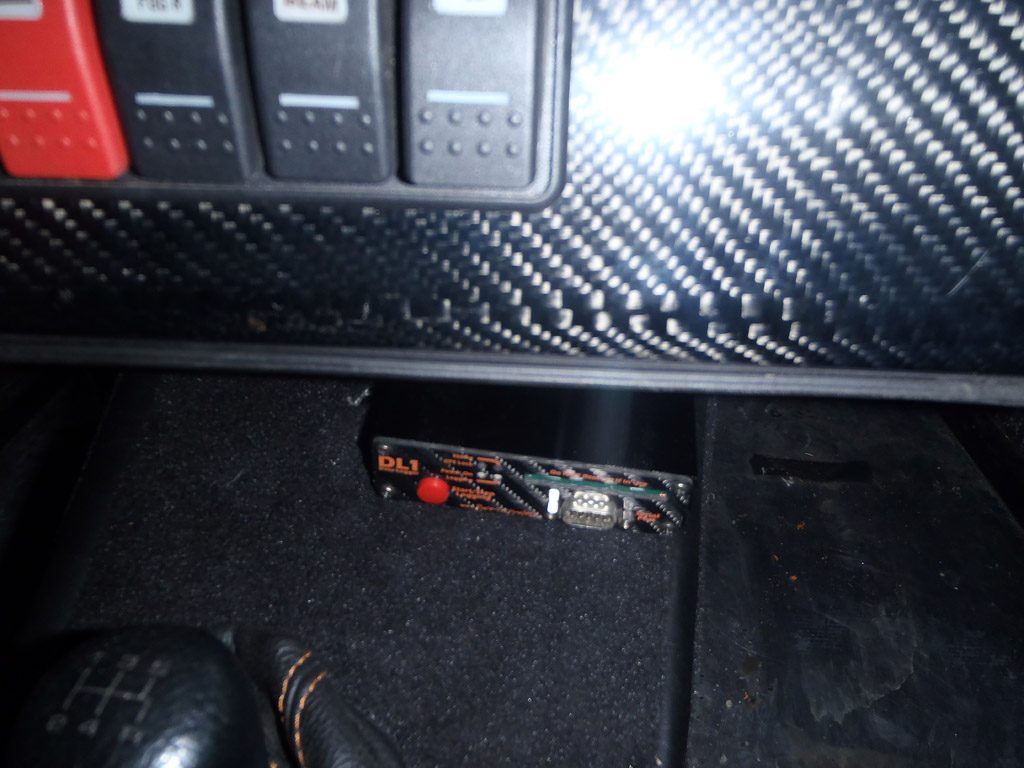
This is just out of reach of the serial cable from the dash, but is the only flat bit in the area so couldn’t get it closer. I’ll pick up a short extension cable at some point.

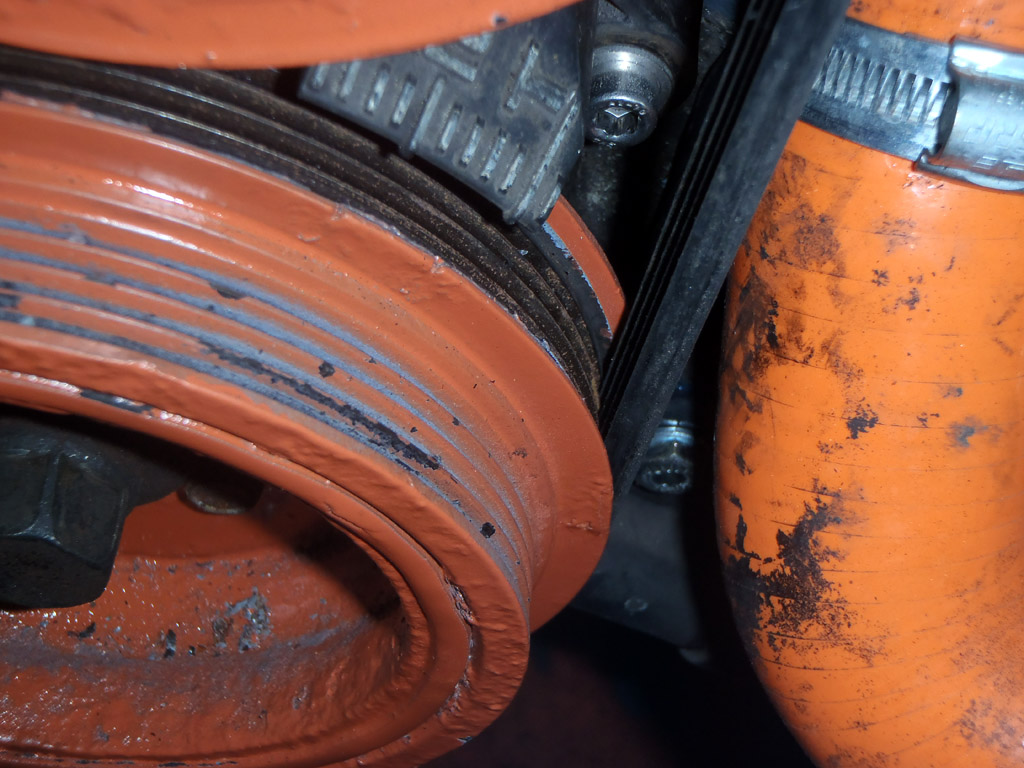
With everything essentially ready to go, I refitted the silencer and topped the engine up with fluids. Then came the all important engine start.

Nothing.

The first issue was the ECU was still set up for a mk1 CAS rather than the cam/crank sensor combo that I was using. I changed that and still nothing. I was getting a few sync losses so I repositioned the crank sensor a bit closer and that seemed to solve them. Still, no starting though.

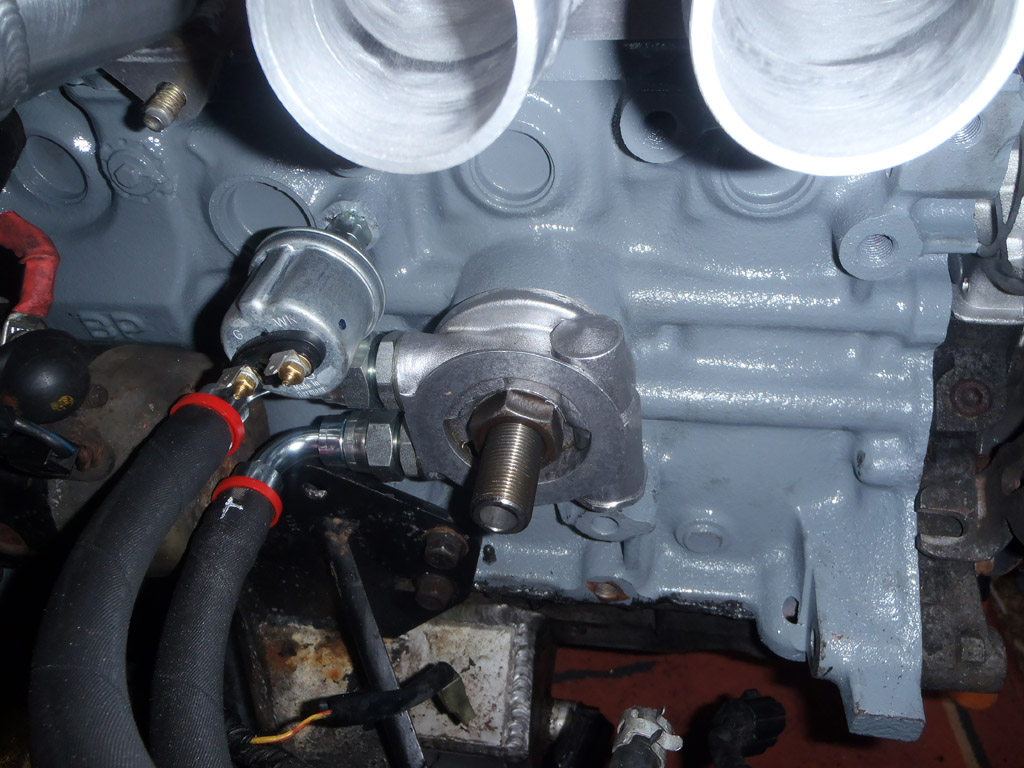
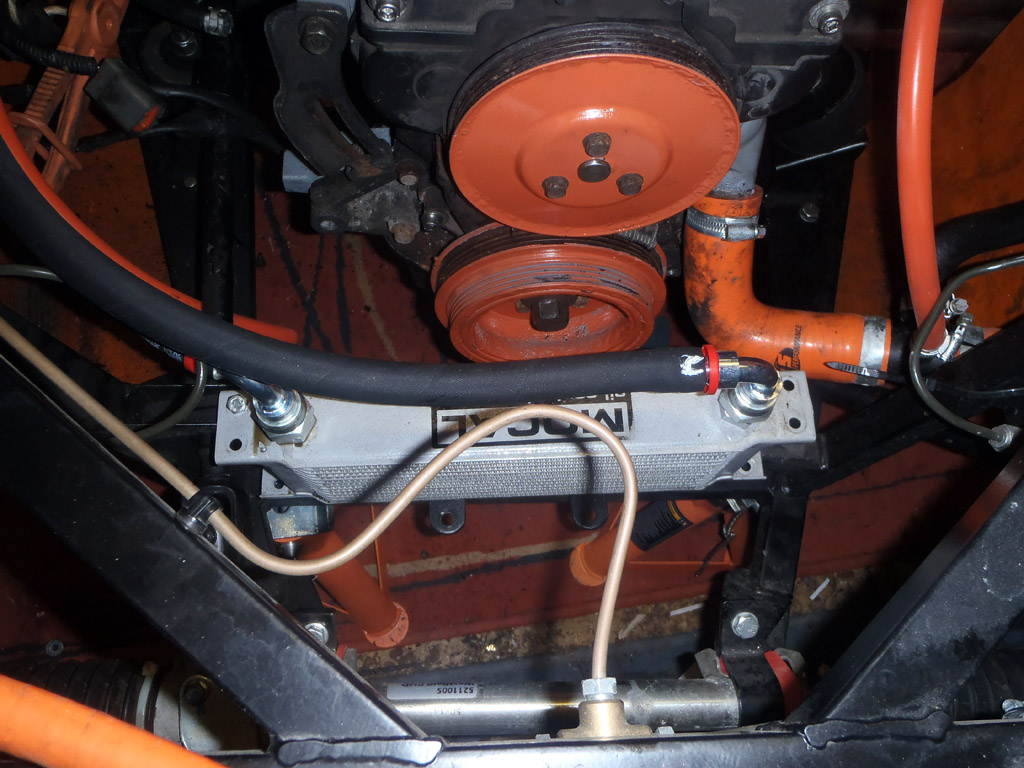
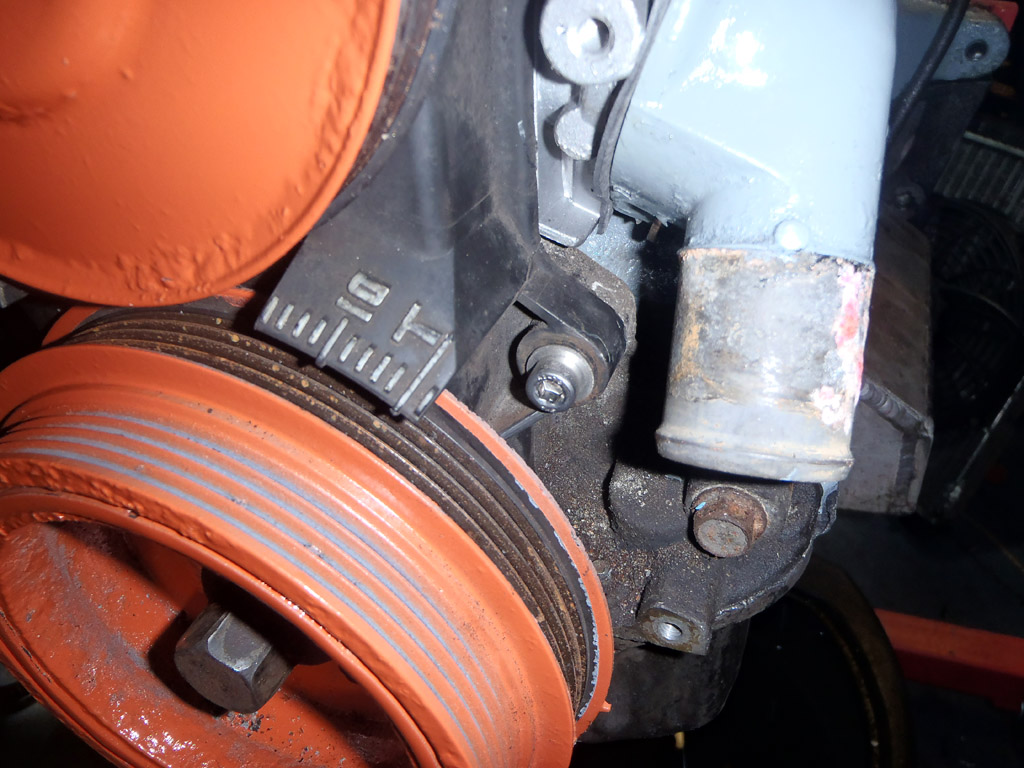
I checked with a timing light and whilst that didn’t seem great, it seemed to be in the ball park. This meant I wasn’t getting fuel, or I’d done something impressively wrong with the engine. I preferred the former so pulled off the fuel lines and they were bone dry.

There was a step in the instructions I got that said if the fuel pump doesn’t prime on ignition 2 then you need to change a jumper on the board. I, rather stupidly, ignored this as I’d never heard the fuel pump prime with the Mazda ECU. I removed the megasquirt, glad I’d mounted it underneath, and opened it up.

Sure enough, the jumper (right by the flash) was set to no immobilizer where the donor car had one. I moved the jumper to the appropriate position and reassembled it all.

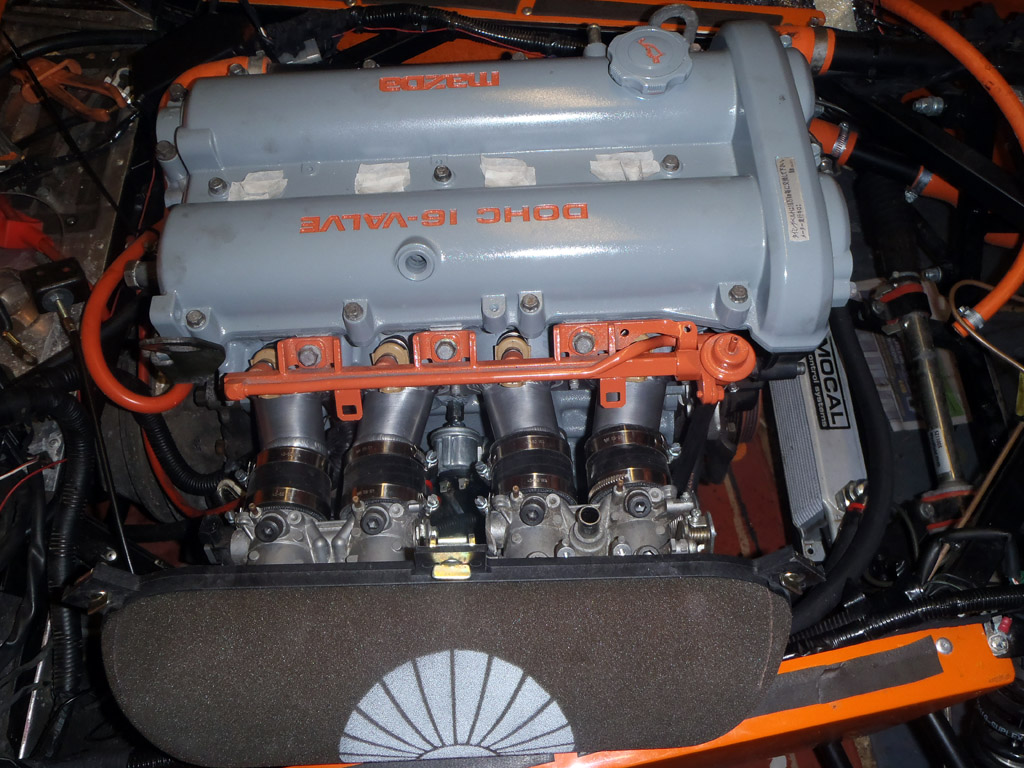
This time I heard the fuel pump prime on ignition 2… turned the key and after one or two revolutions is started. It was a bit lumpy, but running all the same. I then set the base timing which smoothed it out slightly.

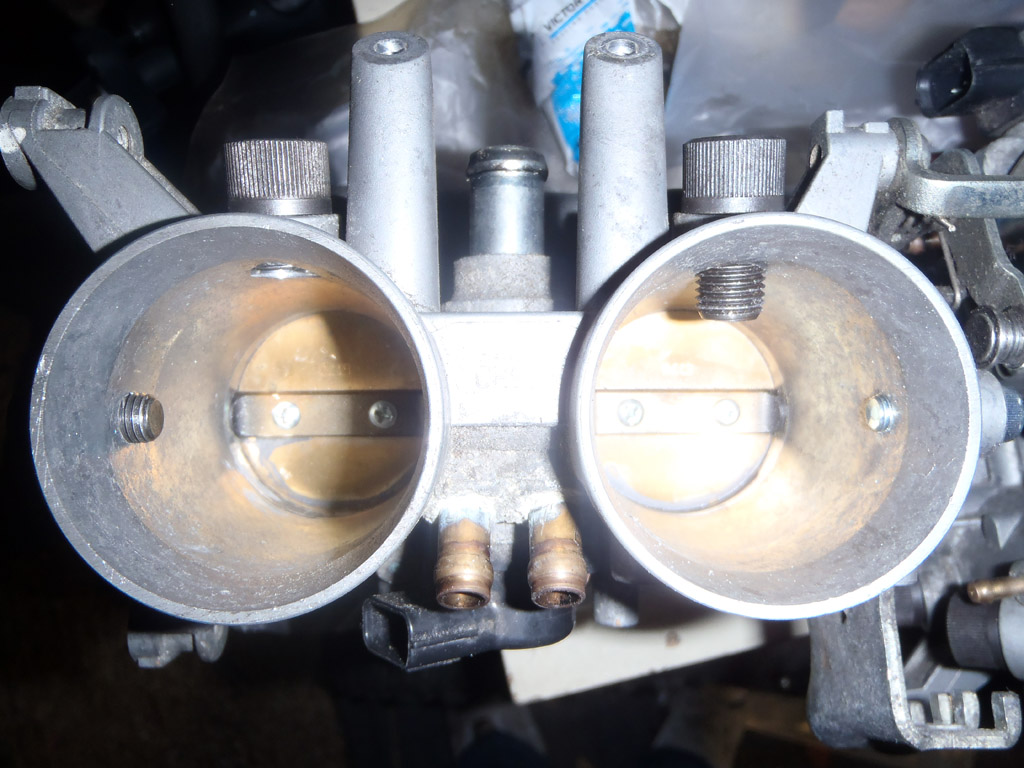
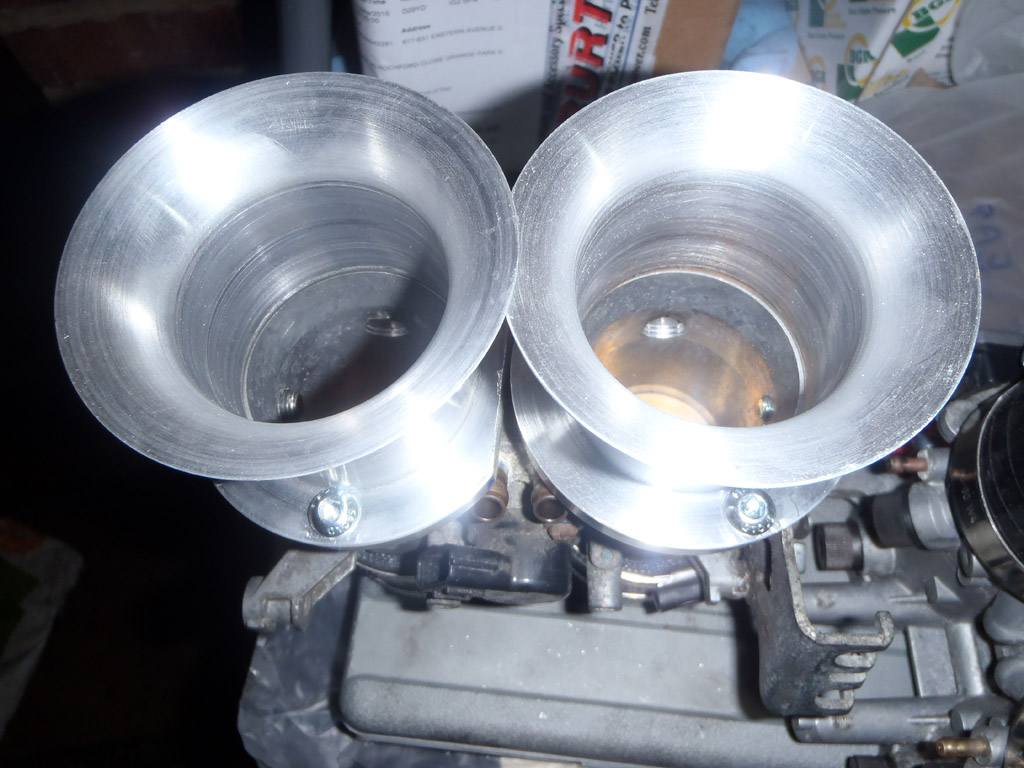
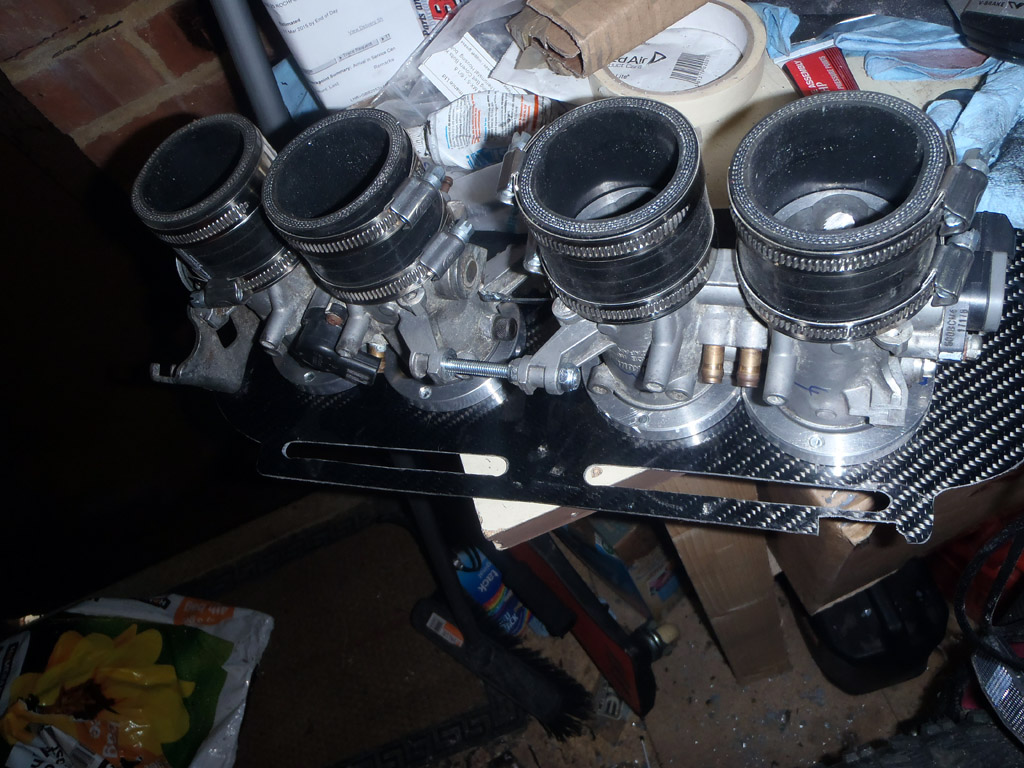
Next was to balance the bodies, and I got stuck. The adjustment screws are seized and it seems no amount of penetration fluid wants to free them up. I wish I’d checked them before they were all assembled as it would have been much easier to fix!

I’ve also got an odd problem where the throttle seems to stick the last 1.5-2%… but only with the engine one. With the engine off it will snap back to 0 no problem. I’m not sure what’s causing this.

Mapping is tomorrow morning. I’ve advised the guy there’s still a bit of debugging to do and he seems happy enough, so fingers crossed!

Posted in Performance upgrades | Leave a comment

Further progress

Nope, still not started yet, but edging closer.

Started off today by filing down the trumpets and fitting them to the backplate.

Then, before fitting them I quickly finished off the jobs to do underneath the intake – namely wiring for oil pressure gauge and warning plus fitting an oil filter.

With the bodies back on I looked at the throttle cable next. This was simply a case of swapping out the washers for smaller ones and mounting them where the cable on the bike would have gone.

The end of the cable was a perfect match

At the pedal end the cable had to be trimmed a few inches. Annoyingly, it had gotten frayed and so it fought back! I won in the end though. To try and counter act the ghetto-bodies having a smaller cam on the throttle I mounted the cable higher up the pedal. Not perfect, there’s still 20mm of pedal travel left when full throttle is reached but I’ll just have to remember to not bury my foot quite so hard.

Once this was done I realised I hadn’t yet fitted the alternator. Handily it’s easy to slip the bodies off to gain access – just loosen the four clips! I replaced the lower alternator bolt and fitment was easy.

Next on the odd jobs was the crank sensor. This mounts on the oil pump pointing at the Mazda trigger wheel behind the crank pulley. You can just about see it in this photo.

I wired the crank and cam sensor into the original mk1 cam sensor wiring. I’ve left the wires out for now in case I need access to them. Once the engine is up and running I’ll tuck them inside the normal loom.

I then tackled the vacuum feed for the ECU, plumbing it into the ports on the ghetto-bodies. I also fitted the spark plugs, coils and HT leads.

Lastly for the day, I refitted the pedal box cover (really should get around to fitting my carbon one at some point), the coolant header tank and also threaded the vacuum line through to the ECU area.

Still to do is to find a new home for the oil catch tank, refit the silencer, fit the ECU and top it up with fluids.

Mapping is on the 9th which gives me three days. Should be fine.

Posted in Uncategorized | Leave a comment

More progress

Seems to be lots of little jobs recently. It’s almost like that stage during the build where you do lots of stuff, but nothing really changes. Then you do one thing, and the project is transformed.

Started off plugging the holes in the throttle bodies (now termed ghetto-bodies due this). These were left by the bike injectors and the second set of butterflies. Some use chemical metal and fill the holes that way, which would leave quite a smooth finish. However, I was a bit worried about it failing and ending up inside the engine, so I decided to tap the holes and fit bolts in them instead. If they come loose, they’re going out not in!

Of course, even buying the shortest I could find they all still needed cutting down. Annoyingly, I’d left my decent hacksaw in the loft and lacked the motivation to go and get it. I resorted to one of those cheap hacksaws I found in a toolbox. Luckily found plenty of blades to go with it, given that I was going through a blade every one and a half bolts.

As I was getting incredibly bored of cutting bolts, I decided I’d just do the one pair of bodies for now, and the other later. I looked at the rings that the trumpets would mount on and cut them down a bit. I was a bit eager with the first one, though this did mean I didn’t have to cut the second one!

Looks like I will still need to file down the ends of the trumpets. For a bit of motivation, I test fitted the pair of bodies with the trumpets on.

Well that was disappointing – they clashed with the tub and I’d never get a filter around those! Until it dawned on me that they were still loose at the manifold end and a quick tighten of the jubilee clips made everything right with the world.

That’s better. Does look like I’ll be making full use of the bulge you get with the FW bonnet!

Fast forward a couple of days and I started attacking the next pair of bodies. Rather than going straight in and cutting the rings this time, I just filed them down a bit at a time. Looks much better I think (even if you won’t be able to see them anyway).

I’d also gotten an extension welded onto the throttle linkage and some nuts and bolts to space them out properly.

The rest of that day was spent shortening the rest of the bolts to act as plugs for the holes.

At this stage the progress on the ghetto-bodies wasn’t bad, but I did have a few jobs to do before fitting those. Namely the oil cooler pipes and fuel hose as they both sit underneath the intake. I popped down to Merlin Motorsport and got a length of hose and push-fit fittings.

First up was to decide where the oil cooler was going to go. Luckily I noticed that the cooler itself fitted exactly between two unused brackets. I’m not sure what they would have been for originally, it might even be for an oil cooler.

I then temporarily fitted the barbs to the oil take-off and cut the hoses to length.

Basically, these fittings are your usual push fittings but a much tighter fit negating the need for hose clips.

For the first one I oiled up the barb and pushed the hose on. This took some doing but got there in the end.

The second one wasn’t quite so slick and stops about a mm or so short from the end. Shouldn’t be a problem, but it just doesn’t want to go on any further.

For the other two, I remembered the advice I was given to soak the pipe end in boiling water before fitting. This obviously expanded it slightly and also helped with lubrication. Whilst fitting wasn’t exactly easy after this, it was easier than before. With both hoses done, I attached them to the take-off and fitted that, then attached them to the cooler.

I also fitted the fuel lines, but didn’t take any photos.

Last job was to fit the filter backplate. Unfortunately I’m tight for space here with the backplate and filter hitting the triangulation at the rear of the chassis. I’ve filed it down a bit, as much as I dare, but I’ve also had to angle the filter slightly to be safe. Shouldn’t pose a problem of course.

I started off by fitting the rings to the ghetto-bodies, making three marks on each one, holding the backplate in the right place then translating those marks. Then, I removed each ring, placed it against the marks and drilled through the screw holes to locate it before screwing them on.

I tested fitting the ghetto-bodies to the rings after each one to ensure they were ok.

I took the bodies back off and drilled the holes inside the rings, then put it all together.

It was all looking a bit tight towards the front of the car, so I place the bonnet back on to check I’d have the clearance I wanted.

Phew!

I’m not sure if I’ll get the engine started this weekend, not convinced. I think the major sticking point is I need to work out where the ECU is expecting the crank sensor feed as the mk1 loom doesn’t have it. I’ve asked the company I bought it from but haven’t had a response yet.


Posted in Performance upgrades | Leave a comment

Engine back in

Added a few more bits to the engine then managed to get it fitted back in this weekend. First up was the rear cam oil seal, in place of the CAS.

OLYMPUS DIGITAL CAMERA

Then the coolant temp sender for the ECU

OLYMPUS DIGITAL CAMERA

And for the dash (I may have named these wrong and could be the other way round)

OLYMPUS DIGITAL CAMERA

And the rear thermostat and housing

OLYMPUS DIGITAL CAMERA

Followed by the water pump inlet. It doesn’t seem as close to the crank pulley this time.


Then it was on to the oil pressure sender. First up was the adapter to convert the 1/8BSPT thread on the block to the VDO sender.

And the sender itself.

Then the oil cooler sandwich plate. This may be tricky to plumb in as there is surprisingly little room after fitting the VDO sender. Sure it’ll be ok though.

That was it for Saturday. Family duties beckoned. However, as the silicone hoses for the throttle bodies had arrived (but annoyingly, not the fuel hose), I couldn’t resist a cheeky test fit.

I was a bit worried about using black silicone but the range was limited, unless I wanted to spend a fortune on 1m of orange hose and chop it into small bits. Turns out it was quite a safe choice.

Sunday morning and after the F1 it was back into the garage to prep the engine for refit. First up the nearside engine mount.

Then the flywheel and clutch. After initially fitting the flywheel and realising I’d forgotten the back plate. Oops!

And in it went! I’m going to pretend it was this simple and forget all about the faffing and cursing.

Whilst I still had some time left, I refitted the exhaust manifold as I didn’t need access to that area any more.

Then the coolant pipe. I was going to move it to go by the tub, but given the timescales I’ve decided against it for now.

And lastly, another quick fit of the throttle bodies…

I hope when the air filter is fitted it will sit inside the ‘bulge’ that the FW bonnet has in that area. I do have scope to reduce the length of the silicone joiners and move it a bit closer though.

So, engine is fitted and I’m where I wanted to be from the weekend. During the week I’m hoping to get the throttle bodies spaced properly and plumbed in.

Posted in Performance upgrades | Leave a comment

More engine build work

A few little jobs over the last few days, basically filling the time in between paint coats on a few bits and bobs.

First up was fitting all the timing belt covers. Whilst the bolts that I removed from the mk2.5 engine were in much better condition than those of the original engine, I saw a stainless set on eBay for about a fiver so ordered a set of them. Came with washers too.

I merrily carried on, fitting the covers from the mk2.5 engine then hit a snag…

Ah. That will be because the mk2.5 has the VVT unit there and so a different rocker cover! Luckily I hadn’t thrown out the top cover from the mk2 engine so fitted that and all was well with the world.

Then it was the turn of the pulleys. I’ve gone for orange, though think it photographs better than it looks. It’s not so bad considering I didn’t put much effort into prep.

I’m painting the thermostat housing and water pump inlet currently. In between coats of that I turned my attention to the inlet manifold. It looked like it was the bottom holes that were slightly out of line, so I drilled them out with a 9mm drill bit. This took a bare minimum out of the holes. It still didn’t fit, but felt closer. Closer inspection this time showed it was just one hole that was now slightly out, so I got the file out, taking a tiny bit off at a time and after 3 or 4 attempts it slid right on.

Looking down the inlet, it seems I could benefit from a spot of port matching, but it’s far too late in the day for that now!

Lastly, I fitted the mk2 fuel rail with the mk1 injectors. Whilst the mk2 injectors are supposed to give a better spray pattern, I thought this probably wouldn’t be the case here. The mk1 injectors were cleaned when I built the Westfield where as I didn’t know the history of the mk2 injectors.

Still on target to get the engine refitted this weekend. I think/hope…

Posted in Performance upgrades | Leave a comment